Here is how you can Wirelessly Project your Screen using the new Connect app on Windows
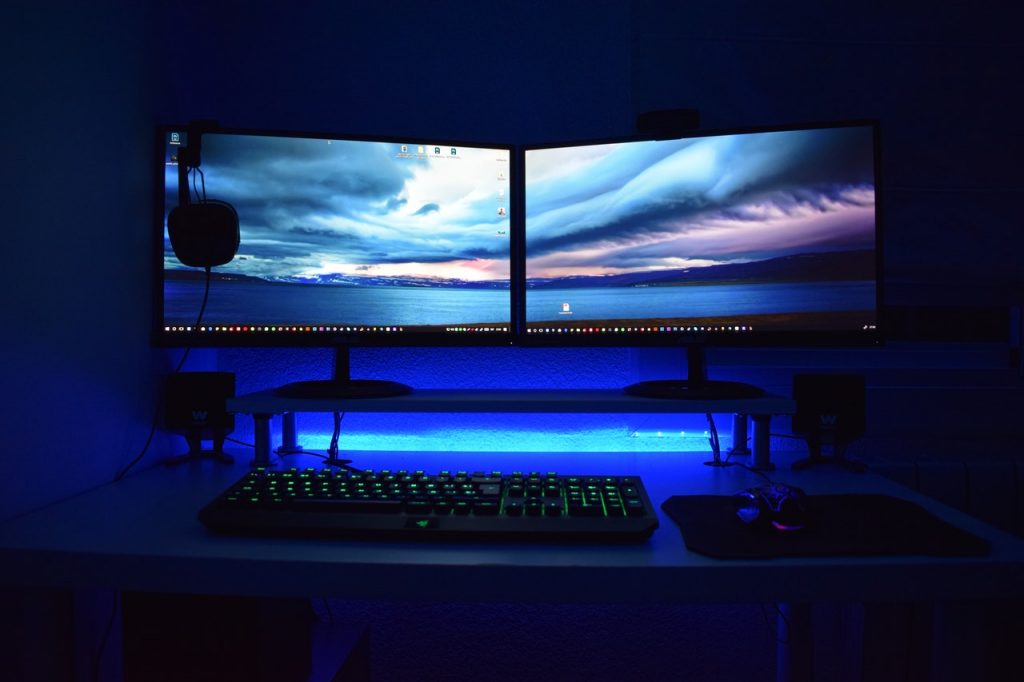
One of the great benefits of having a laptop is also a disadvantage; at the cost of portability, you are losing the screen real estate that a PC with a display can bring. However, we can easily rectify that by buying an external display that you can pair up with your laptop to project as an additional screen. This way, you don’t have to sacrifice the portability and can still enjoy the extra screen real estate when you are in the mood for some heavy multitasking.
We have already covered a guide on how you can use an external screen with your Windows laptop using an HDMI cable. However, that guide doesn’t support wireless displays like Miracast. Up till now, pairing a wireless display was also pretty simple and could be done using the Connect app but that application is no longer being pre-installed with Windows. Instead, you have to download it and the process is a little bit different than just going to the Windows Store.
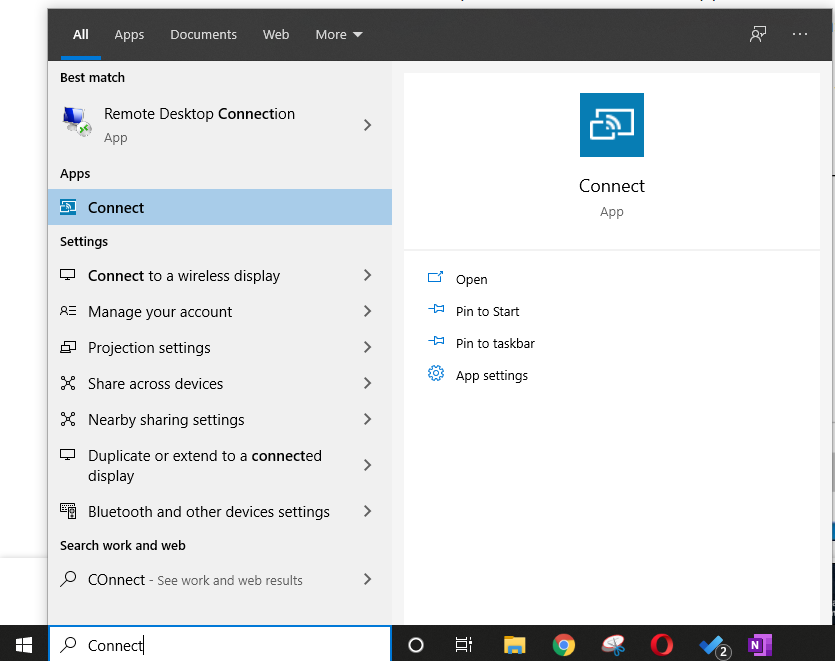
If you want to use the wireless display functionality, search for Connect from the start menu to see if the application is available on your machine. If it’s not, you are on the version of Windows that doesn’t come pre-installed with it and you can proceed with this guide to download it.
Install Connect App on Windows
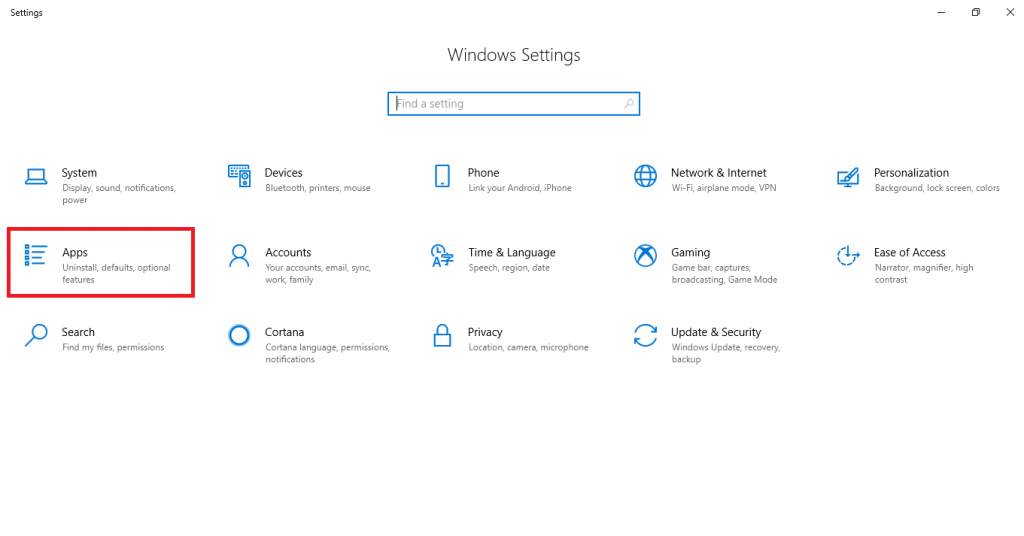
- Open the Settings app and click on Apps.
- From the left pane, click on Apps & features.
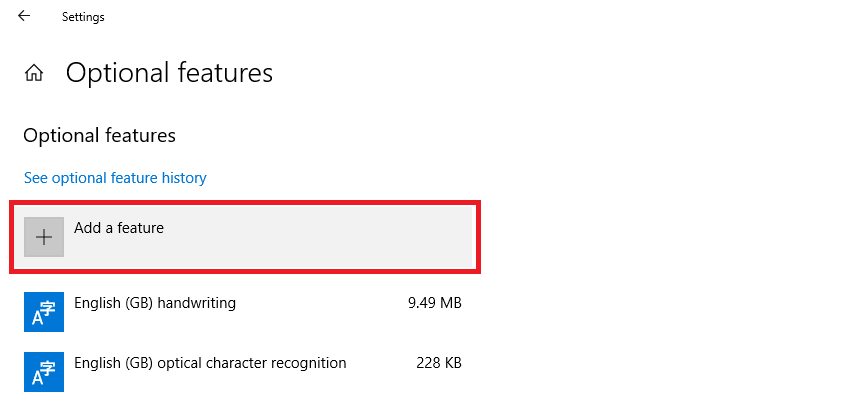
- On the right side of the screen, click on Optional feature.

- Here, you have to click on Add a feature, as shown in the screenshot below.
- Scroll down and search for Wireless Display, check the box for it.
- Click on Install.
Let the download complete. Once it’s installed, you can search for Connect from the start menu and it should appear in the search result.