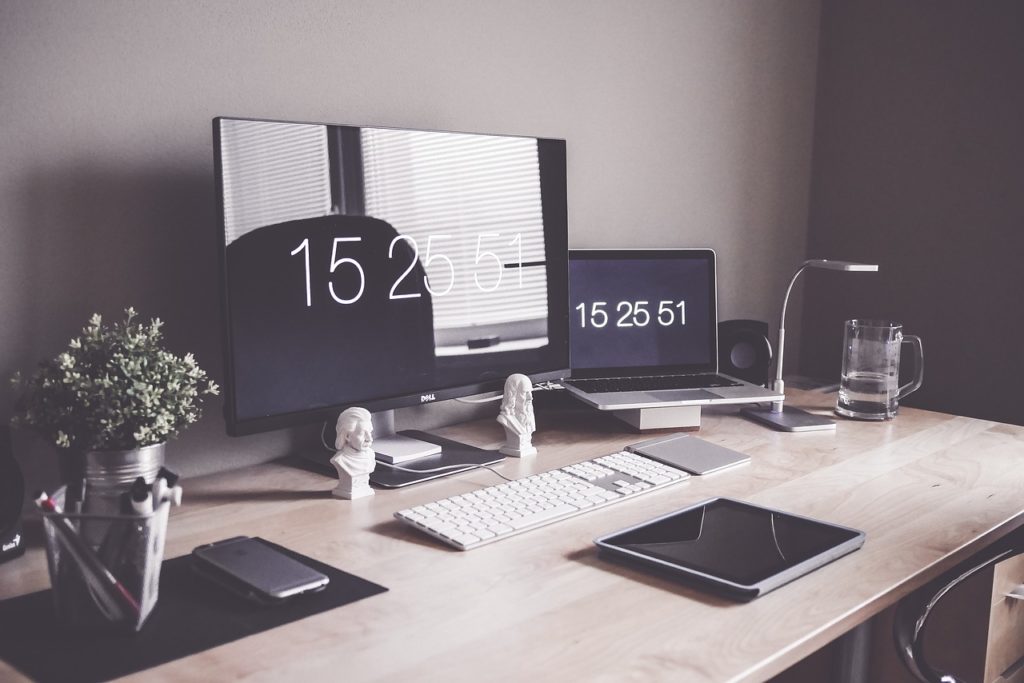
Here is how you can effectively connect and use an external screen with your Windows Laptop
In today’s world, owning a laptop is essential for working on the go, and it gives you a big boost in terms of portability that you normally wouldn’t have. By allowing you to take your work with you and letting you continue it, anywhere, is a big advantage that a normal desktop PC can never have.
However, working on a laptop comes with its own cons, from the lack of a full-size keyboard and/or a mouse, to the lack of proper ports in modern laptops and a lot more. Moreover, it also comes with a smaller screen – which might be a good thing for portability but it is a big disadvantage depending on what you’re working on. For example, it is common to have a couple of external screens for editing a video, playing a game, or even for programmers.
Fortunately, you can have it both ways – use a Windows laptop as your primary machine and still use an external screen with it whenever you like it. Moreover, you can also hook it up with a desktop-size keyboard and mouse and convert your laptop into a full-fledged desktop and still be able to unplug and carry your laptop anywhere you like in an instant.
If you want to connect an external screen to your laptop, all you need is a screen and a connector medium in the middle for it to work.
Note: This tutorial is for connecting an external screen via a wired connection. You can also connect an external monitor or even a laptop via a wireless connection by reading our guide over here.
What You’ll Need
- An External Screen (Monitor, LED or LCD)
- An HDMI cable or a VGA cable – whichever is supported by your laptop and screen
Here’s what you need to do,
- Turn on your laptop and the external screen.
- Simply plug the HDMI cable into your laptop and attach it to the external screen. Windows should automatically detect the presence of an external screen. However, if it doesn’t, it is pretty likely that your screen isn’t adjusted to automatically detect the type of connection. You need to find a settings button on the screen which will let you switch the mode from VGA to HDMI or USB. Once you do that, the screen should automatically be detected by Windows and should start showing some content.
There are a number of ways you can set up your external screen to work with Windows. Just press on START + P to access the Project menu for projecting content to an external screen and it will let you choose from a total of four available modes.
- PC screen only – Only use the primary screen on your laptop, which is basically using your laptop without an external screen connected to it.
- Duplicate – Let the secondary screen mirror the primary screen i.e. your laptop, so both the screens will show the exact same content scaled to the same resolution.
- Extend – Let the secondary screen act as an extension to your PC. Basically, this means you have now two screens for doing different things on either screen. This mode allows you to have more content in front of you at the same moment and is the main attraction of using two screens.
- Second screen only – Only use the secondary screen connected to your laptop, which is basically using your laptop without an external screen connected to it.
Windows also allows you to choose some more detailed settings like control over the resolution of each display, the orientation, or whether you want Night Light to be enabled/disabled. You can set these settings differently for each display by going to the Settings app, then System and Display.

