
Deploy Linux on VMware Player
VMware is an emulator that allows you to create scenarios and work on networks simulation. Unlike normal simulators, an emulator can interact with real-life environments. We can make machines on this emulator and install operating systems of our choice on this machine.
Now that we are well-versed in the basics of VMware, let’s create a machine that will operate on Linux.
Firstly, open VMware on your device. If you have not downloaded it, use this link to download VMware on your device.
On the top left-hand side, click on Player-> File -> Create New Machine (Ctrl + N):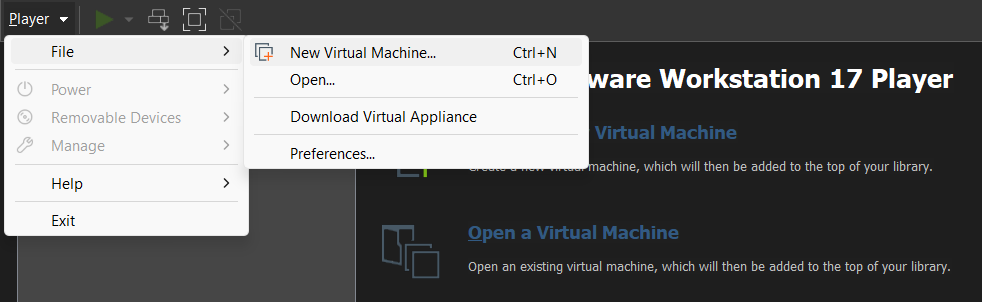
From here you need to select, “I will install the OS later”. You can directly use the second option if you have already downloaded your required operating system. But for safe integration, it is always better to install it later. The VM’s blank space on the hard disk will be safely created.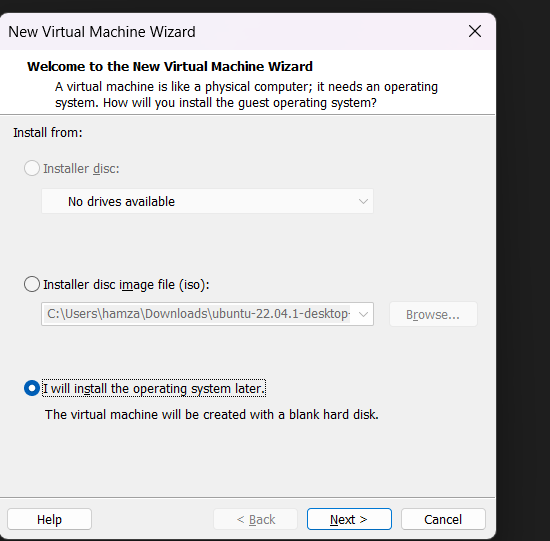
Click on next, and now choose your preferred guest operating system. Since we want to get our hands on Linux, we click Linux. Next for the version, you can simply do any Linux version, and if you have downloaded Ubuntu, chose the Ubuntu version.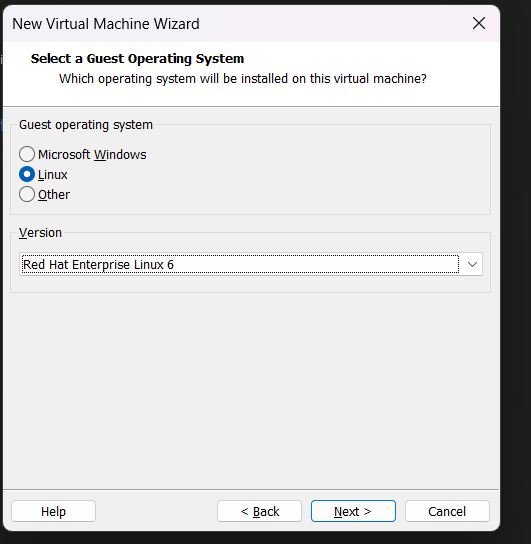
Again click on next, define the name of your machine, and set the path.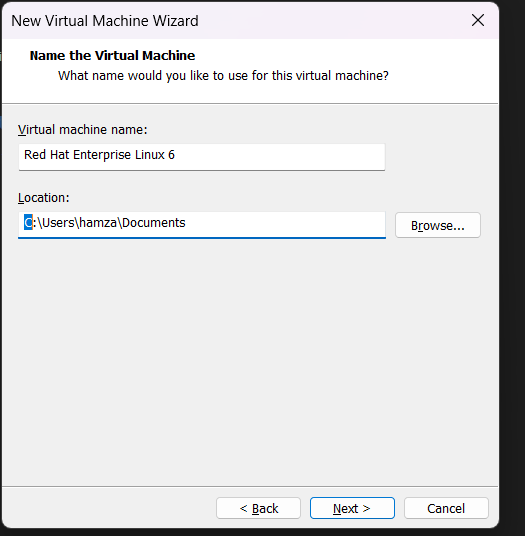
Since we only need programming and not networking 10 GB is more than enough. However, make sure that you meet the minimum requirement which is 6GB.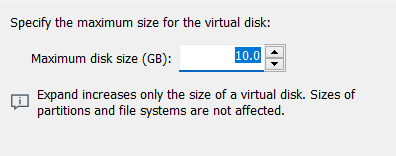
Splitting is basically like storing your files separately initially instead of making one large file and then making a RAR of it. This is more feasible.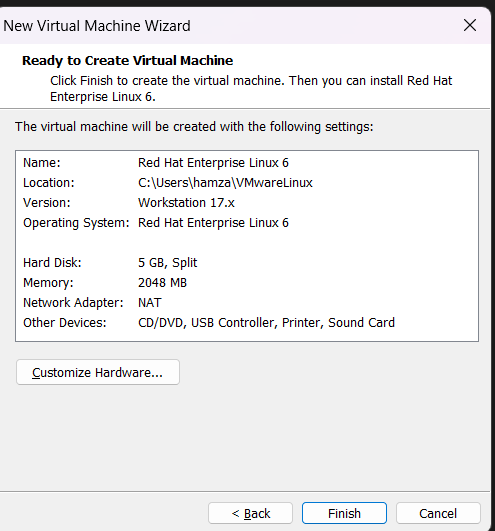
Now press finish, so it will start creating your blank disk file. You can check this by going to your location defined. You will see that gradually all the files below are downloaded.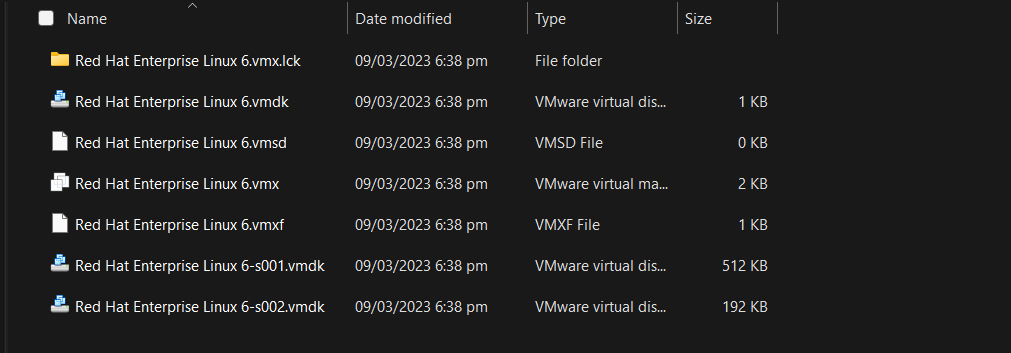
Now when you go back to your VM Player, you will see that your machine is created.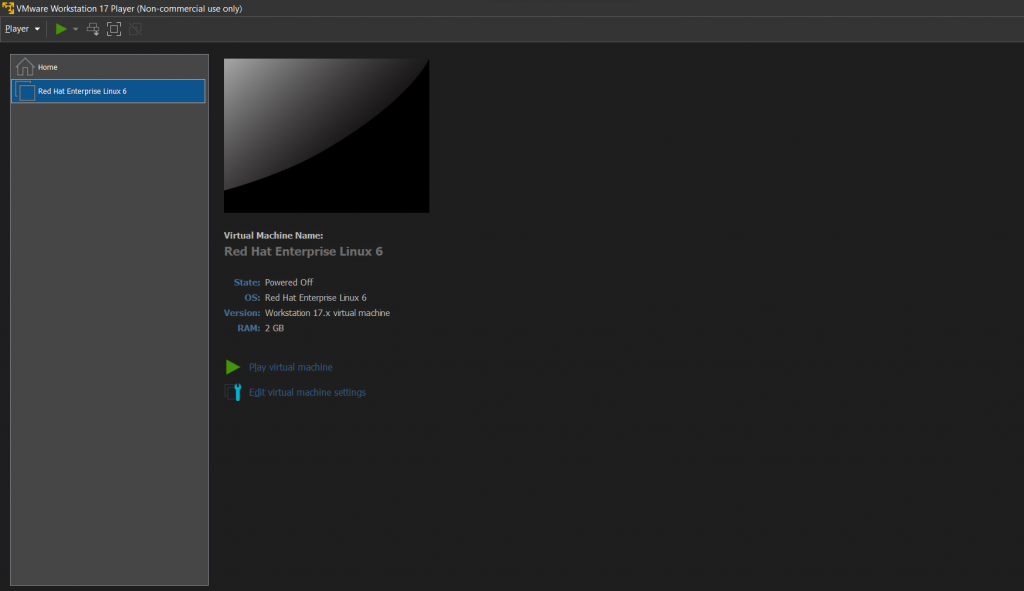
Now on the top left corner, click on the green arrow, and power on your machine. Right now it is powered off, hence no actions can be taken.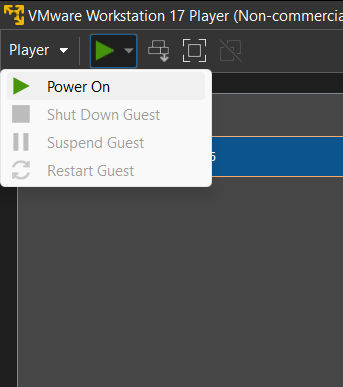
Once Power is turned on, it will give you some prompts, make sure you keep continuing it and do not say no to any.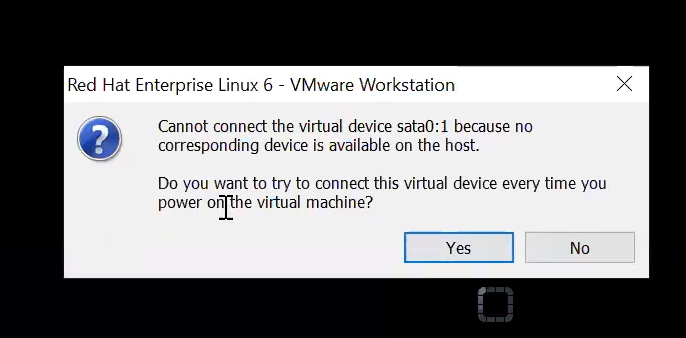
Now it will start booting your operating system on.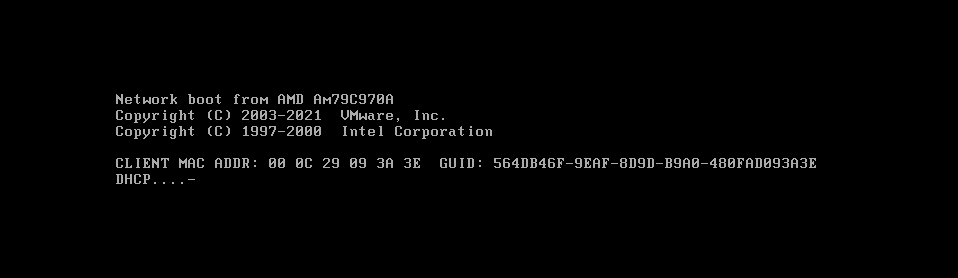
But since, as earlier we did “I will install the OS later”, currently our system has no OS>
Our system has no operating system that checks this through DHCP.
The warning is now shown.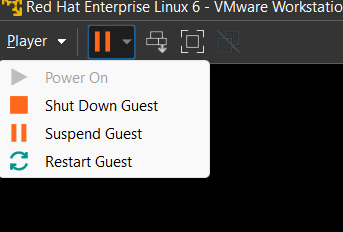
To solve it you will have to make some changes, and this can only be done by Shutting down your machine. Click on Shut Down Guest, from the top left. This will most probably close your application.
Reopen it and on the left side tab, instead of clicking on your machine, right-click it and click on settings.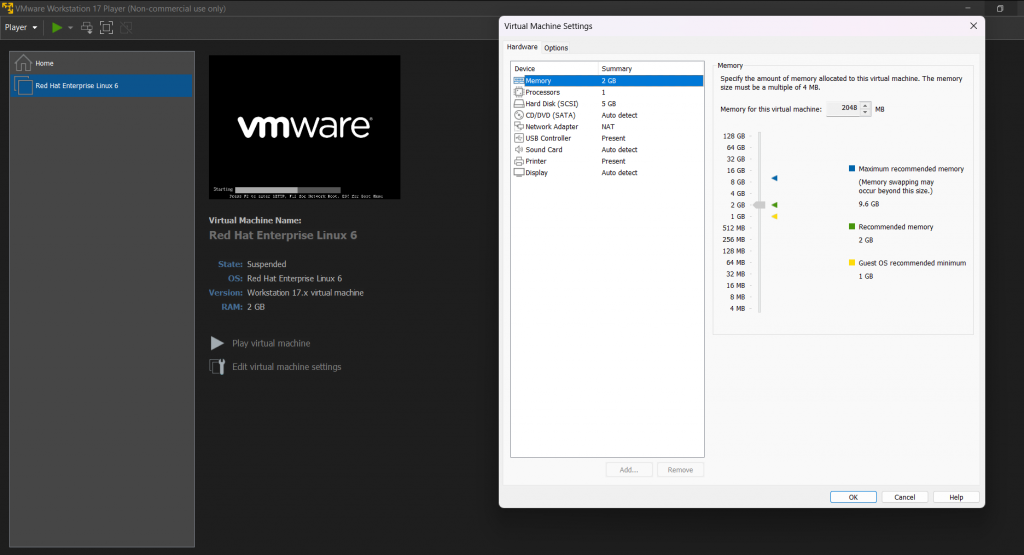
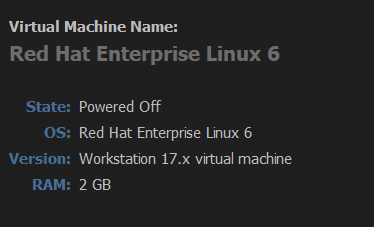
Make sure it is powered off before making changes. If it says “Suspended” then again click on shutdown from the top left.
Now add the location of your installed Ubuntu, this is done by clicking on the CD/DVD tab on the left-hand side of settings.
Once done, now play again. 
Press inside your box and your arrow will be inactive and the only keyboard has control. (press ctrl+alt to get mouse control again)
Click on the first install option, and now wait, it will take some time.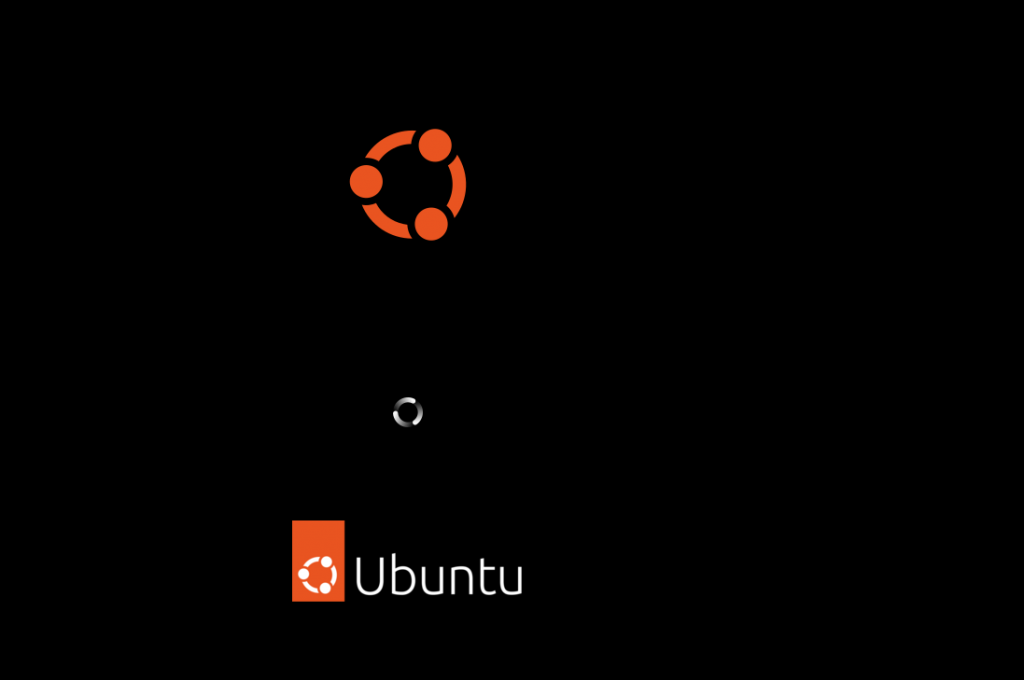
Once it opens, click on Install Ubuntu.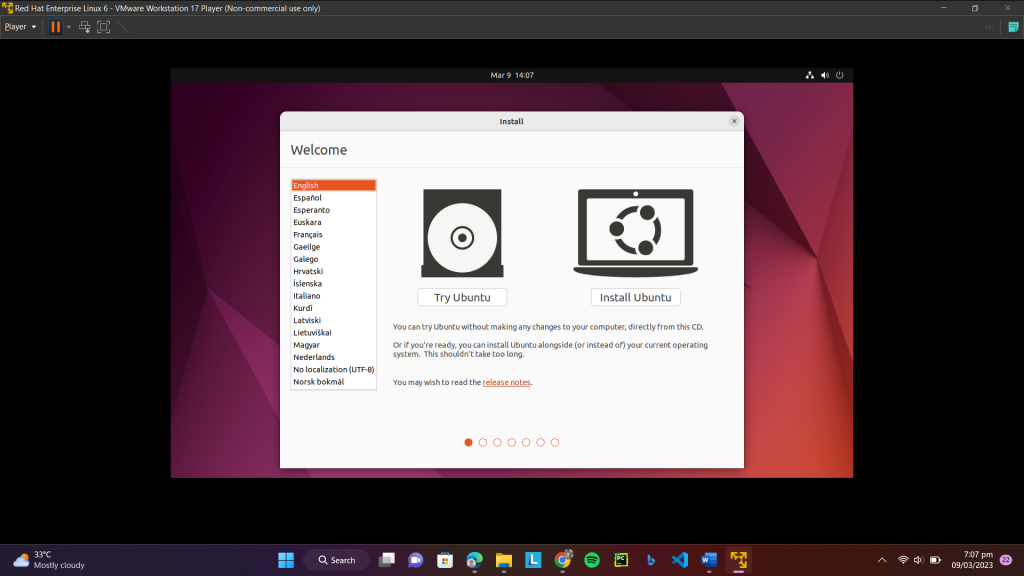
Choose preferred languages and move on.
Let the default settings stay, you can install third-party software if you want. Again continue.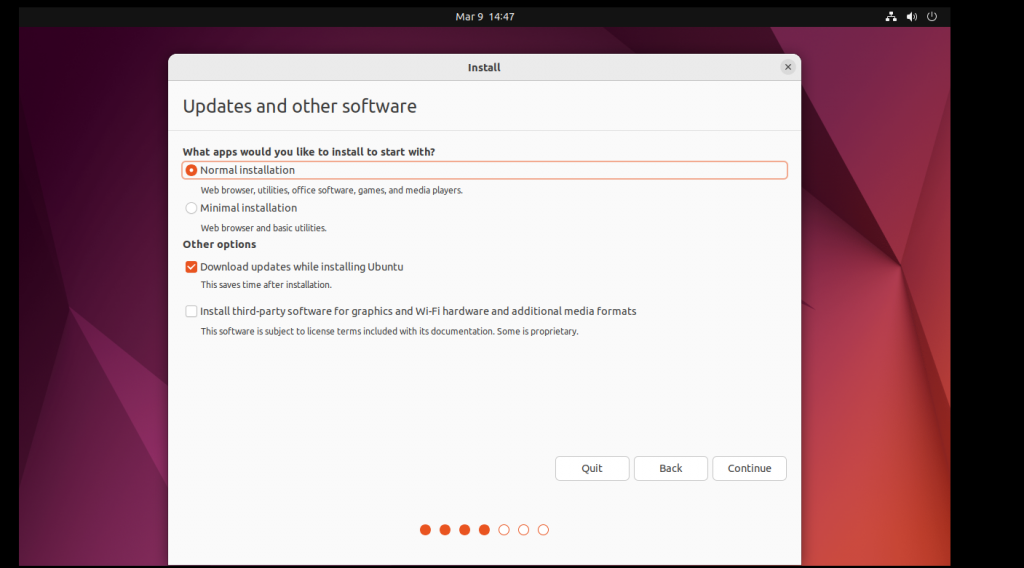
Now click on the default which reads “Erase disk and install Ubuntu”. Do not worry, this is not talking about the disk of your device, but the disk of the virtual machine, which currently has nothing. Click on install now, and next choose your location.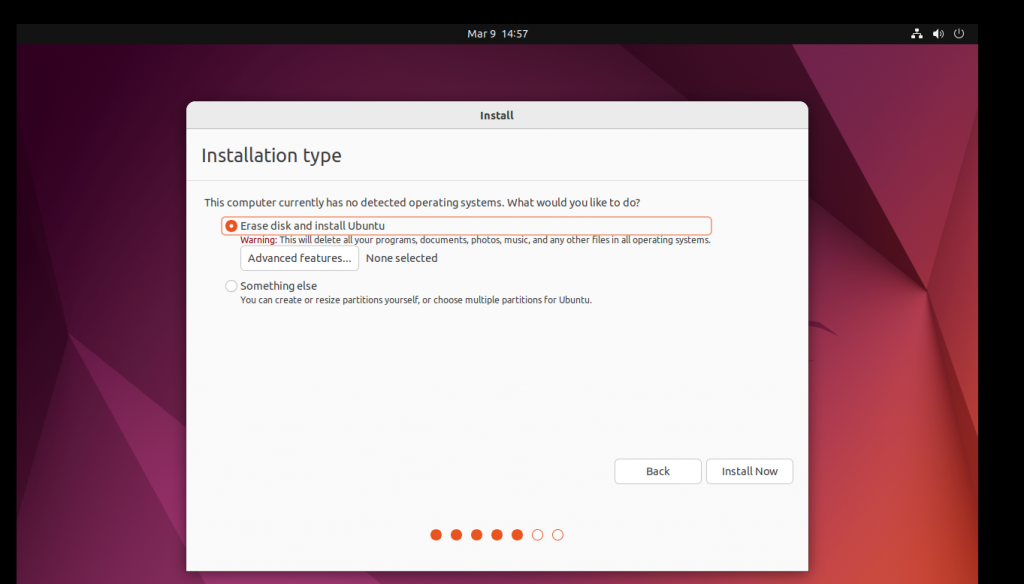
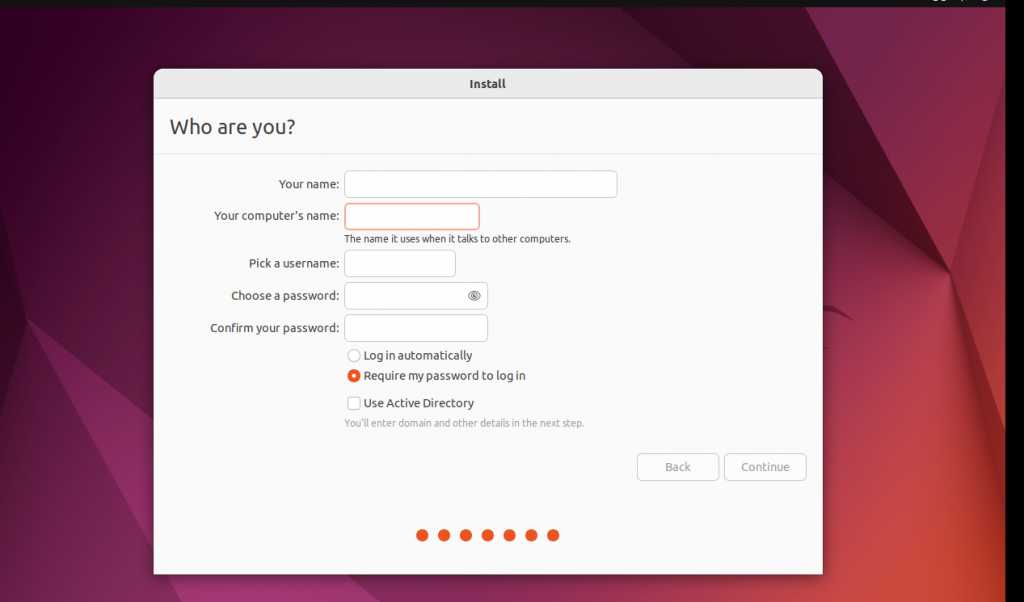
Next enter some details, and make sure you remember the password if you want to access the machine again. Settings here can be made on personal preferences.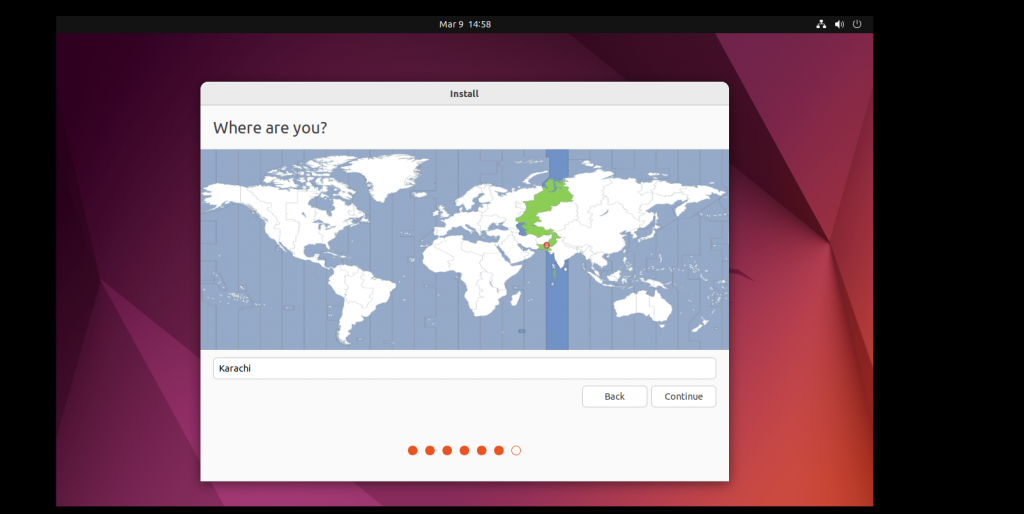
Now the rigorous installation will begin, this shall take some time, please wait.
After a considerable wait, you are finally going to be in.
Happy Linux to you.
You can test your Linux by opening Firefox and searching for something.
We can see it is working. Now that you have installed this you can program and access the workstation according to your needs.
