Here is how you can pair an Xbox controller to play games on Windows
In the world of video gaming, there are two major groups of gamers – the ones who play on self-built, gaming PCs (or professional gaming laptops) and the ones who prefer gaming consoles like Microsoft’s Xbox or Sony’s PlayStation series.
Both types of gamers have their own reasons for playing the way they do. However, even PC gamers can’t disagree about the fact that for most games out of the first-person shooter genre, a keyboard and mouse combo isn’t the best for mastering the game. Some games are just best played with a controller like the one that comes with the PlayStation or the Xbox.
We have already covered a guide on how you can pair up your PlayStation 4 controller with Windows. Here, we will guide you on how you can use your Xbox controller with your Windows PC to play games.
We have separated the guide in two sections – for Xbox 360 controller and for Xbox One controller. Each section has different sub-sections for different Operating Systems, from Windows 7 to 8 and 10.
Connecting an Xbox One Controller
If you own an Xbox One controller, it is pretty easy to connect it with your computer. Here is what you’ll need,
- An Xbox One Controller
- A micro-USB or an Xbox Wireless Adapter (not necessary if your controller has Bluetooth)
Windows 10
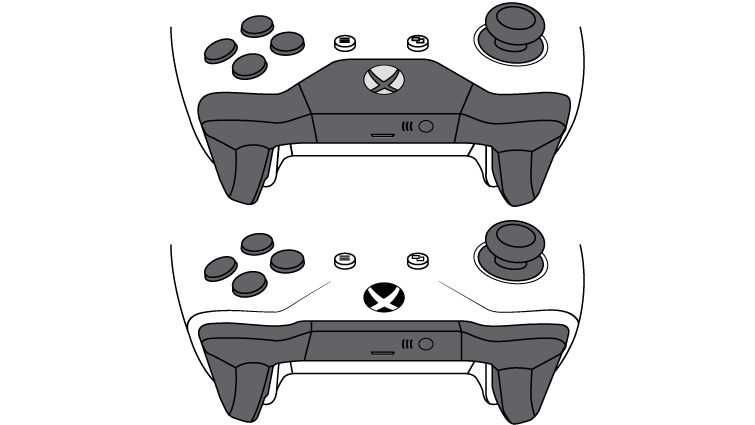
You can connect your controller using Bluetooth if your controller supports it. You can check if your controller is Bluetooth-supported by checking if the plastic around the Xbox button is part of the face of the controller. On controllers without Bluetooth, the plastic around the Xbox button is part of the top, where the bumpers are.
Follow the steps given below to connect your controller via Bluetooth,
- Check if you have the latest Windows Update by going to Settings > Update. You need to have the Windows 10 Anniversary update for this to work.
- Turn on your Xbox controller by pressing the power button (X), then press the controller Connect button for three seconds and release.
- On your PC, open Settings (START + I), then go to Devices and click on Bluetooth & other devices.
- Turn on Bluetooth and wait while your PC scans for devices.
- When you see Xbox Wireless Controller, click on Pair.
Alternatively, you can use a USB to connect to your PC. Simply plug the USB in and your Xbox One controller should start functioning automatically.
You can also pair them using an Xbox Wireless device,
- Open the Settings app by pressing START + I. Then click on Device.
- Click on Add Bluetooth or other device.
- Click on Everything else and then Xbox Wireless Controller.
- Click on Done.
Note: You can connect up to 8 Xbox Wireless Controllers at the same time via USB or Wireless (but only 4 controllers that have Xbox Chat Headsets attached).
Windows 7/ Windows 8
You can connect to Windows 7 or Windows 8 using a micro-USB to USB cable, just like in the case of Windows 10. Windows will automatically download all the required drivers and your controller should function just fine, without you doing anything.
However, if your PC doesn’t automatically download drivers, here is what you can do to manually download the drivers.
- Press START + X and click on Device Manager.
- Search for Microsoft Xbox One Controller and right-click on it. Then click on Update Driver Software.
- Click on Search Automatically for Updated Software.
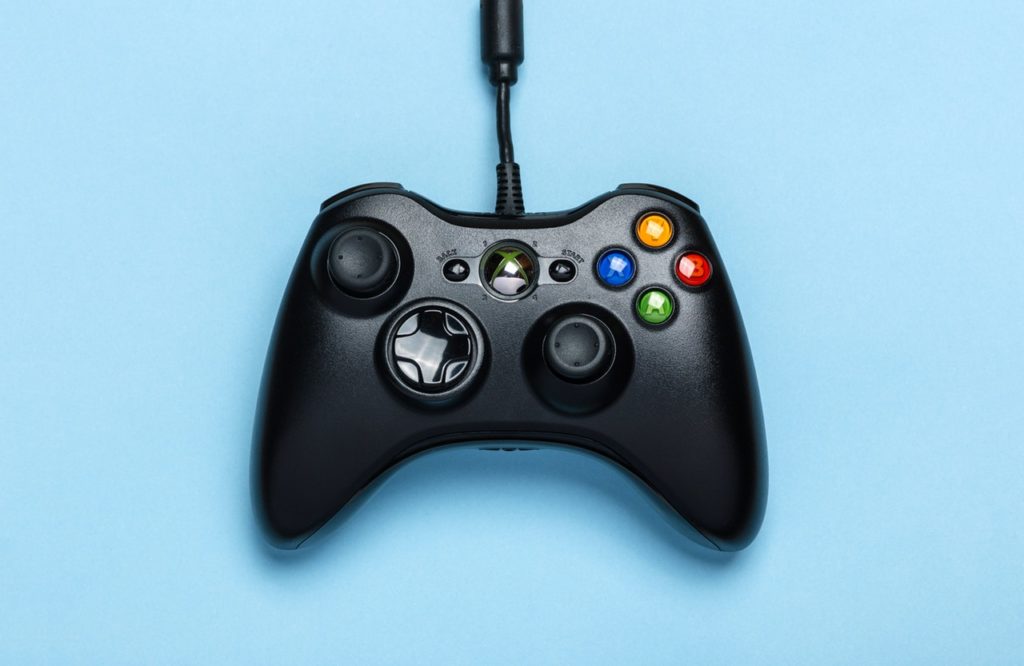
Connecting an Xbox 360 Controller
If you own an Xbox 360 controller, here is how you can do it,
Windows 10
Simply plug the Xbox 360 controller into any USB 2.0 or 3.0 port on the computer. Windows 10 will automatically install drivers for your controller. Once you see the pop-up notification that the drivers have been installed, you can use your controller.
Windows XP / Windows 7 / Windows 8
WIRED CONTROLLER
- Download the Setup for Xbox 360 Wired Controller from Microsoft for your respective operating system.
- Open the setup and let it install.
Once the installation is complete, all you need to do is simply plug in the controller and you are good to go. Windows will automatically configure it for you.
WIRELESS CONTROLLER
- Download the Setup for Xbox 360 Wireless Controller from Microsoft for your respective operating system.
- Open the setup and let it install.
- Once the installation is complete, plug in the Wireless Receiver.

- Now turn on your controller by pressing the power button.
- Then press the Connect button on the Wireless Receiver for a few seconds until it begins to flash green.

- Then press the Connect button on your controller.

Testing the Controller
If you want to test your controller if it works properly, here is how you can do it.
- Press START + R to open the Run dialog box.
- Type joy.cpl, then press ENTER.
- Select Xbox 360 Controller and then click on Properties.
Now you can test your controller by clicking on different buttons, triggers, moving the stick, etc.
