
X Tips is how you can make your PC Power Efficient
Over the past few decades, our laptops have gotten exponentially powerful, with processing power nearly doubling every two years (Moore’s Law). However, the battery technology, which still relies on Lithium, hasn’t grown at the same pace. Thus, our portable machines are immensely powerful yet can barely last a day.
In this guide, we are going to go over some of the tips and tricks that you can use to make your PC much more power efficient.
1. Get a Power Efficiency Report
The first thing you need to do is generate a Power Efficiency report, which can be easily done through a Windows Command Line utility.
- Press the Start button and search for cmd to open the Windows Command Prompt.
- Type the following command and press Enter,
powercfg -energy
- Now you will have to wait for a couple of minutes as the system will perform some tests and analyze the data in order to generate a complete power efficiency report for you.
- Once it’s completed. You will see a path to the power efficiency report. Navigate to the path to open the report.
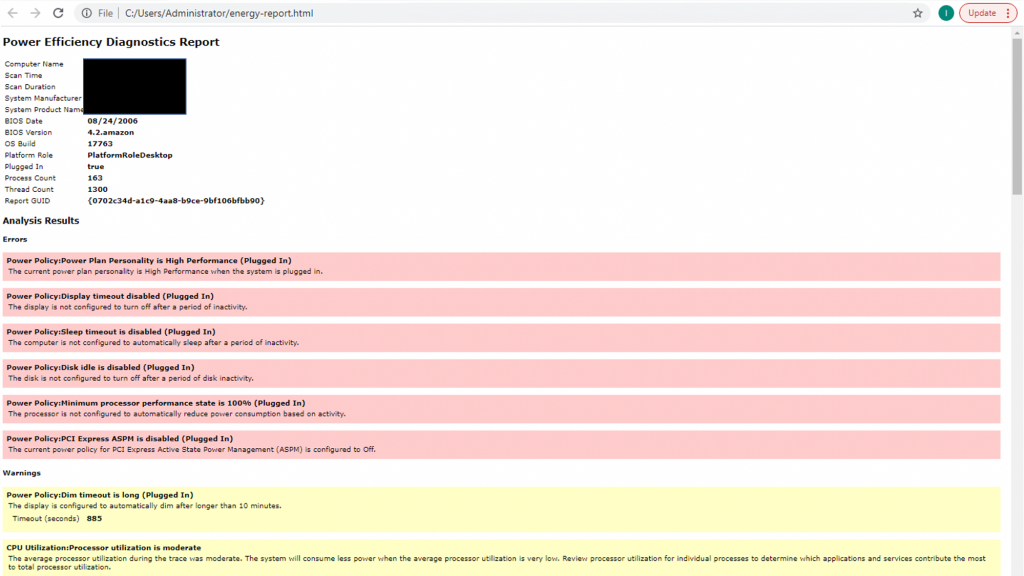
We have attached a snapshot of a sample report above. As you can see, the report can help point out a number of issues highlighted as Errors that are having a significant impact on your PC’s power efficiency. For example, Disk Idle is disabled as well as Sleep timeout, both of which can be configured through the Power settings, which we will demonstrate below.
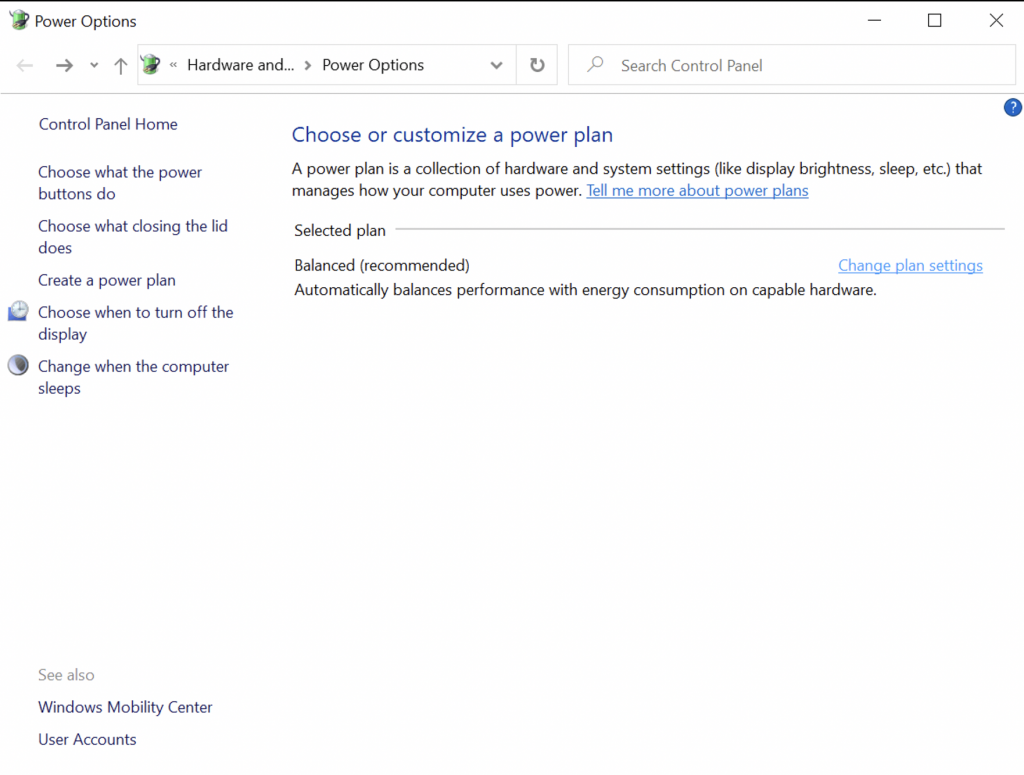
2. Configuring the Power Settings
Once you have an idea of what is causing the power drain, you can move on to configuring the power settings and tweaking the options to get the best balance between power and battery. Here’s how you can do it,
- In the right-bottom of your screen, right-click on the Power icon and click on
Power Management. - Click on Change plan settings for your current selected plan.
- Click on Change Advanced Power Settings.
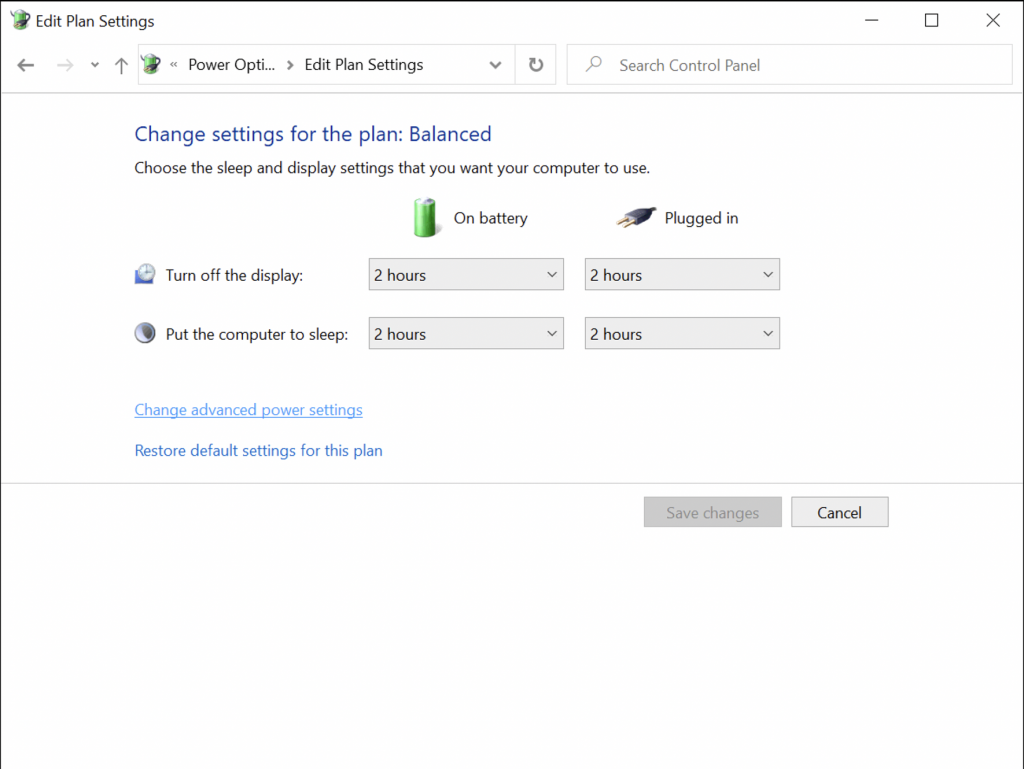
- From here, you can adjust different sleep timers like Turn off hard disk after X seconds and Sleep after X seconds,
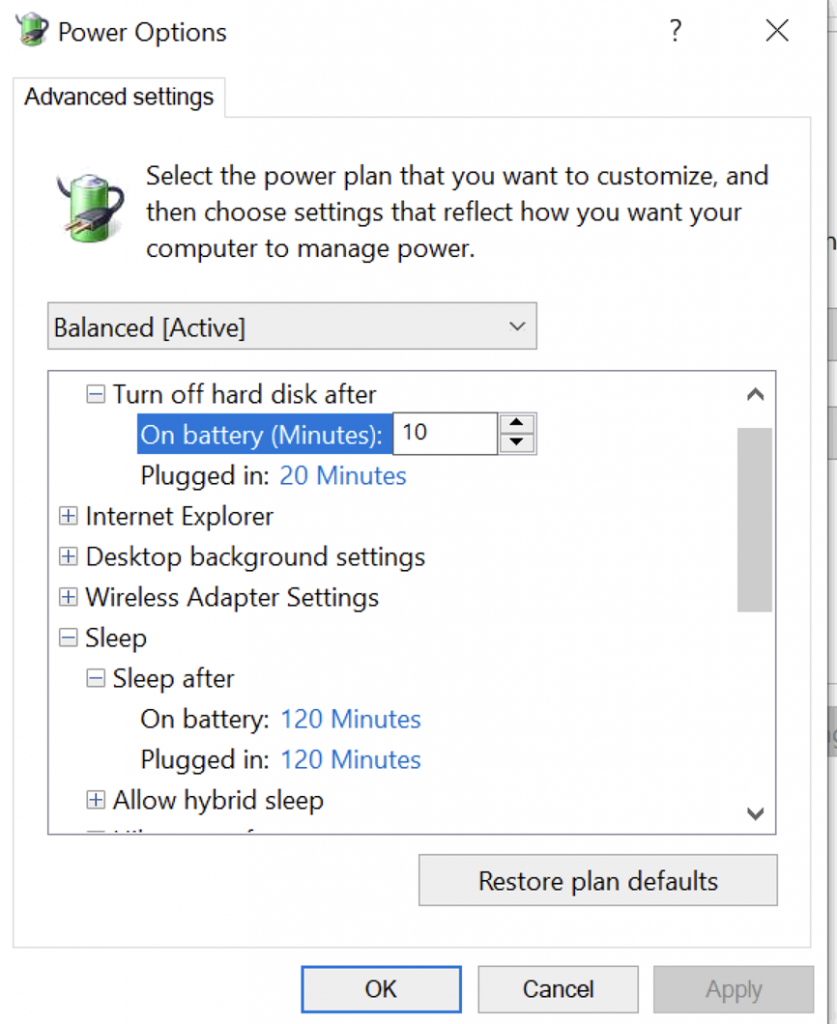
You can increase these timers accordingly to your needs.
3. Adjust Power Mode
Microsoft recently introduced a new Power Slider, which allows you to quickly adjust the Power mode by using a Slider from the Quick Settings window. This Power slider can be used to adjust your performance mode from Battery saver to High Performance.
Here’s how you can do it,
- Right click on the notification icon at the bottom-right to open the side bar.
- Click on the icon titled Battery saver to toggle between different Power modes.

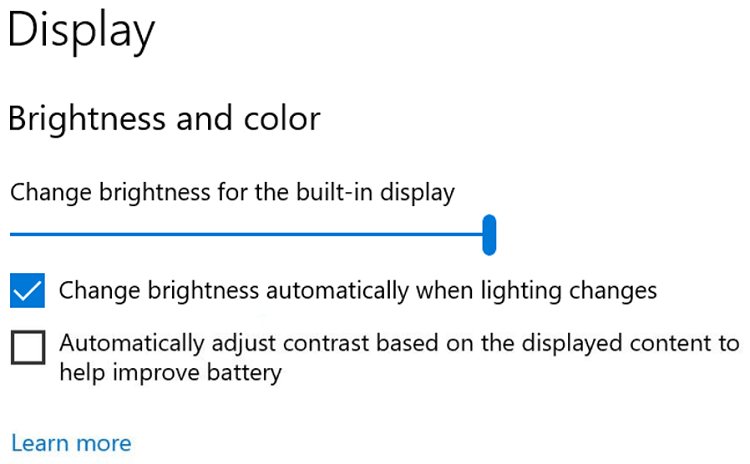
4. Turn on Adaptive Brightness
Your screen is one of the biggest consumer of your battery. One simple thing you can do to improve your battery is to turn on Adaptive brightness, which will allow your PC to automatically adjust your screen’s brightness depending on the light around it.
Here’s how you can do it if your PC supports it,
- Open Settings and go to Display.
- Check the icon for Change brightness automatically when lighting changes.
5. Choose a Different Browser (Not Chrome)
Chrome has been known as one of the biggest power hog, consuming lots of RAM as well as processing power, which in turn, consumes more power and having a big effect on your battery. Here are some of the alternatives to Chrome you can choose,
6. Check Battery Usage by App
Windows now also allows you to check power usage by app. You can access this list through the Settings apps’ Battery usage section, which displays a percentage-wise battery usage for each Windows app.
7. Turn off Keyboard Backlight
You can also turn off Keyboard Backlight, especially in day time when you don’t really need it. This option varies depending on your laptop. Most Windows laptops will have a keyboard shortcut allowing you to switch on/off your Keyboard Backlight, which might look something like this.