
Here are 4 ways you can take a Screenshot in Windows
Our mobile devices like smartphones and tablets are almost as powerful as our PCs, or in some cases, even more powerful! However, one important aspect of owning a PC, especially a Windows one, is that Windows is full of options to customize it exactly according to your needs. Moreover, there are millions of different softwares and tools to alter aspects of the operating system you don’t like and even introduce new functionality. If you are looking for a device to work as well as home, a Windows PC is probably the best option, given the wide variety of tasks it can perform.
In today’s world, where we are constantly making and sharing data, the ability to take a Screenshot is ever-present in all our devices. A screenshot captures the information displayed on the screen or a portion of the screen exactly as it is. While most mobile devices rely on a combination of hardware keys, like the Home Button and the Power Button, for taking a screenshot, PCs have a dedicated key to take screenshots as well as a software alternative.
Windows offers a number of ways you can capture the information displayed on the screen. In this guide, we have compiled all the 4 ways you can take a screenshot,
1. Copy the Whole Screen
If you want to capture the whole screen, as displayed on your computer’s display, follow the steps given below,
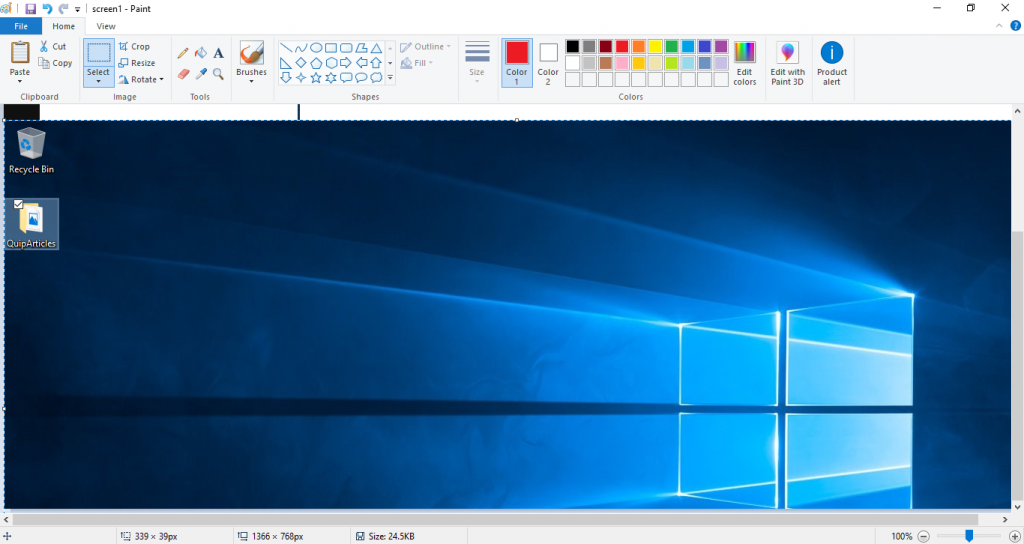
- Press the Print Screen button on your keyboard. It will capture the whole screen and copy it as it is in your computer’s memory. However, you will need to paste it somewhere in order to save it. You can either paste it directly in the program where you want to use it in, for e.g. in Microsoft Word. If you need to store it as an image, you can use Microsoft Paint, as shown in the next step.
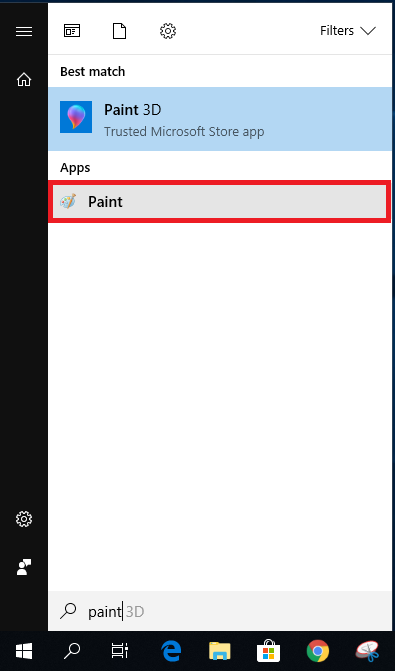
- Press START + S to open Windows Search and type ‘Paint’ and click on it to open it.
- Press CTRL + V to paste the screenshot over there.
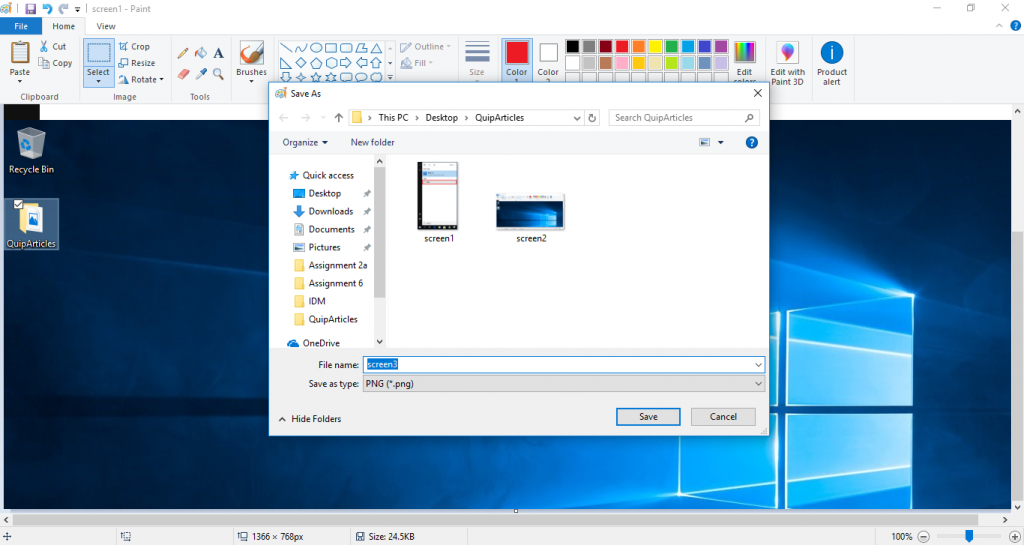
- Press CTRL + S to save the file – it will save the file in .PNG format.
- That’s it.
2. Capture the Currently Active Screen
If you have opened a program like Chrome and just want to capture Chrome’s screen, follow the steps given below,
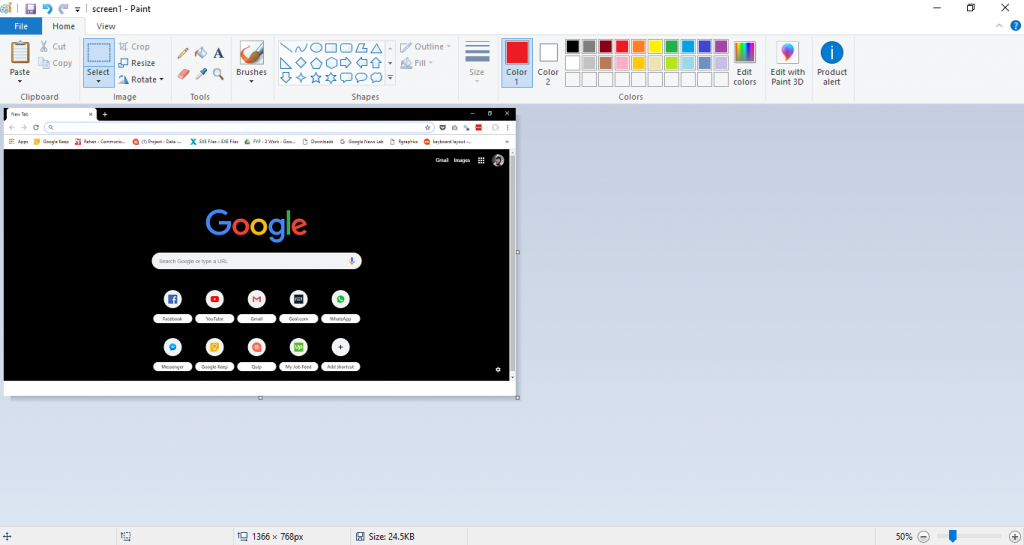
- Press ALT+Print Screen button on your keyboard. It will capture the whole screen and copy it as it is in your computer’s memory. However, you will need to paste it somewhere in order to save it. You can either paste it directly in the program where you want to use it in, for e.g. in Microsoft Word. If you need to store it as an image, you can use Microsoft Paint, as shown in the next step.
- Press START + S and type ‘Paint’ and click on it to open it.
- Press CTRL + V to paste the screenshot over there.
- Press CTRL + S to save the file – it will save the file in .PNG format.
- That’s it.
3. Capture and Save the Screen
If you want to save the currently displayed screen directly, you can use another key combination to achieve that,
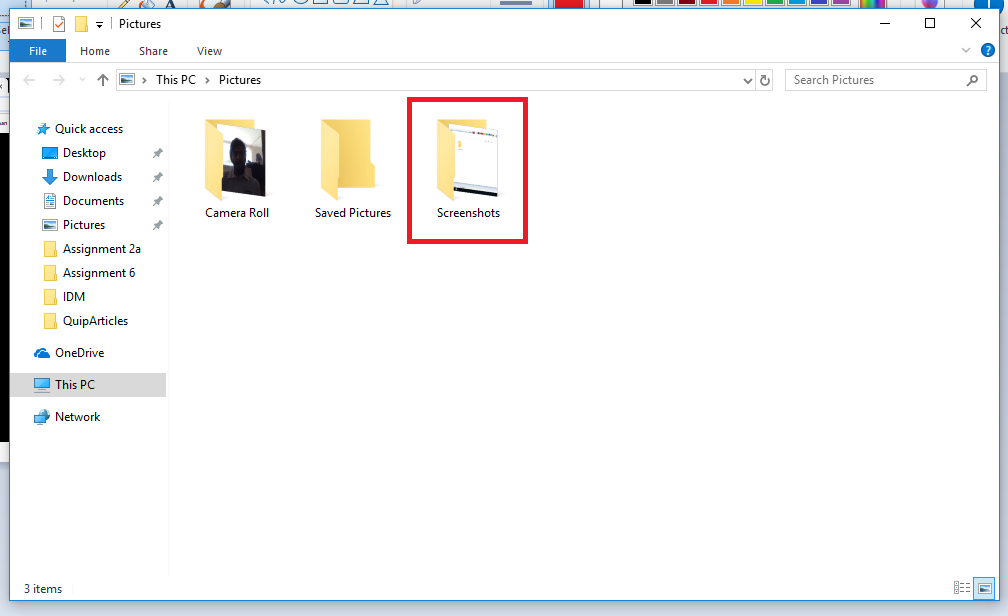
- Press the START+Print Screen button on your keyboard. It will capture the whole screen and save it in the Screenshots folder in your Pictures library.
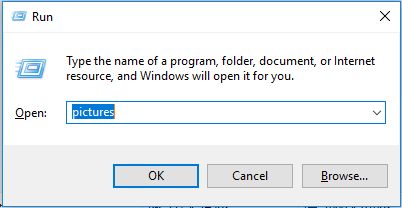
- To find the picture, you will need to go to your user profile’s pictures library. As a shortcut, you can open the Run dialog box by pressing START + R and then typing Pictures, as shown in the screenshot below,
4. Capture a Portion of the Screen
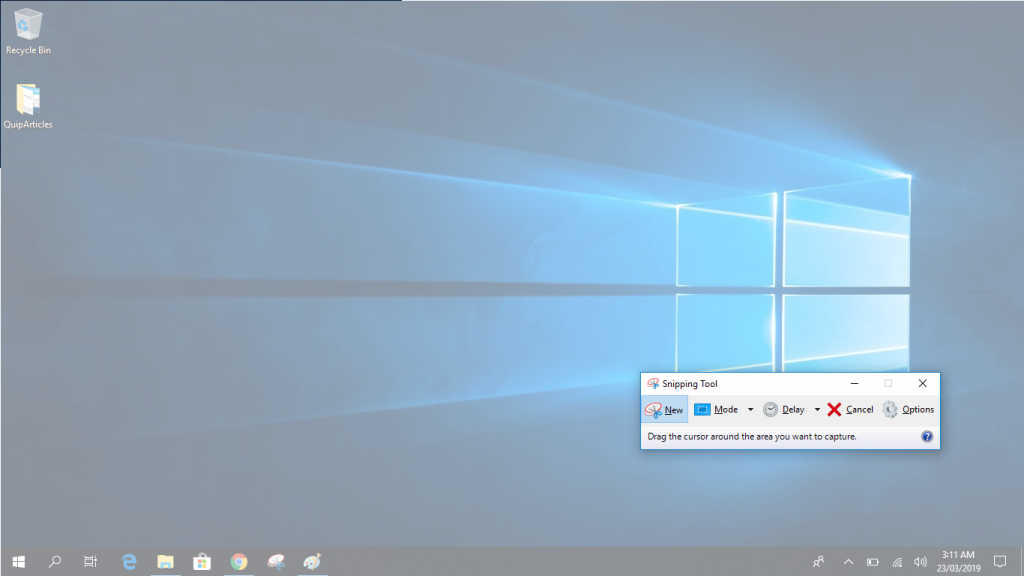
If you want to capture just a portion of the screen and don’t want to waste time taking the whole screenshot and cropping it later, you can use the built-in Snipping Tool. It is a nifty little feature inside Windows that allows you to capture a part of the screen and even make slight modifications to it. Moreover, this allows you to set a timer delay for the capture. Here’s how you can use it,
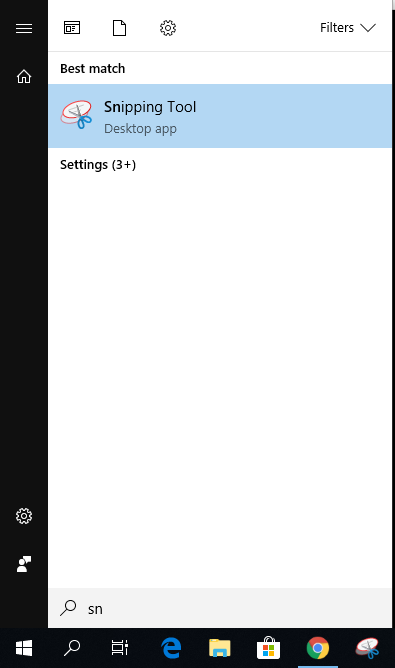
- Press START + S to open Windows Search and type Snipping Tool and click on the first search result to open it.
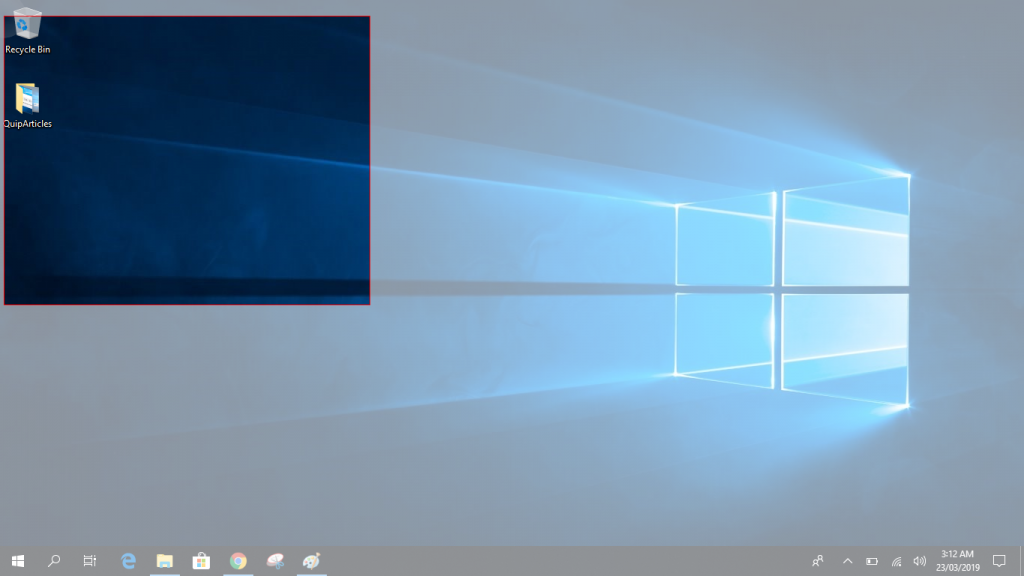
- This will open the Snipping Tool. You can click on New and it will immediately grey-out the screen and then you can draw a rectangle anywhere to capture the area.
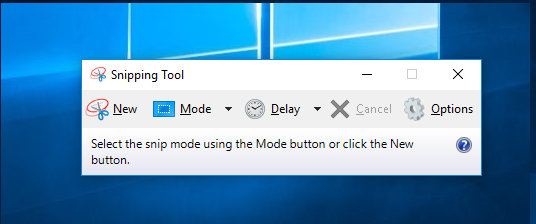
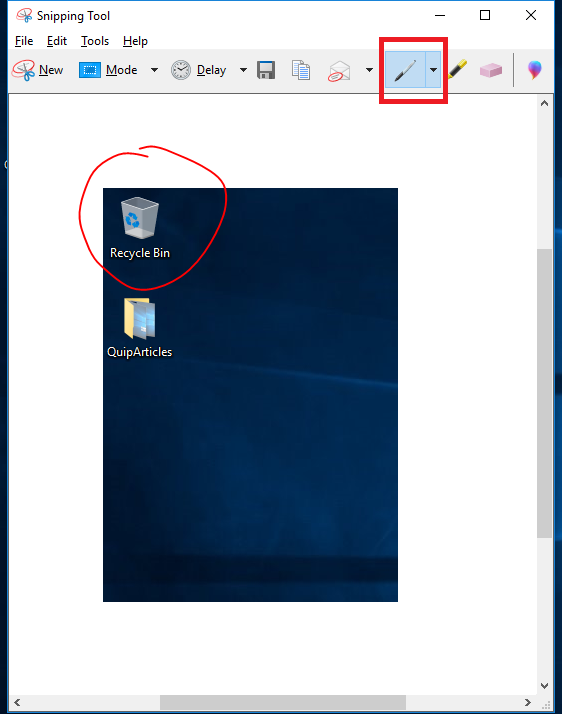
You can also play around with some other options inside Snipping Tool,
- Mode – Choose the shape in which you want to capture the portion of the screen
- Delay – Selecting the delay after which you want the Snipping Tool to capture a screenshot
Once you have taken a screenshot, you can use Snipping Tool to draw on it using the Pen Tool or highlight certain parts using the Highlighter tool. There is also the Rubber to erase any changes you made. Once you are satisfied with it, you can press CTRL + C to copy it and then paste it anywhere. Alternatively, you can press CTRL + S to save the screenshot as a PNG on your computer.
There are tons of other tools that provide you with functionality to take, edit, and even share screenshots, way better than the built-in tools provided by Windows. Some of these even allow you to take a screenshot and instantly upload it, providing you with a link to share with anyone you like.
