
This article covers a comprehensive tutorial on how to use Virtual Machines created on Microsoft Azure. It is a step-by-step guide facilitating a hands-on approach to cloud computing.
Prerequisites
Before starting to use a virtual machine, users need to make sure they have created a machine on their Azure account. Our previous article covers the process of creating a virtual machine on Azure in strong detail: Create a Virtual Machine on Microsoft Azure – EXE Files
After setting up and deploying their Virtual Machine, users gain the flexibility to harness powerful computing capabilities from their personal computers or laptops. The fundamental essence of a Virtual Machine lies in its ability to deliver high-end computation remotely, liberating users from hardware constraints and empowering them with limitless possibilities.
How to access you Virtual Machine
Firstly, open you Azure account’s home page: Home – Microsoft Azure
You can now directly click on the “Virtual Machine” option in the create resource navigation bar.

But if you are unable to find it simply use the search bar and search Virtual Machine and click enter:

When you enter your VM section of Azure, you will see a list of your created and deployed VMs:

Click on the Virtual Machine you want to use, and it will redirect to the following page:
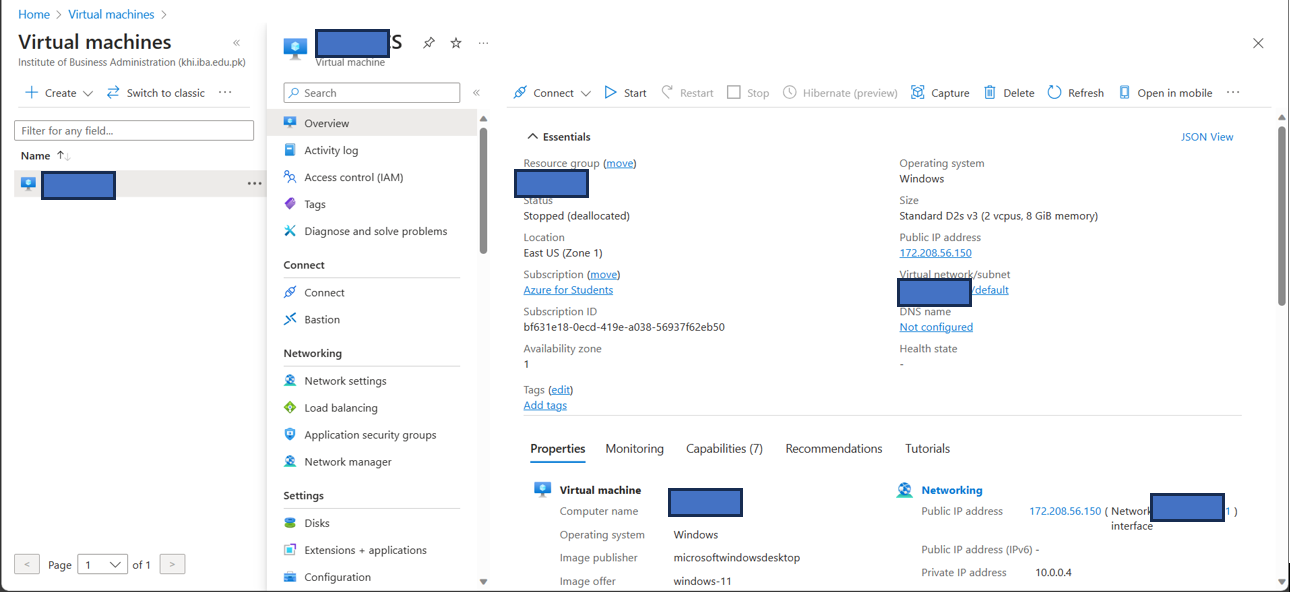
From here on the bar above Essentials, click the play button “Start”. This initiates the start-up process for your Virtual Machine. Please be patient as it may take some time to become fully operational for the first time. To check whether your machine is up and running, from the sidebar scroll down the extreme bottom, and under the “Help” section click on “Boot Diagnostics”.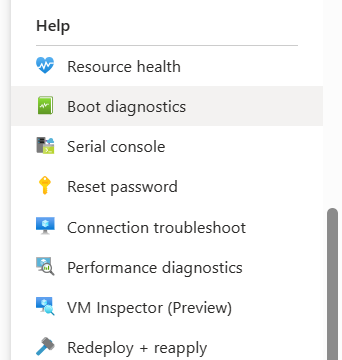
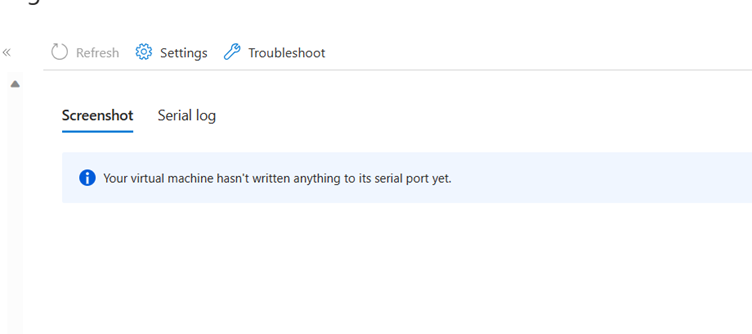
When you click on Boot diagnostics, it will display you the current status of your machine.
For the time when it is in the process of starting you will see this on the status page:
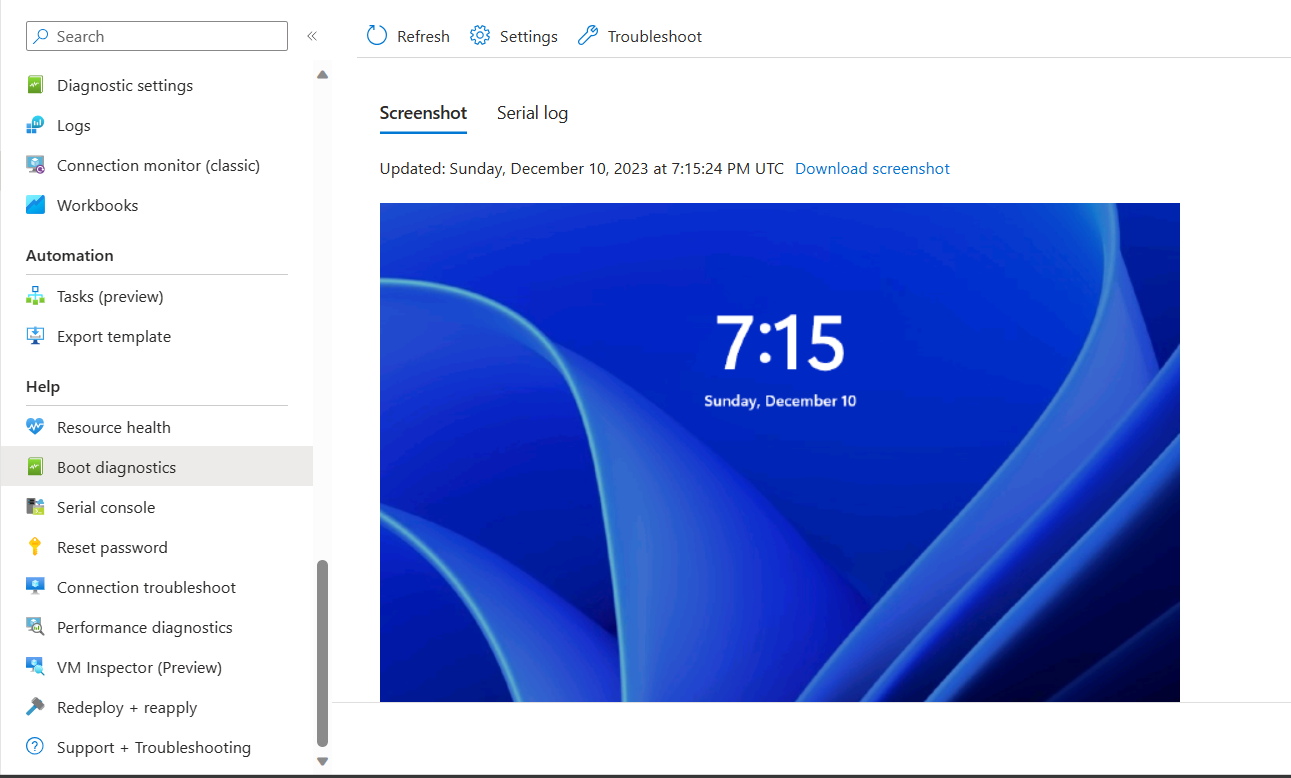
But as soon as the machine boots up and starts working you will see a screenshot of the lock screen of your machine. This will mean that your machine is up and ready to use.
Now navigate back to the “Overview page” and copy the IP address under the “Public IP address” heading:
Once copied, click on your Windows search bar and type in “RM”:

This will open up “Remote Desktop Connection” on your personal device. Remote Desktop Connection (RDC), also known as Remote Desktop, is a feature in the Windows operating system that allows you to connect to and control another computer over a network or the internet. It enables you to access the desktop interface and applications of a remote Windows-based computer as if you were sitting directly in front of it.
The RDC will open the following window:
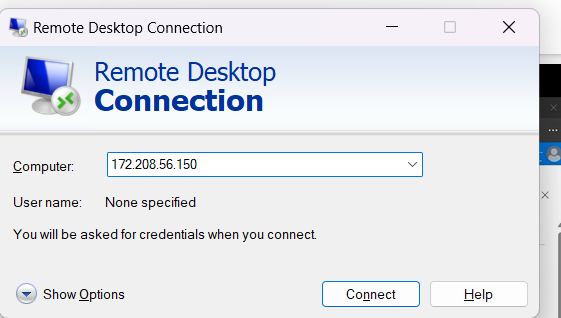
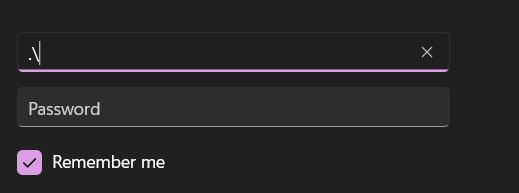
Enter the “Public IP” address that you copied and click on connect. This will now prompt you for a username and password. By default, it will be logged in your Microsoft account on your personal device. On the username enter “.\” and then input the admin username and password that you set while configuring the virtual machine before deployment. Under the “Basics” section.
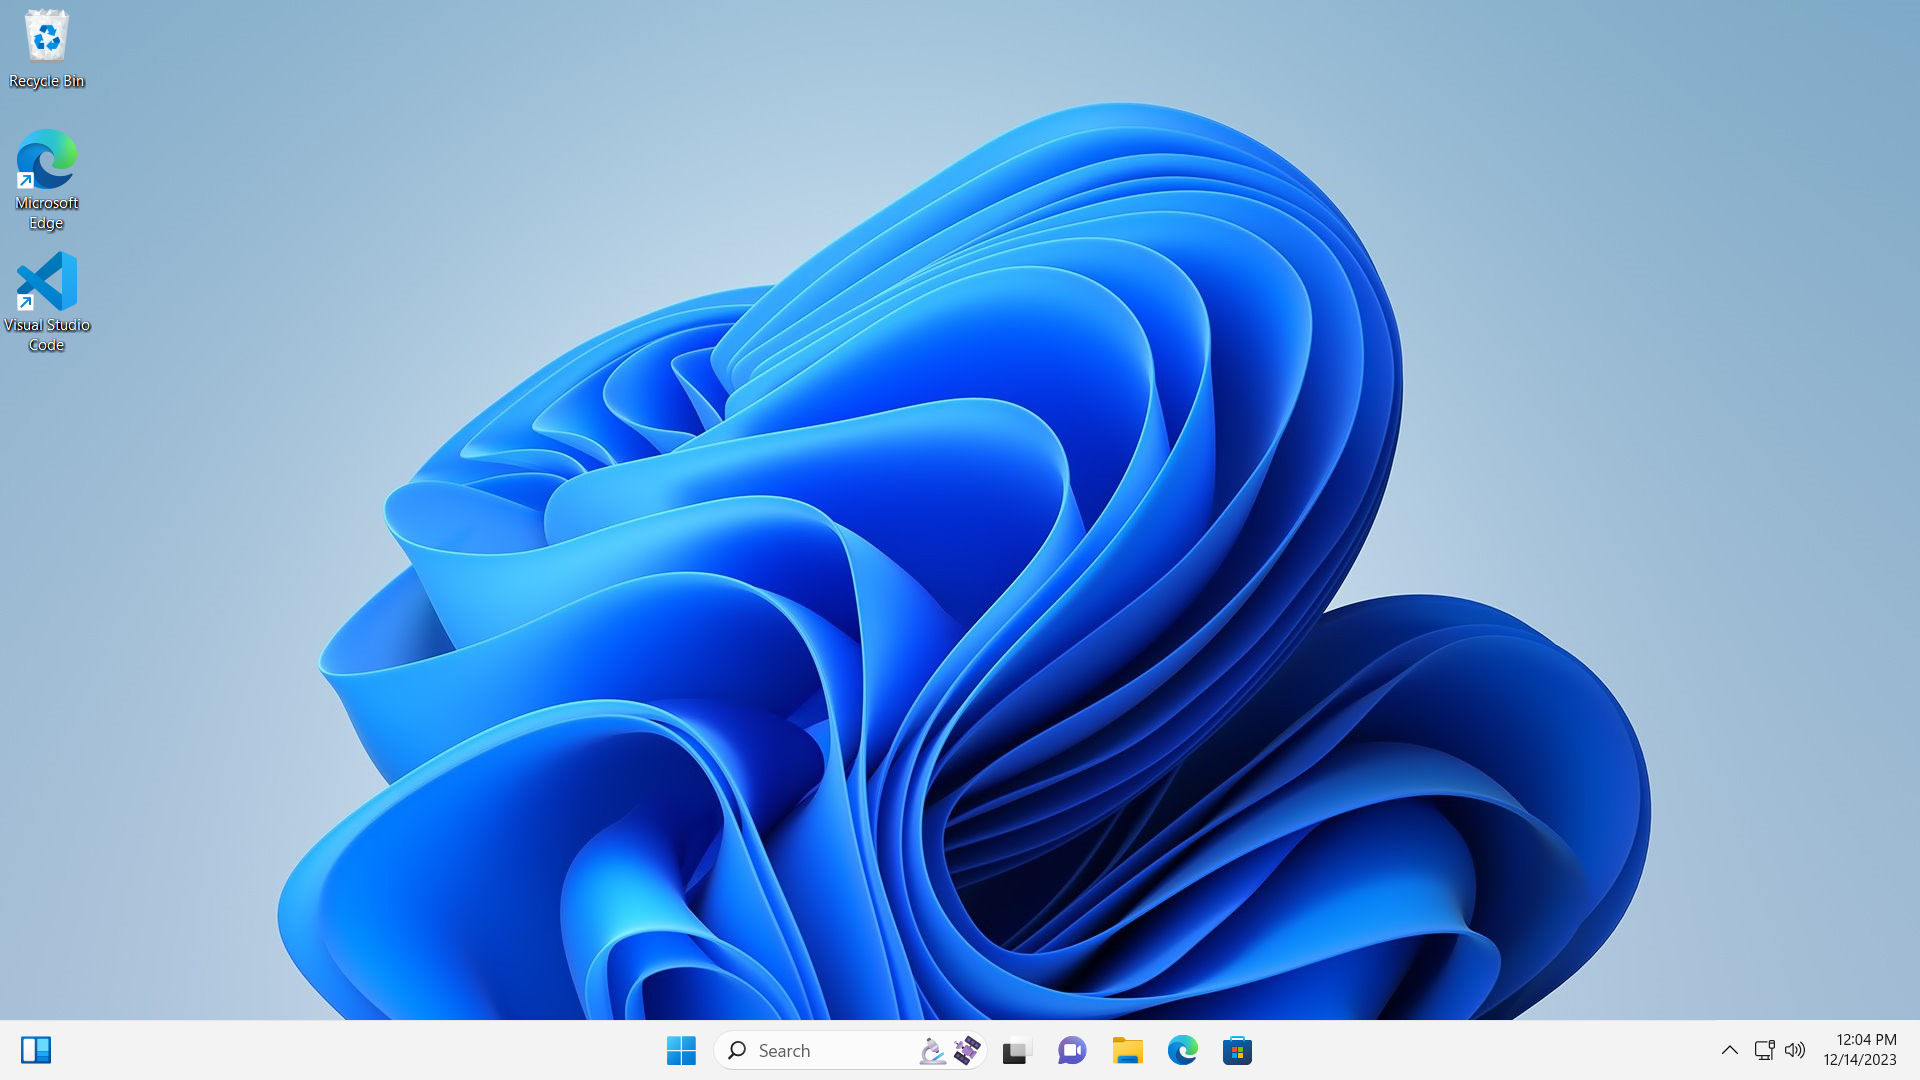
Once authorization is completed you will enter the virtual environment of your machine. Make sure your machine is started before you try connecting otherwise it will give you an error.
Users will be prompted with a certification query, click on connect anyway since for testing purposes we have only added basic configurations.
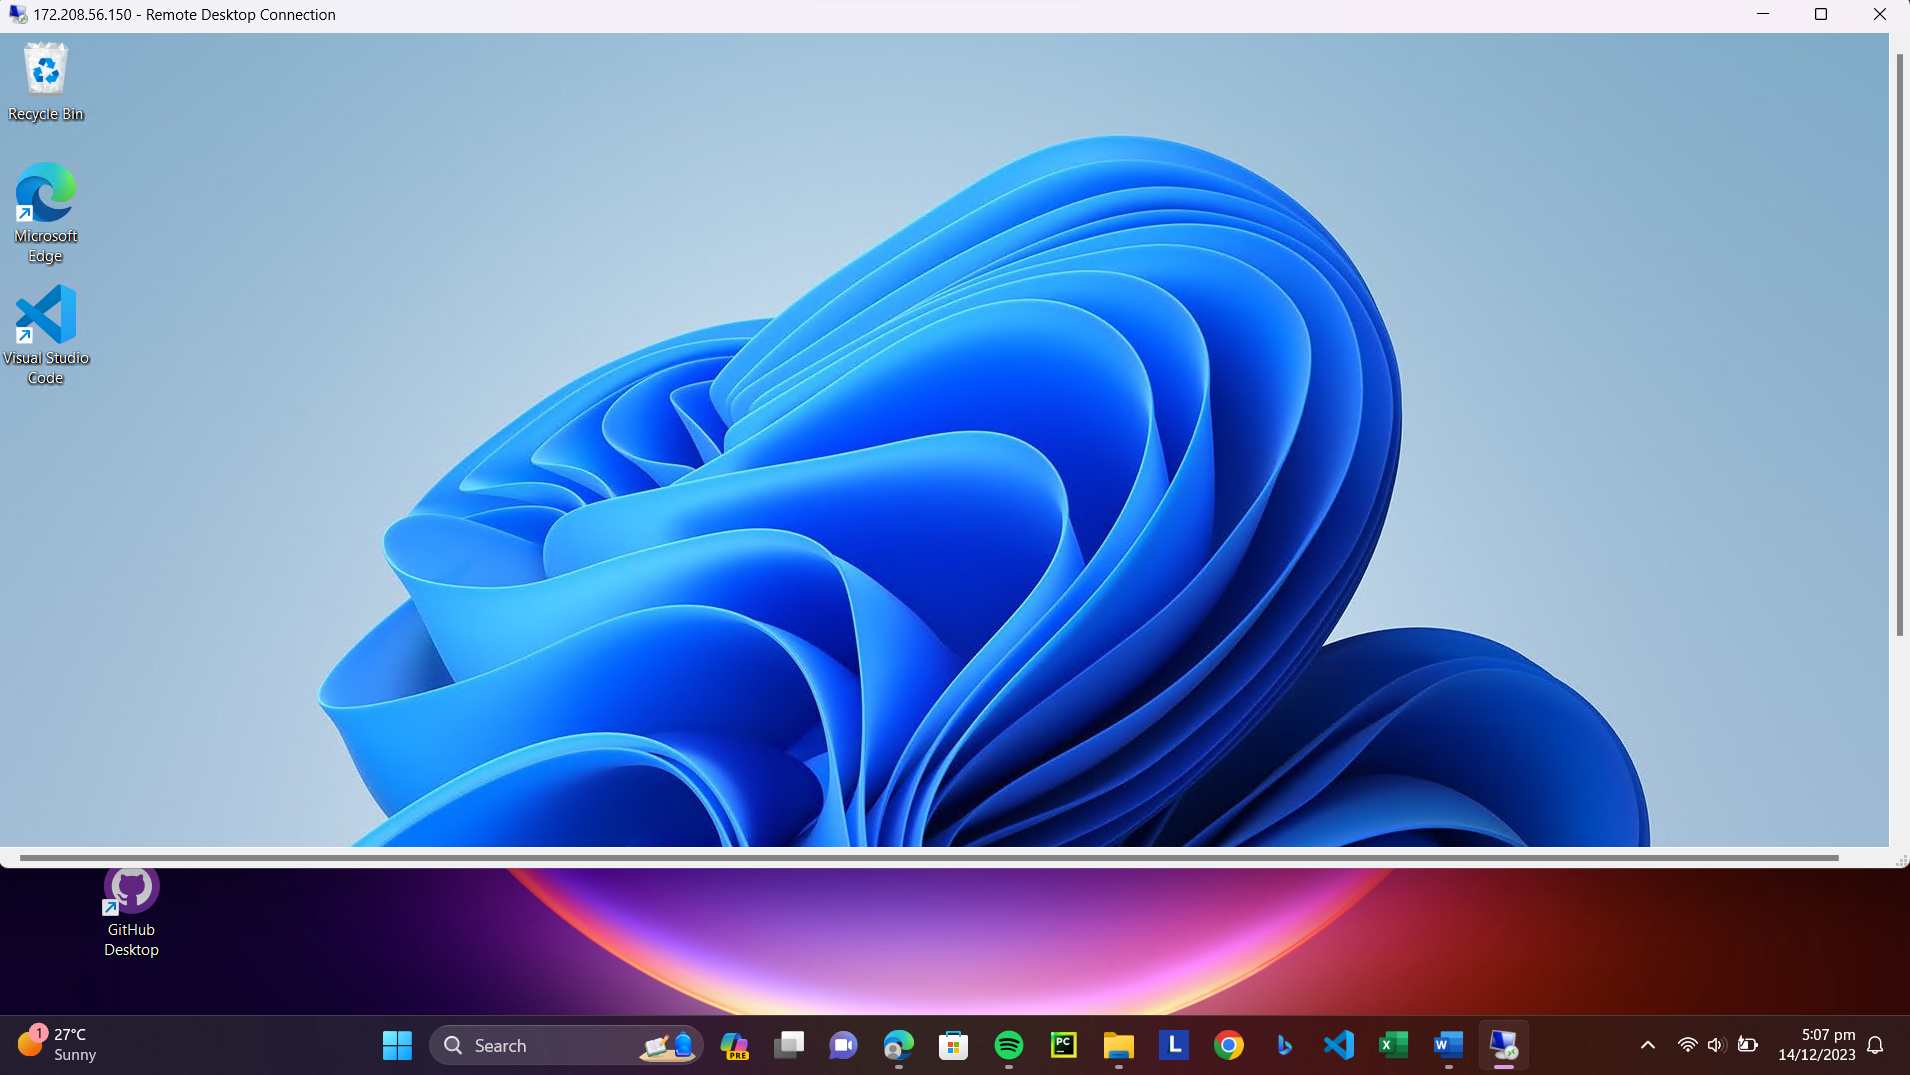
Users will now see their machine operating:
We can now perform all actions on this machine that we can otherwise on our personal device. You can always switch back to your personal device:
The ease of navigating from your virtual machine to your personal device is another reason of the increased popularity of VM’s on Microsoft Azure.
Lastly, users must note that every single minute the device is powered on, you will be charged. Hence, users are advised to use the device efficiently. Traditionally shutting down the VM is heavily discouraged. Since it keeps running your device in the virtual environment and is only shutdown on your RDC. This means users are constantly being charged. To avoid this mistake, go back to Azure’s portal and from the VM section, stop your machine.

You will now be directly disconnected from both your RDC and virtual machine. Making this a much better way to shut down your device as now all your resources are idle, meaning users would not be charged unnecessarily.
