Microsoft Azure is a cloud computing platform developed by Microsoft and has become a global phenomenon. Microsoft identified the growing need for businesses to transfer to the cloud and were quick to react. Azure provides cloud services, including computing power, storage, databases, machine learning, networking, and more. It allows businesses to build, deploy, and manage applications and services through Microsoft’s global network of data centers.
Azure provides a range of services, but the ability to build and deploy Virtual Machines on the cloud has played an immense part in its success. This article aims to equip the readers to create such a virtual machine on Azure and then deploy it in the cloud.
Prerequisite
First step is to have a subscription for Microsoft Azure. This is a paid service hence users will be expected to have a subscription for Azure. Now once you login to your Azure, you will be welcomed to a straightforward home page: Home – Microsoft Azure

Creating a Virtual Machine
You can now directly click on the “Virtual Machine” option in the create resource navigation bar. But if you are unable to find it simply use the search bar and search Virtual Machine and click enter:

Now under the Virtual Machine (VM) resource you will see several options that you can explore. But in order to build a VM we will click on the create button on the left corner:

For this tutorial we will be making a basic “Azure Virtual Machine” with no preset configurations. This will allow you to understand the configurations in much more details. The top option below:

This will now redirect you to the configurations page of Azure’s VM.

Firstly, you will need to choose your preferred subscription. If you only have one, it will be shown on default else you can use the dropdown to select. Next you will be expected to create a “Resource Group” if you have not created one yet. A resource group in Microsoft Azure functions as a logical container for resources that have been set up inside an Azure region. It simplifies things by allocating and overseeing resources according to standards such as longevity, utilization, or other factors. Resource groups are crucial for managing and organizing relevant resources for Virtual Machines (VMs) in Azure.
How to create a resource group:
- Click on “Create new” option below the resource group text box.
- Type in the name of your resource group

- Click on OK and your resource group will be created.

Once your resource group is made, you will have to give your Virtual Machine a name. Next choosing a Region, this is on users’ preference. From our experience, US is the best region in terms of quality of service. But again, this can vary user to user. For this tutorial we will be staying on the “Availability zone” option which is selected by default. Next Zones can be chosen via the default option shown. These are the available one’s in your region. For beginners we suggest keeping them on default, will not halt your machine’s performance in any way. Again, skip Secuity type and move on to image. Image is the operating system that will be working on your VM. There is a vast list of operating systems that users can choose from, and to explore them click on “See all images.” 
From the marketplace users can now choose an operating system of their preference. We will be choosing Windows 11 for our tutorial.
Moving on to “Size”, this option displays why VM’s have been gaining popularity. Users can click on “See all sizes” and get access to a sea of diverse options that they can choose from according to their preference. 
Users can filter their search according to vCPUS, RAM and numerous such features. Different sizes will be accompanied by different costs. And this makes it a financially critical decision to make. The final pick may vary according to users’ preference.

Next users will be expected to create an Administrators account. Make sure you remember this username and password since it will be used by the administrator to access the VM.
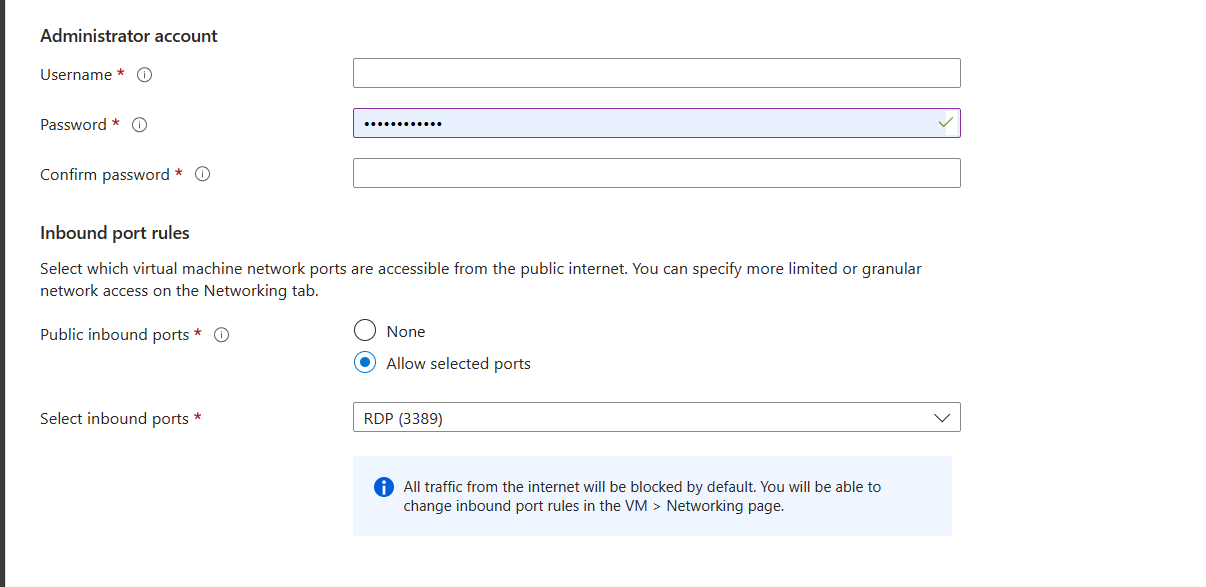
Secondly, the inbound port rules. This is a critical section with respect to the security concerns that revolve around VMs. For the inital deployment only activate the RDP (3389) port and unselect the others.

Now scroll down and click on “Next: Disks”. This will redirect you to the new page and will mark the completion of your “Basics” section of the configuration.
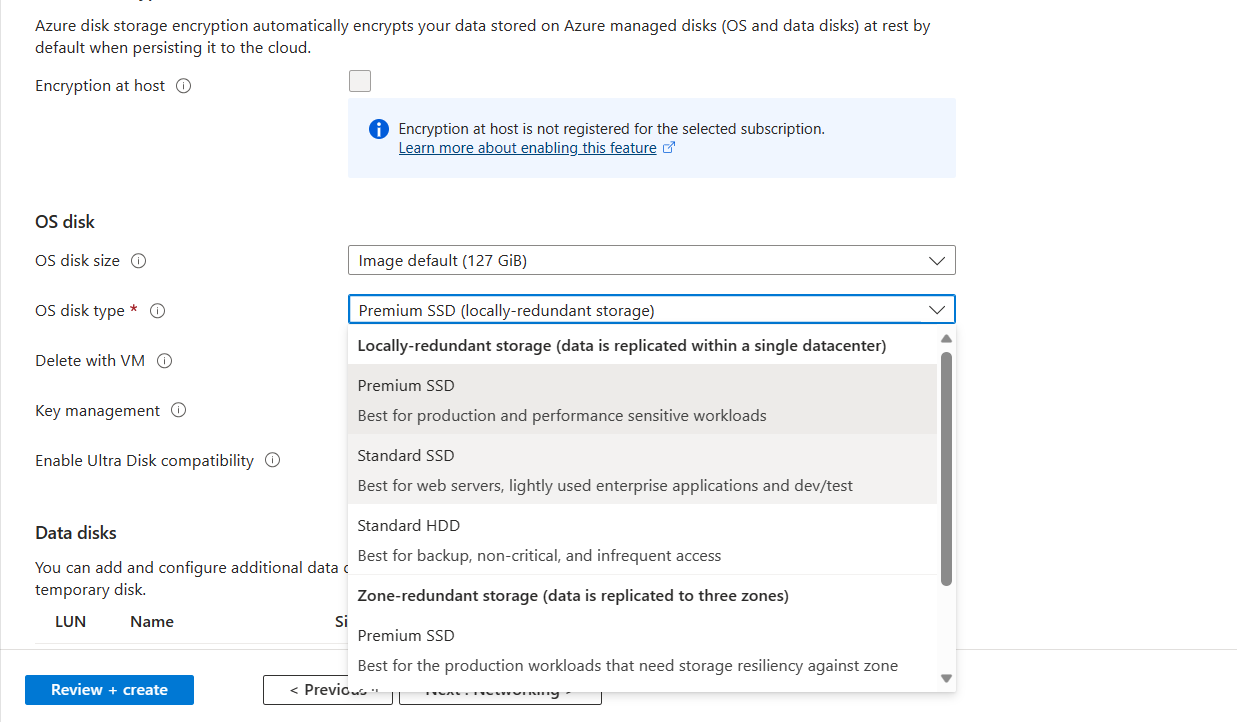
Here change your disk type from Premium SSD to Standard SSD which works best for beginners. For a basic VM, skip through the rest of “Disk” and let the default values stay. Now click on “Next: Networking”.
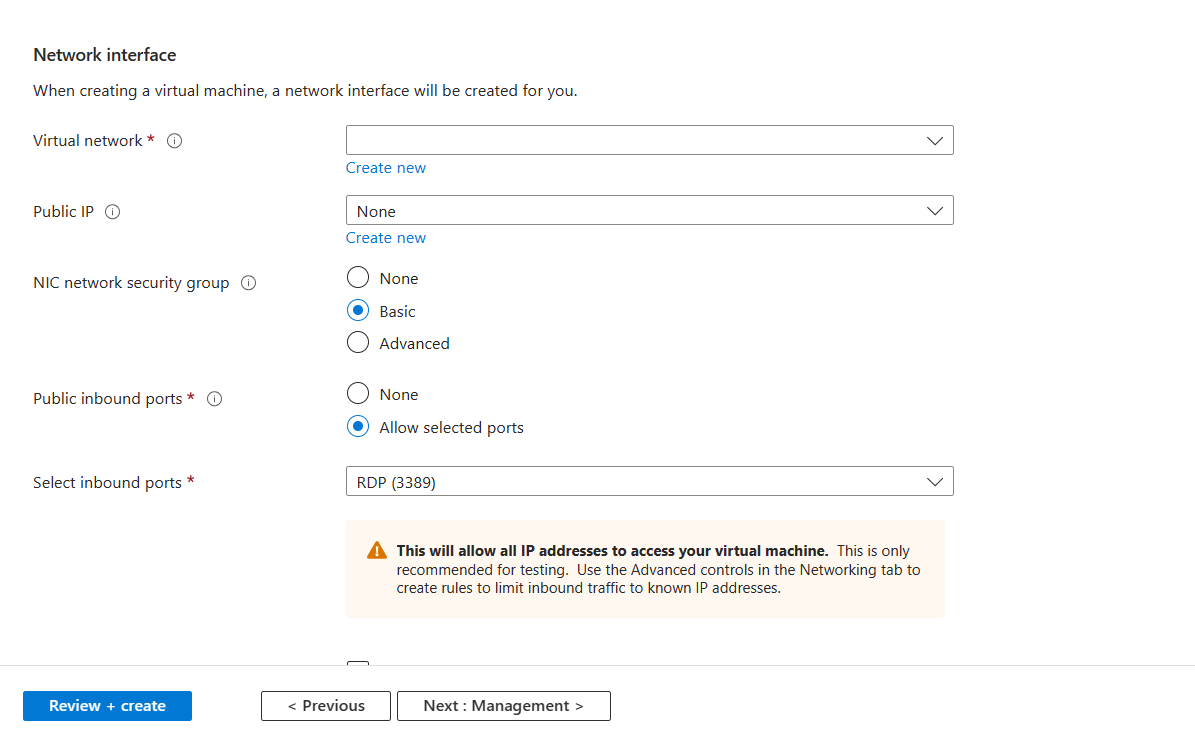
Users will be expected to create a name for their virtual network, similar to resource group create one. Next make sure the remaining options are set on default and click on “Next: Management.”

Skip these remaining sections and let the values remain on default. Managements, Monitoring, Advanced and tags, and now finally click on “Review+Create”. The last step of the process.

If all entered configuration is correct, users VM will be validated, and user will see an overview of their package and how much it will cost them.
This subscription per hour is on top of the sizes cost that users have already paid ($70.08 per month under Basic section).
Once you click on create, your deployment will be in progress. 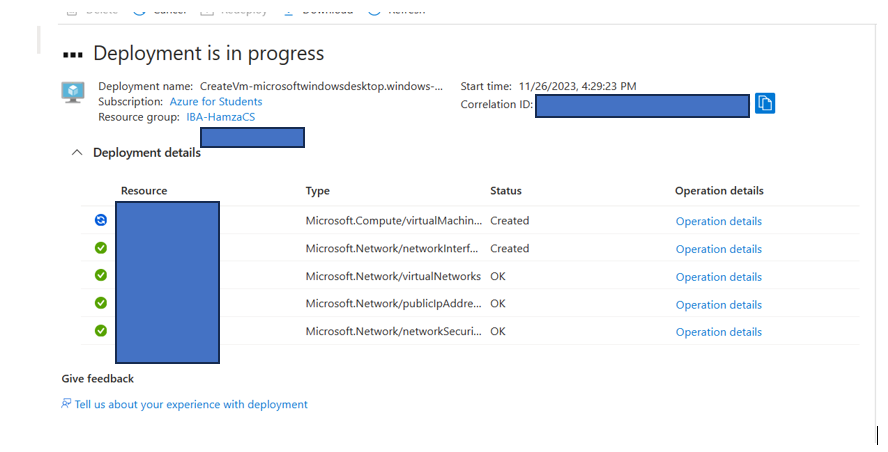
Once deployed, you can view your VM under the virtual machine section.

We have successfully created and deployed a VM on Azure. Next, we will cover how to use this deployed VM on your personal laptop.
