
Here is how you can change DNS settings in Windows
Internet is one of the greatest inventions of humankind, and has been made possible only through the intersection of multiple technologies and networks, combining to make one big network. There are numerous protocols in place that allow communication over the internet and the DNS (Domain Name System) is one of the main systems, allowing for the functioning of the internet.
What is DNS?
Domain Name System, more commonly known as DNS, is a phonebook for the internet. It stores the domain names and the relevant IP addresses for all the computers on the internet. The IP (Internet Protocol) address is a numerical label assigned to each device and is the method through which devices on the internet communicate with each other.
However, learning IP addresses for each device is not practical, as they appear as random digits to the human mind. As a result, we have domain names, like google.com or facebook.com. It is the job of the DNS to find out the relevant IP addresses for these servers when we try to access these domain names through our web browsers.
The Domain Name System delegates the responsibility of assigning domain names and mapping those names to Internet resources by designating authoritative name servers for each domain. While the exact working of how DNS figures out domain names from IP addresses is complex, what you need to know is that there are multiple available DNS servers.
Your Internet Service Provider assigns you a DNS server on its own whenever you connect to the internet but you can also choose your preferred DNS server. There are multiple reasons why you might need to change your DNS server; the current DNS server is slow, has blocked domains, etc.
DNS Server You Can Use
Here are some of the best DNS Servers you can use,
- OpenDNS
- Primary: 208.67.222.222
- Secondary: 208.67.220.220
- Cloudfare
- Primary: 1.1.1.1
- Secondary: 1.0.0.1
- Google Public DNS
- Primary: 8.8.8.8
- Secondary: 8.8.4.4
How to change your DNS Server on Windows
You can choose any DNS Server you like and configure your Windows computer to use that by default. You can also choose whether you want to change the DNS Server settings for IPv4 addresses, IPv6 addresses, or both. Here is how you can do it,
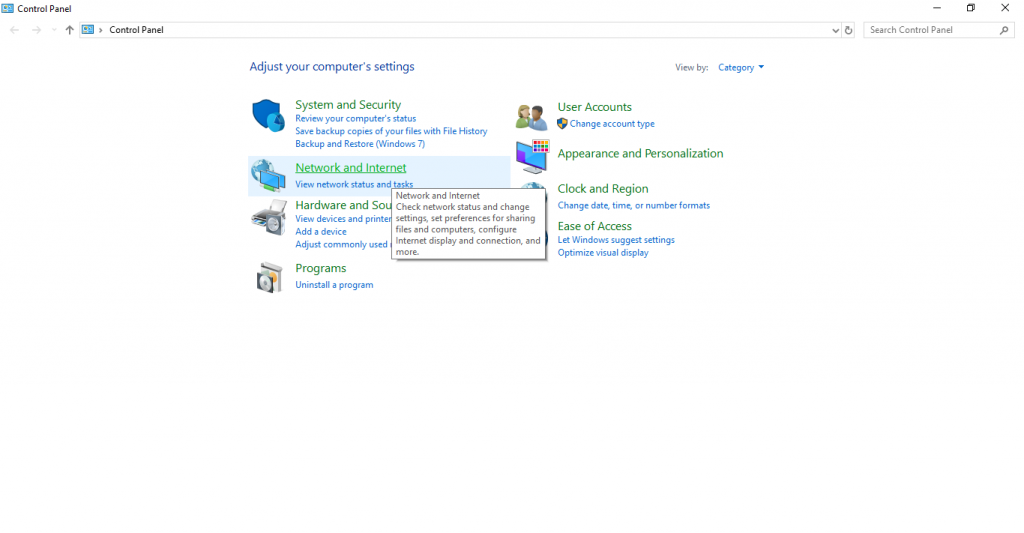
- Open the Control Panel by searching for it from the START search.
- Go to Network and Internet.
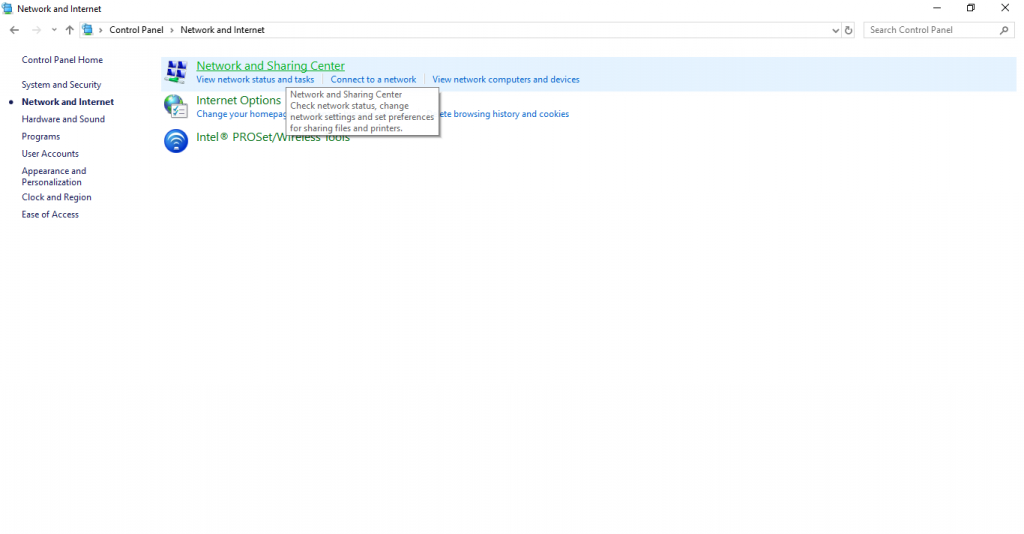
- Click on Network and Sharing Center.
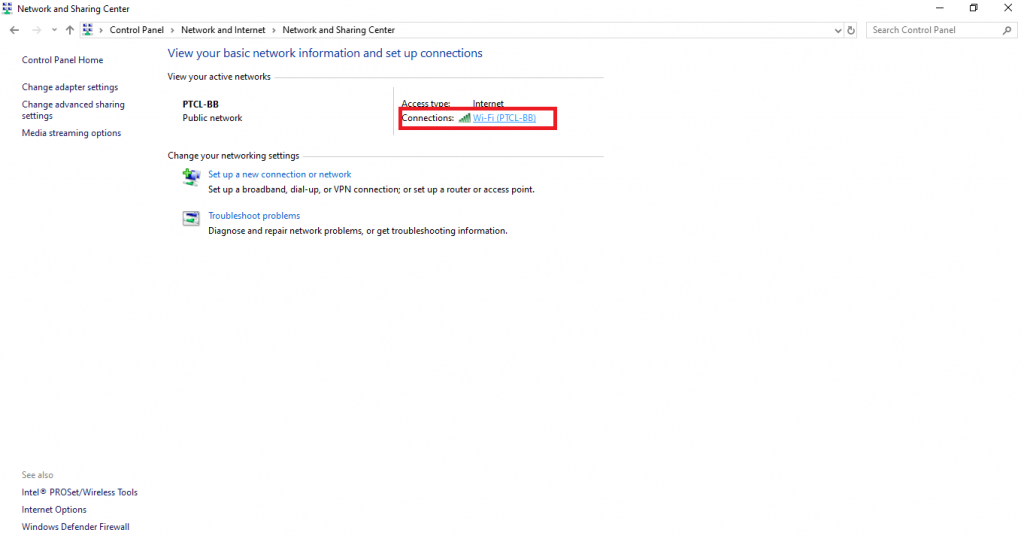
- Choose the connection you want to change the DNS server for and click on it.
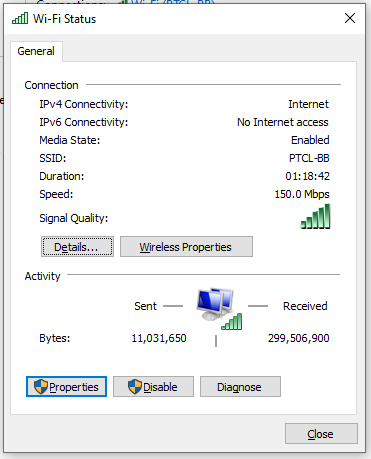
- Click on Properties.
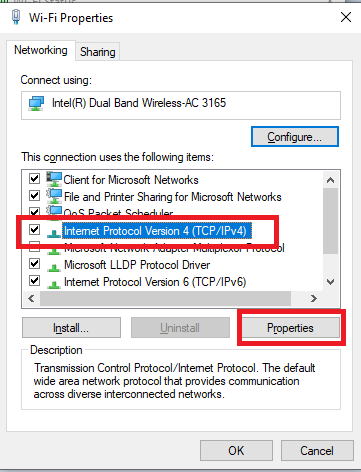
- Go to the Networking tab and under This connection uses the following items, select Internet Protocol Version 4 (TCP/IPv4) or Internet Protocol Version 6 (TCP/IPv6), and then click Properties. (Here we will do for IPv4)
- Check the box against Use the following DNS server address and then Replace the Preferred DNS server with the primary DNS server and Alternate DNS server with the secondary DNS server of your preferred DNS Server, as shown in the screenshot below. For example, we will be using the Google DNS server settings,
Note: Under the Preferred DNS server / Alternate DNS server section, if there are any IP addresses listed, please note them down if you want to switch back to your old DNS later.

That’s it. You can verify if the changes have been applied by accessing any website using its domain name. You can revert back by using your old DNS settings.
