
Here is how you can Disable Windows Defender Firewall in Windows
The computer is a wonderful invention. However, the true potential of these computers has been unlocked thanks to the power of networking, that allows files and softwares to be transferred between computers around the world. At the same time, there is one big con that allows viruses to also transmit from one place to another, tagging along with softwares or files you’d normally think as harmless.
In the start, these viruses ran rampant, destroying critical data, costing billions of dollars in losses. However, as time has gone by, we have got good at catching some of these viruses thanks to more advanced antivirus softwares. Not only that, but Windows has also gotten better to detect and isolate viruses on its own, thanks to the built-in Windows Defender.
While Windows Defender is a pretty effective software, it can also prove to be a nuisance by making it hard to softwares or applications that it deems to be harmful. It might block ports and hinder that application’s ability to interact with other applications on the same network.
Fortunately, you can turn Windows Defender off. Here is how you can do it,
Note: This action will require you to have administrator-level privileges. You can read our guide over here to find out if your user has this access.
Turn Off Windows Defender Firewall
- Open the Control Panel by searching for it from the Start Menu.
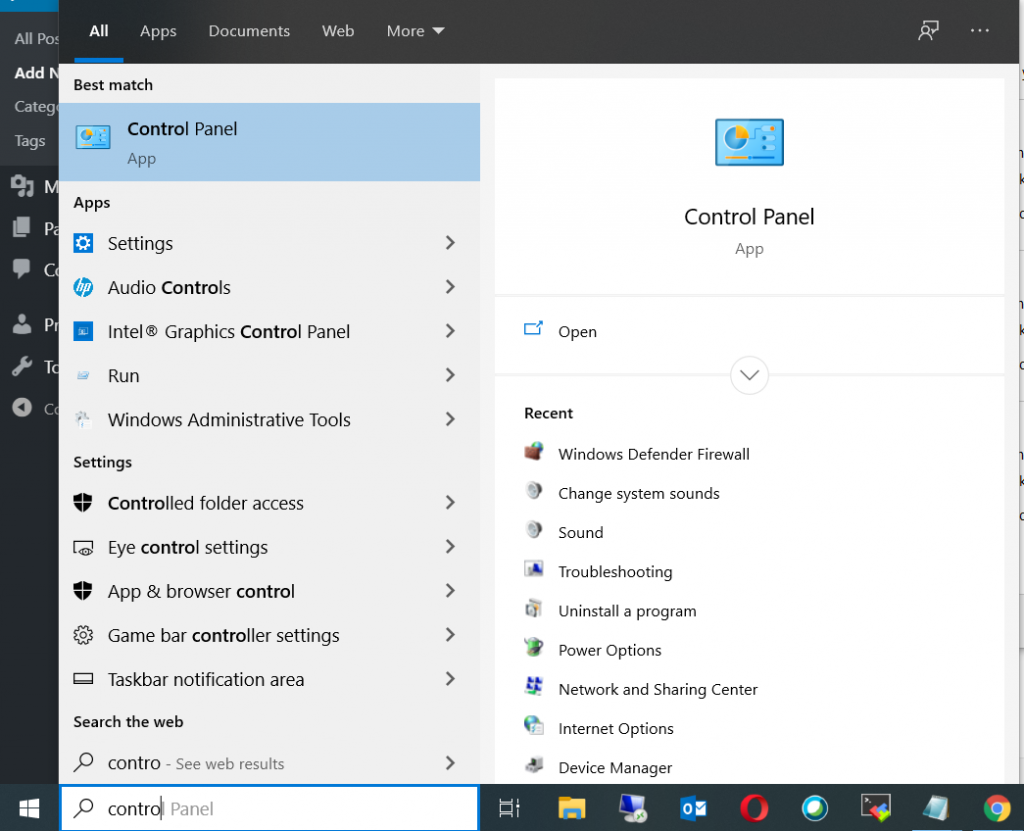
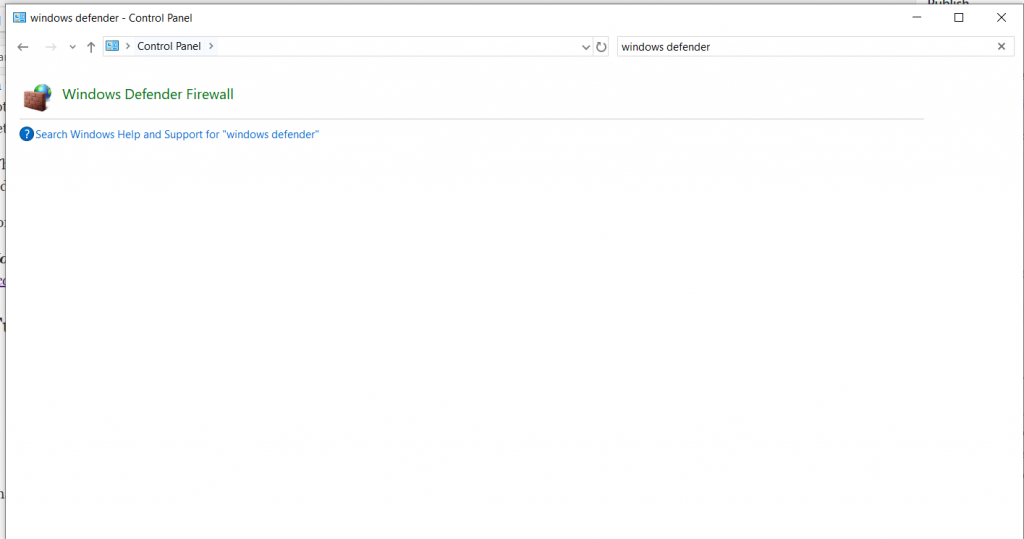
- Search for Windows Defender from the Search box, as shown in the screenshot below.
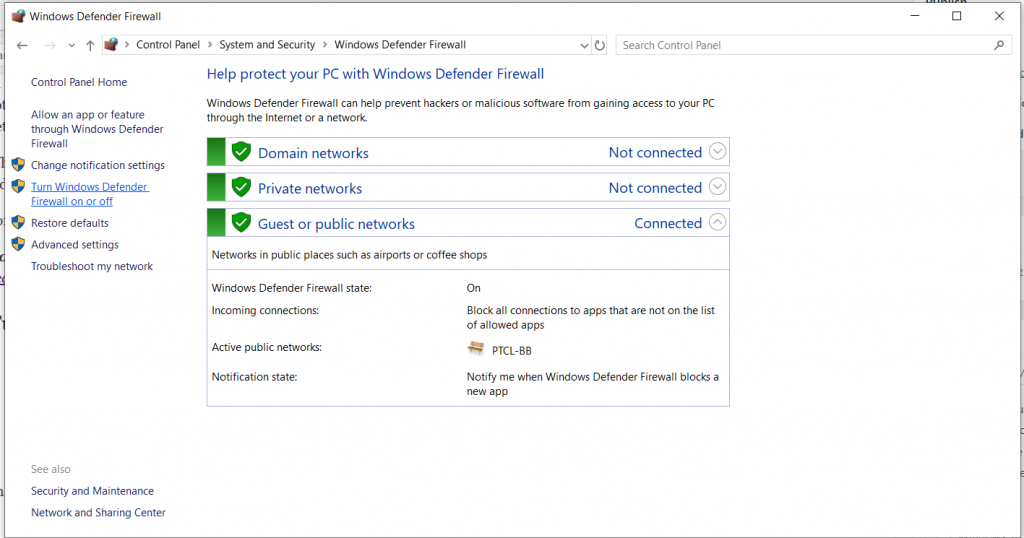
- From the left pane, click on Turn Windows Defender on or off.
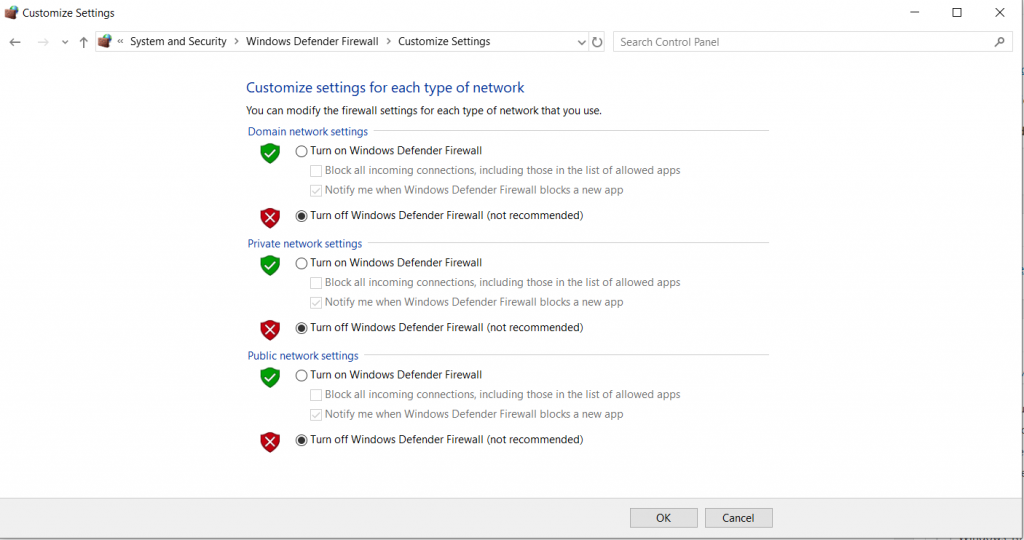
- From here, you can customize and choose which sections of Windows Defender you want to turn off. If you want to turn it complete off, select the off options for all and then click on OK.
That’s it.
