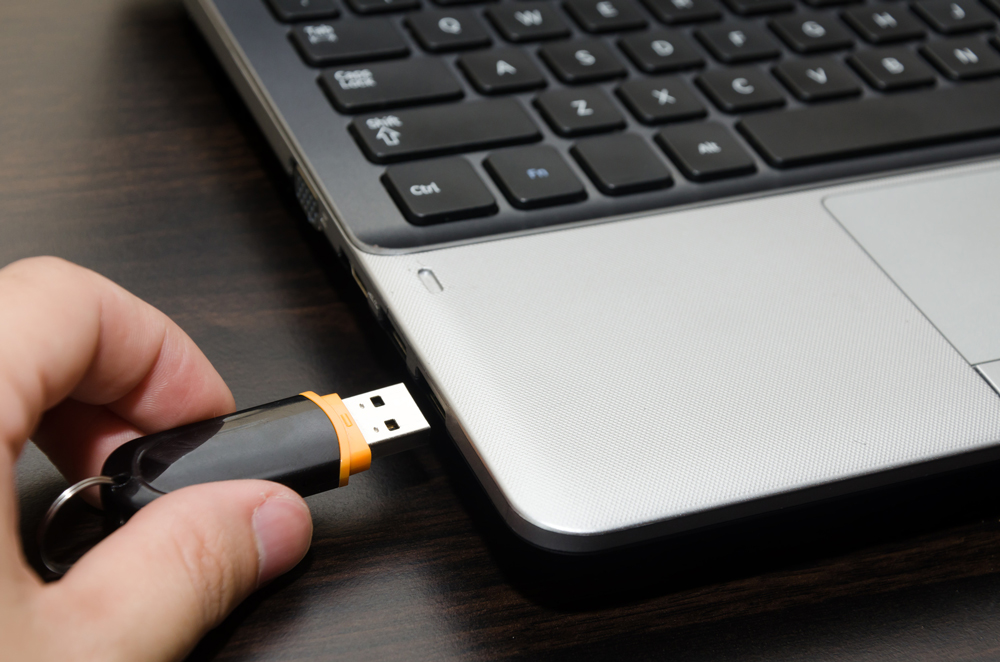
Here is how you can carry around a portable version of Windows 10 in your USB
What we refer to as a computer (or a PC) is nothing more than just your data, encoded in a magnetic format of 1s and 0s, and some electronic machinery that can read the data and let you process or share it. Sometimes, carrying around a computer, or even a laptop, is not a convenient option — which is why our smartphones have grown so powerful over the years, so we can do a lot of the work that we would normally do on a PC on our phones.
However, a smartphone has its own limitations, one of it being the lack of a proper PC operating system. Android and iOS may have their own perks but none of them offer the same level of multitasking, tools and customization options as a traditional PC operating system like Windows.
What if, you could carry the whole of your computer’s data in something that could fit into your pocket? A two-inch piece of hardware that can store all your data and be easy enough to carry around anywhere. Something you can plug into any PC and start working right away.
Fortunately, there is a useful little tool called WinToUSB that lets you do exactly that — install a portable, live version of Windows 10 on a USB and basically, you have a whole PC on your palm.
What you’ll need
- A 32 GB or more USB Drive
- A Windows PC to make the portable USB
Downloads
- WinToUSB — the software we will be using to make the portable, live USB. You can download it from here.
- Windows ISO File — the version of Windows you want to install on the USB. You can download the Windows 10 ISO file from here.
Note: If you already have a Windows 10 PC, you can also use Microsoft’s media creation tool to create an ISO-copy of the Windows 10 on your computer instead of downloading it.
Make a Live USB
1. Once the downloads are complete, open the WinToUSB.exe file and follow the installation procedure.
2. After the installation is complete, launch WinToUSB (should be visible in the Start Menu or you can search for the application).
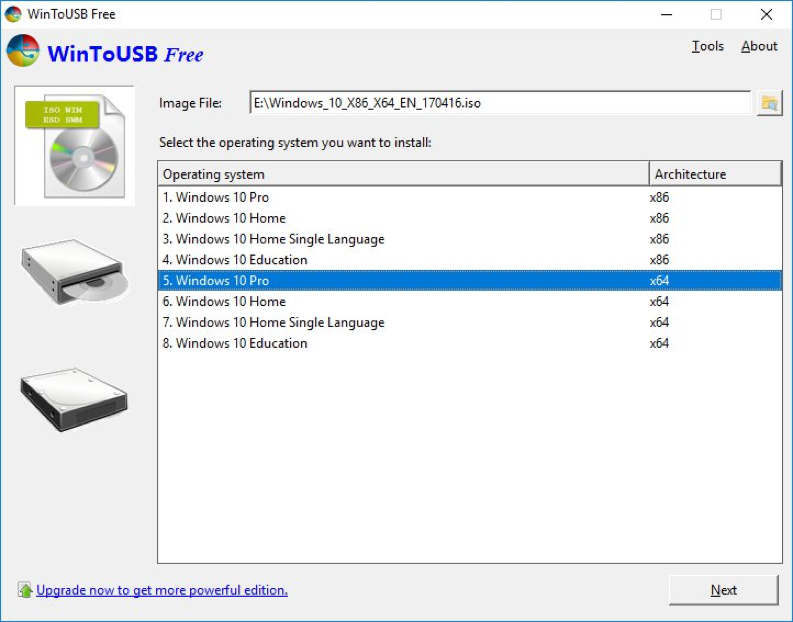
3. Select the disc icon on the left and then on the right side of the software’s window, browse and select the Windows ISO file you downloaded earlier and then click on Next.
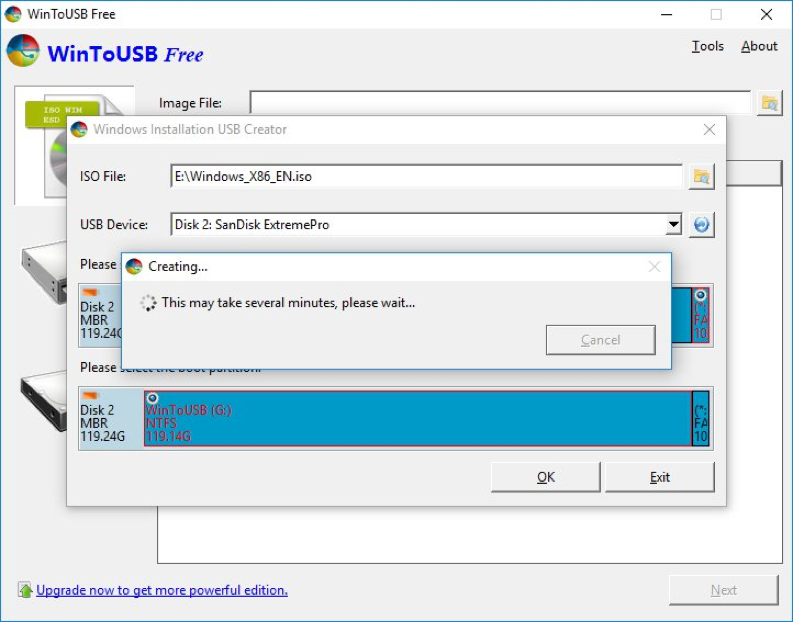
4. It will now ask you for the destination to install the ISO file. Select your USB drive from the list! A message will pop up asking you to select a partition scheme. Tick the option for “MBR for BIOS” and then click Yes.

Note: For using the USB with some newer PCs, you might need to select the MBR for BIOS and UEFI option.
5. Choose the Legacy option for Installation mode.
6. That’s it.
It should now install the OS on your USB and convert it into a portable, live USB, ready to boot from at any time.
Boot from a Live USB
1. Insert the USB stick into the USB port.
2. Turn on the computer and go to the computer’s boot menu. On most PCs, this works by pressing ESC, F2, F10 or F12 when the manufacturer logo appears during the boot up process. If that doesn’t work, you can search for “
3. Once in the boot menu, you should be able to select the device to boot from (your USB device will be visible as an option). If it isn’t shown there, simply plug it into another port and try again. If you still don’t see the USB or have a problem, you might need to remake the portable USB with the “MBR for BIOS and UEFI” option.
The first time you boot, it might take some time to set up the drivers, etc. and sign-up. Once that it is done, it should run smoothly (although it might not be as smooth as a hard drive).
