
Here is how you can use your Voice to Control your Windows Machine
Our computers have evolved a lot over the years. Starting from text-based black screens that required the user to go through bulky manuals and learn commands for performing even simple tasks like launching a program or even navigating a file, now our computers rely on a much more simplified graphical user interface.
This GUI-based approach is much more intuitive, making it easier to learn. However, over the years, as computing has evolved, software engineers have also tried to come up with new ways of interacting with your PC. One of the most notable ways is the use of voice, thanks to the immense advancement in computer technology.
Microsoft has been working on speech recognition technologies for a long time and they have been present in Windows for more than a decade. The Windows Speech Recognition tool, which is a speech recognition component developed by Windows to enable voice commands to perform a multitude of Windows tasks from controlling the desktop to dictating text and more, has been present in Windows since Windows 7.
In Windows 10, the Windows Speech Recognition tool is very feature-rich and can let you control a lot of things on your Windows machine. In this guide, we will cover how you can enable it and then use it for your daily tasks without needing a keyboard or mouse.
Enable Windows Speech Recognition
- Press the Start button and type Windows Speech Recognition and click on the search result to open it. It will open the installation setup.
- Click on Next.
- Choose the type of microphone you will be using and click on Next.
- Click on Next.
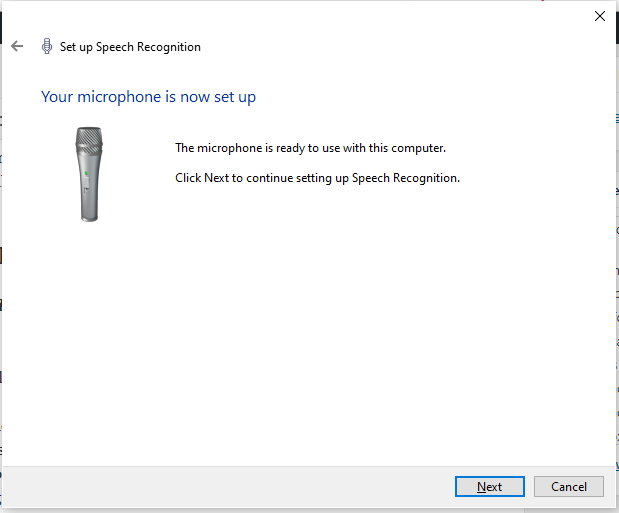
- It will let you test your microphone, showing you the volume of your microphone. You can test it by speaking and see the bar. If the bar moves and is in green when you speak then it should be good enough. Otherwise, you can test some other microphone and/or try moving in a bit closer to your microphone. However, this isn’t necessary and you can just move along and change your microphone later.
Once you’re done, just click on Next. - Click on Next.
- It will ask you if you want to enable/disable document review to make voice recognition better. If you check enable, it means that you are giving Microsoft your permission to read and review your document and emails so that it can understand when you are speaking words related to that. If you are concerned about your privacy, you can just click on disable.

Once you’re done selecting an option, click on Next. - It will ask you if you want to enable manual voice-activation mode. In this mode, it will only start listening when you click on Ctrl + Start and once you’re done, you can simply say Stop Listening to make it stop.
On the other hand, normal voice-activation mode means that it will keep the mic on, and when you want to make it execute a command, you can simply say Start Listening and then say your command.
If you’re more privacy-focused, you can choose the first option.
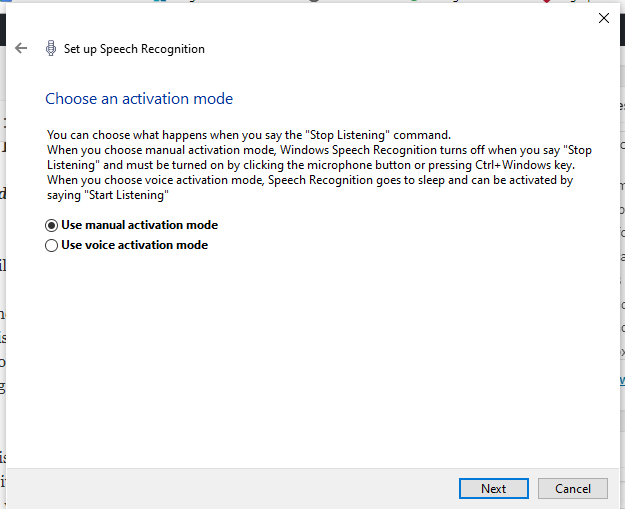
Once you’re done, click on Next. - That’s it. It will show you a link to open a Reference Sheet listing down all the things you can do using the voice recognition tool. You can open it by clicking on it or access it through this link.
- Just click on Next.
- It will ask you if you want to run speech recognition on startup. Keep that box checked as otherwise, you will have to turn it on each time you restart your PC. Click on Next.
- It will ask you if you want to start a tutorial to make the process easier for you. You can click on Start Tutorial to do that or choose Skip Tutorial to skip this part.
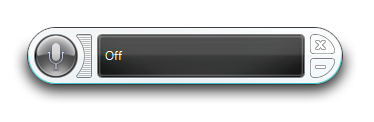
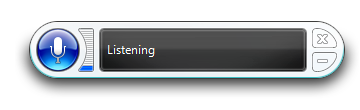
It will open an overlay showing you the Microphone and the state the WSR tool is currently in. If you choose manual activation, you can press Ctrl + Windows to make it start listening. If you chose normal mode, you can simply say Start Listening.
Some things you can do,
- To open Start, say,
Start
- To click an item, say,
Click [item name]
e.g. Click Chrome - To switch to an open app, say,
Switch to [app name]
e.g. Switch to Chrome - To show a list of applicable commands, say,
What can I say? - To select a word, say,
Select word
To access the full list, you can go to this link.
You can also minimize it or close it if you want. To open it again, simply search for Windows Speech Recognition from the Start menu and click on it.
