
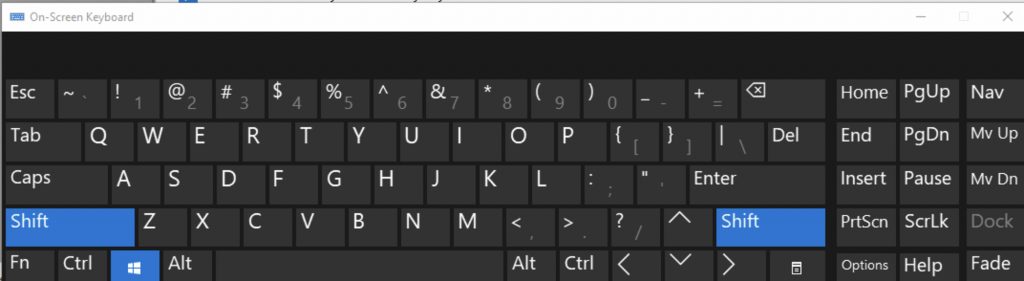
Here is how you can Enable the On-Screen Keyboard in Windows
When the smartphone-inspired, touch-interface mania came over Windows, Microsoft also decided to get in the craze with Windows 8, completely revamping Windows to be touch-friendly. While that didn’t pay off, it did introduce several features from touch machines over to Windows, including the addition of an on-screen keyboard.
These days, most modern Windows machines are touch-enabled, and some even support a tablet mode, so it’s really handy to have a good touch-keyboard on your Windows machine. Not only that, having a secondary touch keyboard is also really useful if your hardware keyboard malfunctions. Laptop keyboards have a history of malfunctioning, through water spills, crumbs being stuck, and whatnot. In those cases, the on-screen keyboard comes up as a life-saver.
In this guide, we are going to show you how you can enable or disable the on-screen keyboard in Windows.
Enable On-Screen Keyboard in Windows
There are several ways you can enable the on-screen keyboard in Windows,
- Search for on-screen keyboard from your Start Menu.
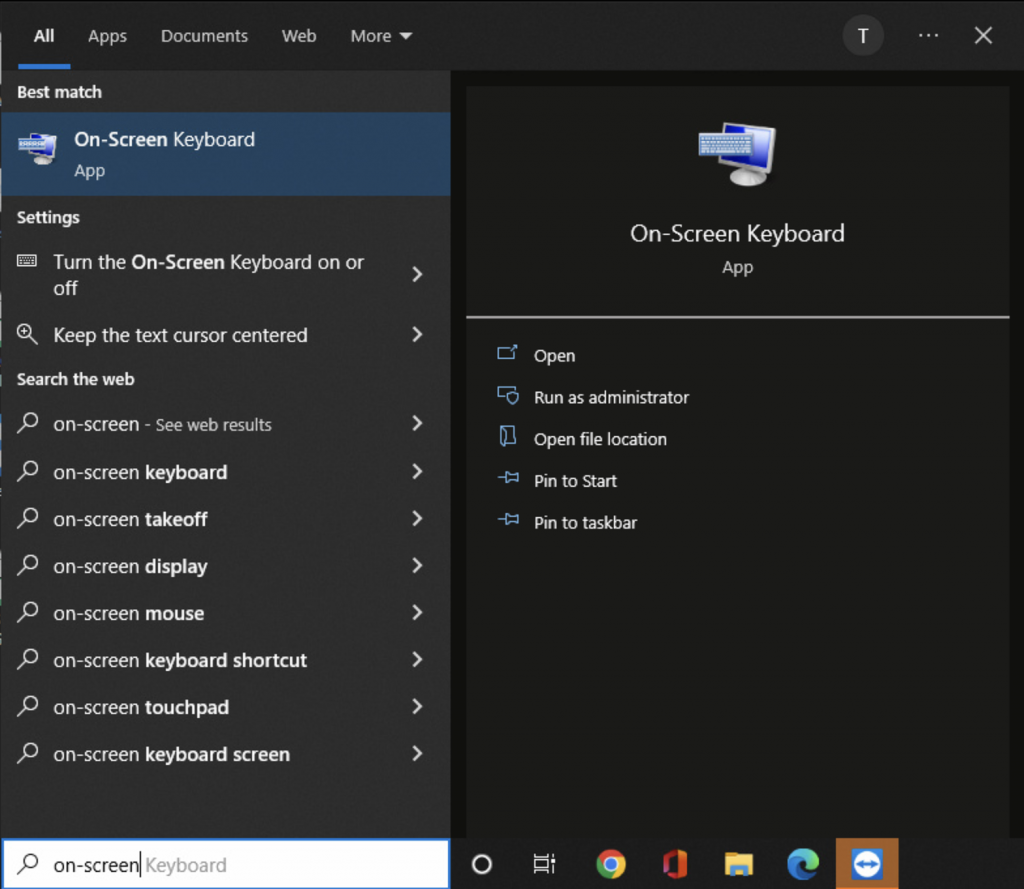
- Click on the top result and it’ll pop open right there.
You can also use a keyboard shortcut,
- Press Windows Key + CTRL + O.
This shortcut works for both, opening or closing the keyboard.
But what if your keyboard is not working? How will you open the On-Screen Keyboard then? Here is how,
Enable On-Screen Keyboard Without Keyboard
- Press on the Start button.
- Click on Settings.
- Click on Ease of Access (for Windows 10) or Accessibility (for Windows 11).
- Click on Keyboard from the left pane, then click on the switch for use the On-Screen Keyboard to enable it.

