Here is how to Turn On AutoSave for Microsoft Office
One of the most frustrating things about working on a PC is, remembering to save your work. If you don’t remember to save, you can very well end up losing your precious work that you spent hours or even days working on. It can be anything, from an application crash, to your PC being shut down, to Windows deciding to update itself, that can turn off the application you were working on, leaving you grinding your teeth in anger.
Fortunately, most applications today have come up with new ways to avoid this from happening. For example, Microsoft’s suite of applications has a number of features, like the ability to recover recently lost documents and also the ability to AutoSave. This feature will automatically save your document to storage from time to time, so even if your app decides to shutdown unceremoniously, you should still have a pretty recent copy.
In this guide, we are going to cover how you can enable or disable AutoSave for a Microsoft Office application.
Turn on AutoSave
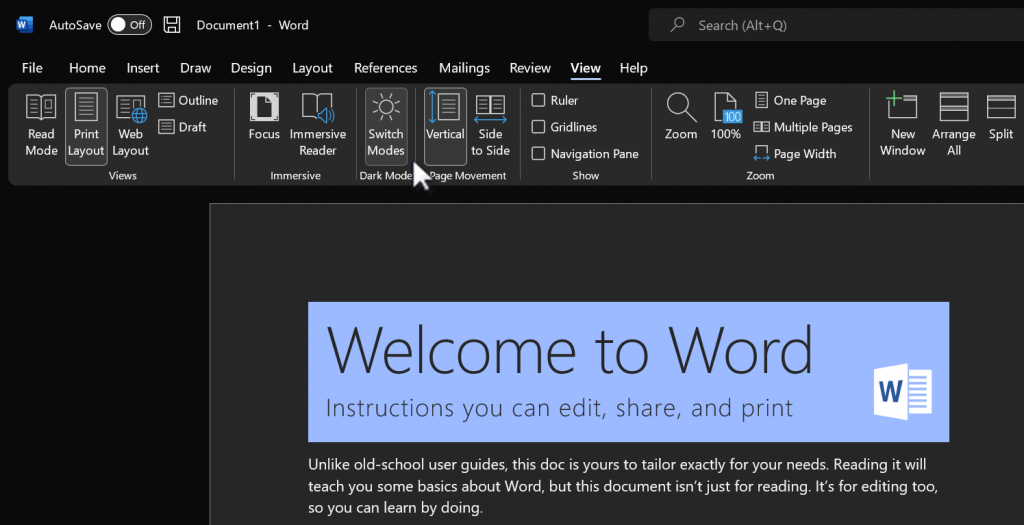
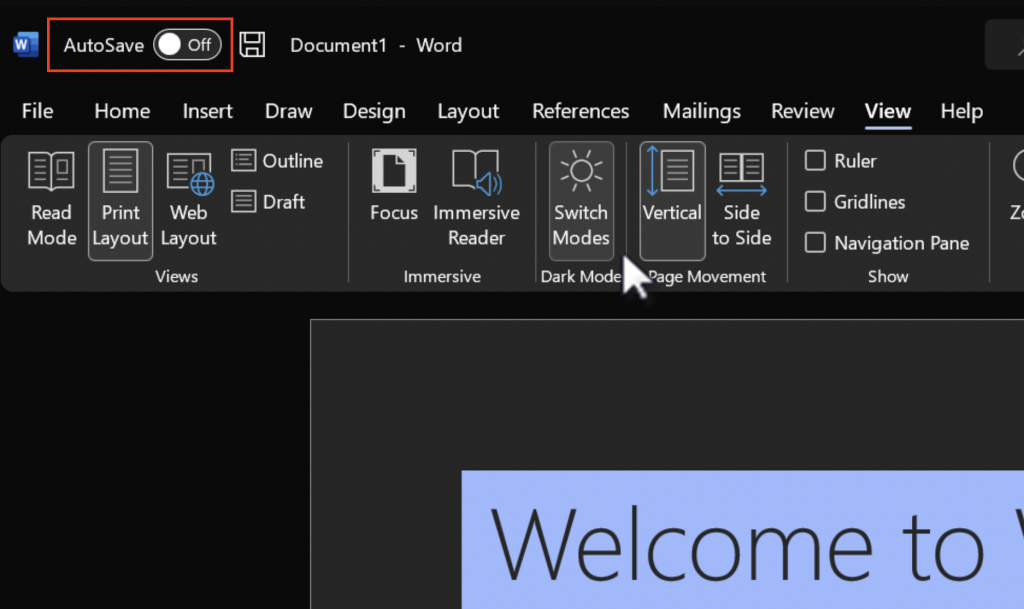
In recent versions of all applications in the Microsoft Office suite, the AutoSave option is added to the top-left of the document. For example,
- Open Microsoft Word.
- Open a new document or the document you want to turn AutoSave on.
- On the very top-left of the application, you will see an option for AutoSave along with an On/Off switch, as shown in the screenshot below. Just flip it according to your desired settings.
Alternatively, if you don’t see that switch, you can also try going to File, then Options, then click on Save. Here, you should see a checkbox for AutoSave.
