
How-To Take a Quick Screenshot From Anywhere in Windows with Snip & Sketch
One of the advantages of having a full-featured, customizable operating system like Windows is the abundance of freely available third-party apps as well as a ton of useful, built-in utilities, that make daily work and basic tasks much easier. It is one of the many advantages Windows has over mobile Operating Systems like iOS and Android, which make it easily desirable for work tasks.
A screenshot is basically a snap of the currently visible content on your screen and in today’s world, almost every operating system supports it. However, Windows has always had a pretty simple screenshot taking mechanism which just allowed you to press a couple of keys to capture the whole screen and save it in your picture gallery. It did come with a nifty little tool called the Snipping Tool which offered more customization as well as more options like timed delays and different Modes.
However, it was a little outdated and Microsoft decided to deprecate this feature and has been encouraging users to use a new and updated tool called Snip & Sketch, which is not only faster but also much easier to use.
Here is how you can use the Snip & Sketch tool in Windows to quickly take a screenshot in Windows,
Taking a Screenshot with Snip & Sketch
There are two ways you can use this tool. One is to open the app by searching for Snip & Sketch from the start menu. However, the better alternative, and the one Microsoft is trying to encourage people to use, is by using a shortcut key combination.
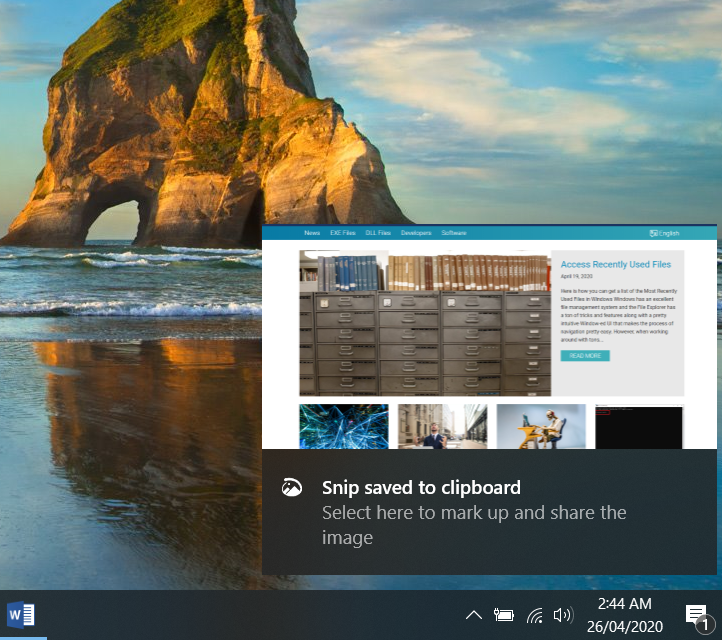
- Press Start + Shift + S together, and it should instantly open the Snip & Sketch UI, allowing you to easily capture any portion of the screen.
- Make a rectangle around the part you want to capture and it should copy that portion of the screen to your clipboard. You can paste it anywhere by using Ctrl + V or right-clicking and clicking on Paste.
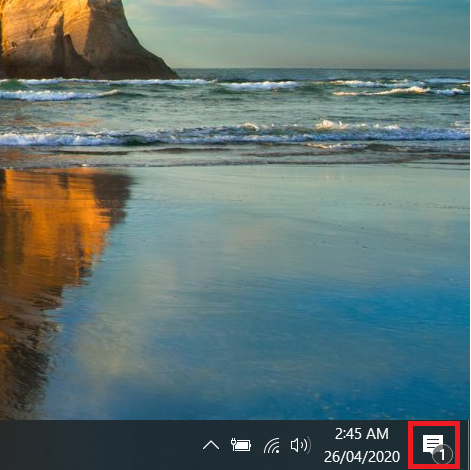
Additionally, you can also make edits to your snip. This tool preserves your most recent screenshot in the notification tray. Just click on the notification icon and from here, you can select the screenshot you took and it should open it, as shown below,
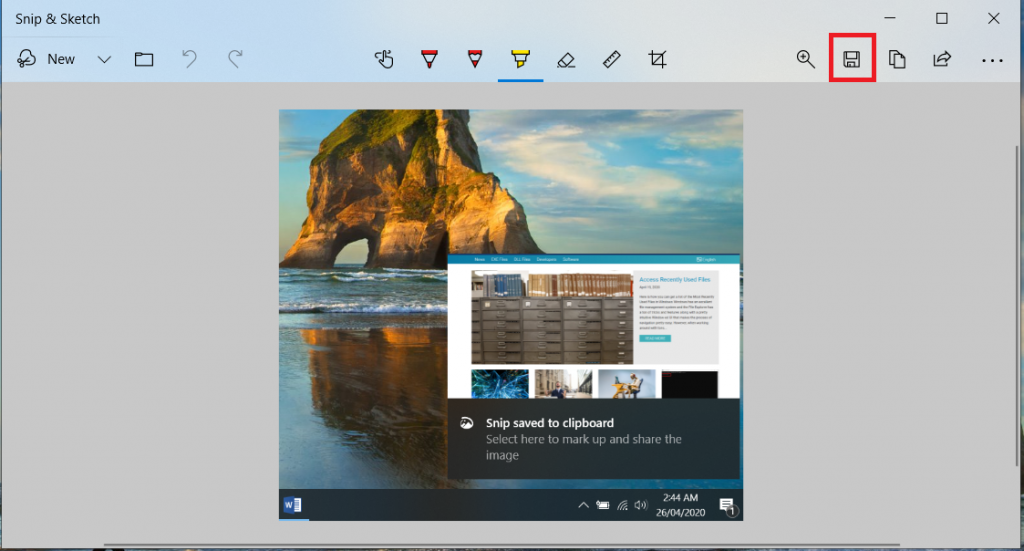
Once you open it, you can use a number of tools to edit it, including a Ballpoint pen, a pencil, a highlighter, etc. You can crop it or even use a Ruler to measure the length of something.

Once you’re done editing, you can either copy/paste it somewhere or save it by clicking on the little save icon.
Snip & Tool might not be the most advanced screenshot taking tool but it comes pre-packaged with Windows, is simple and easy to use, and offers a decent number of options for quickly taking and editing screenshots. It does offer some configurable options, which you can access by clicking on the little Options icon on the top-right and then clicking on Settings. Here you will see a number of options like
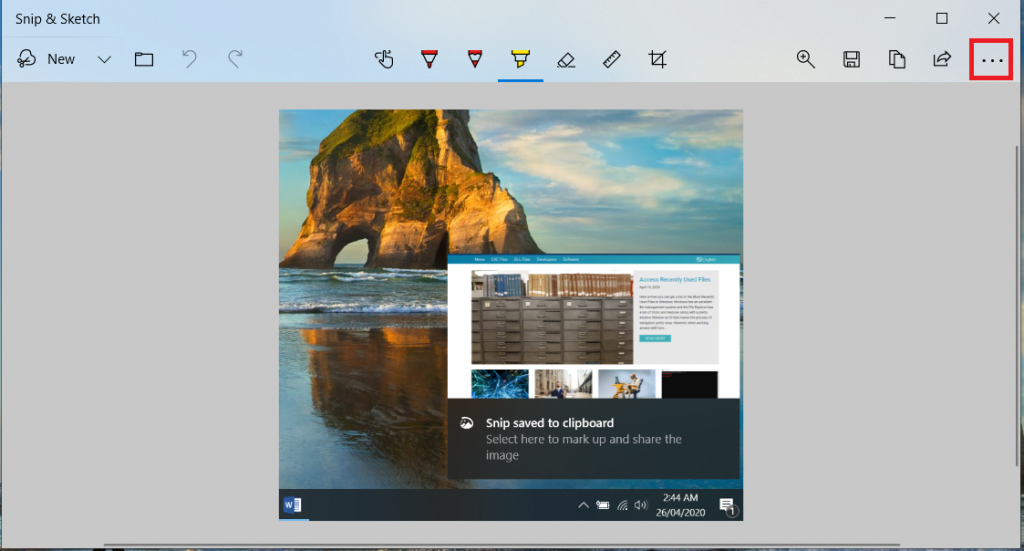

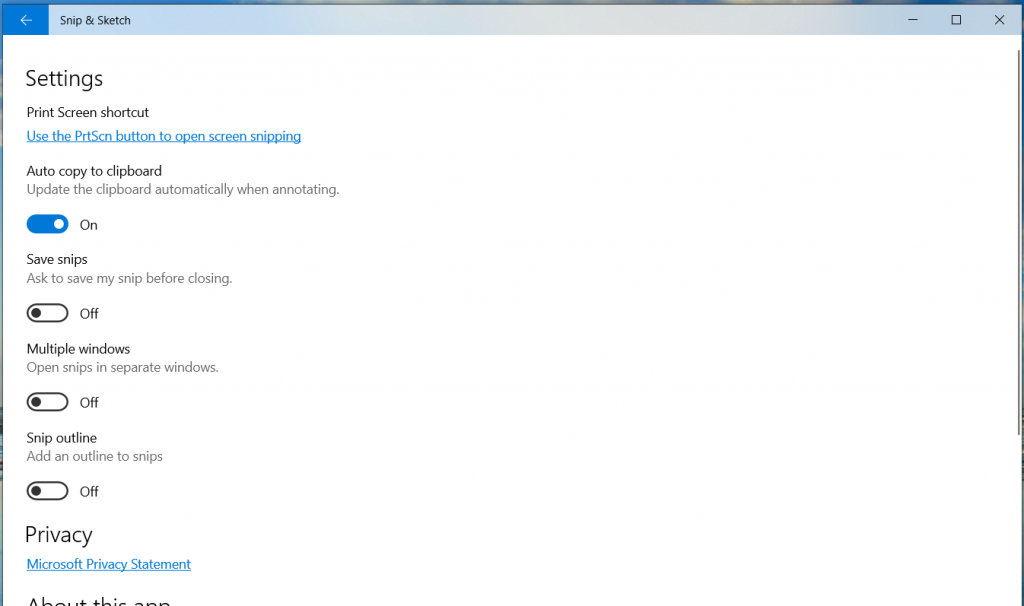
Auto copy to clipboard, save snips, multiple windows, snip outline, etc.
