Here is how you can optimize Windows 10 for Battery
Desktop computers are slowly going out of fashion in favor of small, ultra-sleek, ultra-portable laptops, which not only last a good long day but are also easy to throw in a backpack and just carry around. However, the rate at which battery technology is improving, it isn’t keeping up with the improvements in the processors and displays which are getting more and more power-hungry with every generation.
While our mobile phones have managed to cram enough battery to last a good hard day of use or even a second day, our laptops haven’t yet gotten to that point. As a result, we find ourselves running to the power source before even the day is half over, and have to stick by power source for a good hour or two to recharge our machines. Windows is a power-hungry operating system, and if you use heavy softwares like video editing softwares such as adobe premiere or photoshop or even everyone’s favorite browser, Google Chrome with more than a few tabs.
Fortunately, there are a few tips and tricks that you can use to make sure that Windows isn’t as abusive to your laptop battery as it normally would be. Here, we share some of those tips and tricks that we’ve used and still use to this day to make our laptops last as long as possible,
Make your laptop battery last longer
There are several ways you can optimize your battery performance on Windows, from using built-in Windows tools and softwares to third-party tools as well. Here is how you can do that,
1. Turn on Windows Battery Saver mode
The latest Windows updates come with a pretty good battery optimizing tool, built right into the Windows taskbar.
 It gives you several different options like,
- Better Battery (Battery Saver)
- Balance Battery and Performance
- Better Performance
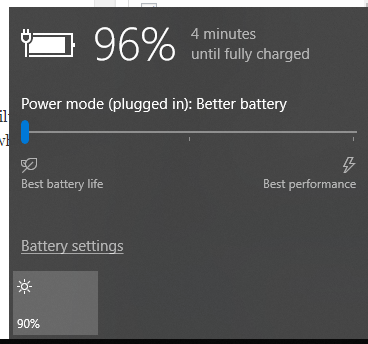
You can choose whichever mode you prefer, based on your requirements at the time. The fact that it is built right into the Windows UI and accessible with just a single tap means that you can quickly switch modes based on whatever you are doing at a given time.
All you have to do is just click on the little battery icon to access it,
Now, move the bar to the left to switch on Battery Saver mode and Windows will prevent your machine from sucking too much power, providing as much as 20% better usage. However, this does come at the cost of some performance.
2. Monitor and Disable apps you don’t use
The problem with most Windows PCs is that they usually come pre-installed with a lot of bloatware that you don’t need and need to get rid of as soon as possible, or they keep performing in the background and sucking up your battery.
Here is how you can monitor unnecessary app usage and disable them,
- Open the Windows Task Manager by pressing START + X and then clicking on Task Manager. (or use the CTRL + ALT + DEL combo)
- Go to the Startup tab and see which apps are Enabled. If you see any apps that are enabled and aren’t applications that you use, just search them on the internet to be sure that they aren’t essential to your PC. For example, something like Realtek HD Audio might seem useless but it is the audio driver that allows your PC to deliver sound.
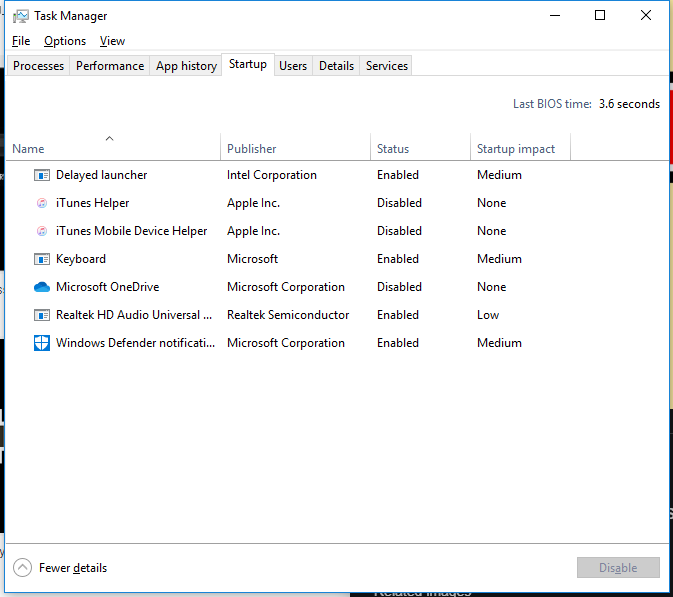 On the other hand, apps like iTunes (if you don’t use iTunes anymore) can uselessly eat up battery as well as slow down your PC’s startup (for a more detailed analysis on making your PC startup faster, read our guide over here). You can just click on them and click on Disable.
3. Uninstall useless Applications
For good measure, you should also go ahead and uninstall any applications that you aren’t using anymore or came pre-installed on with your PC and don’t seem useful. Here is how you can do it,
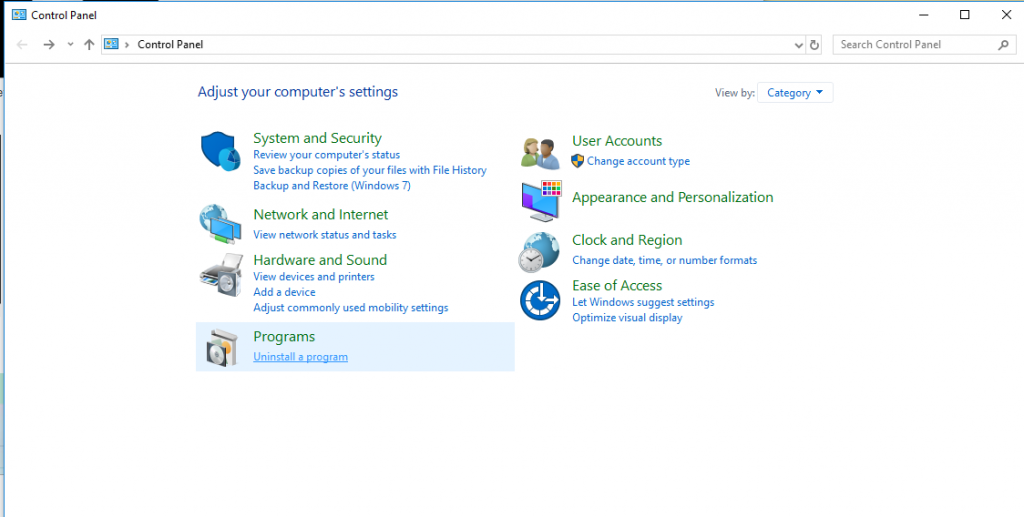
- Click on the Windows button and search for Control panel.
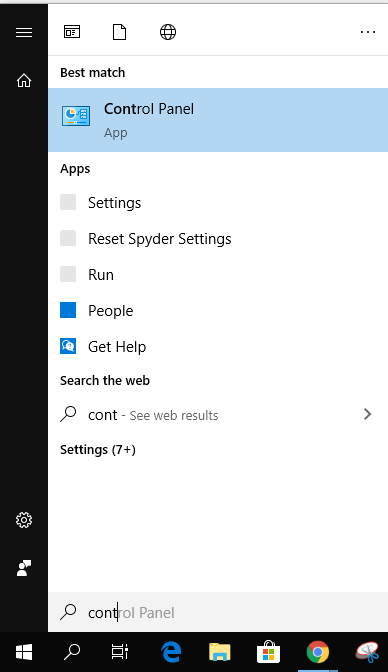
- Click on Uninstall a program under Programs.
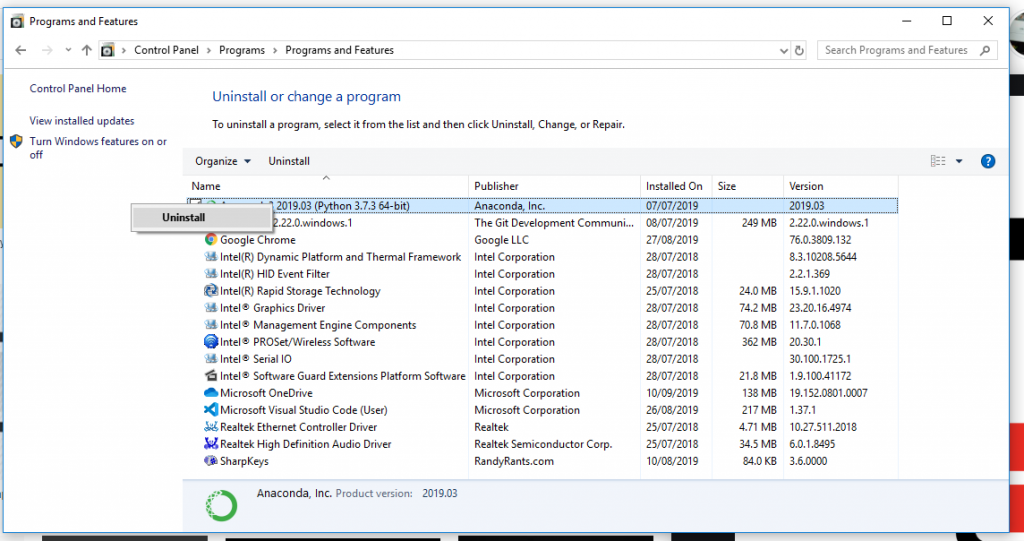
- Scroll the list and click on any program you want to uninstall, right-click it and click on Uninstall.
4. Disable unused Windows Services
There are a lot of Windows services responsible for making various Windows features work that, although useful, can take up too much of your PC’s resources. If you want to optimize your PC for battery, you should turn these off,
Here is how you can do it,
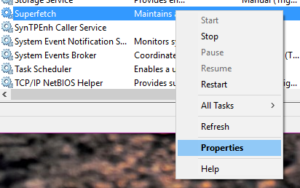
- Press START + R and then type services.msc, then press OK.

- Scroll down and find Superfetch in the list. Right-click on it and select Properties.
- In the options next to Startup type, select Disabled. Now, press the Stop button.
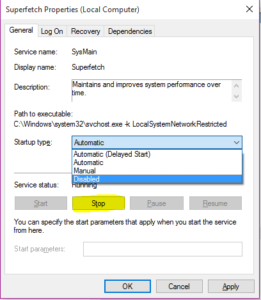
- Do the same for the following services,
- dmwappushvsc
- Fax
- Scroll to the end of list and do the same for all Xbox Live services.
To find out any other third-party services that you want to hog down your PCs battery, open the Task Manager (CTRL + ALT + DEL), and now go to the Services tab, click on Hide all Microsoft services and then you can see which third-party programs are running services on your PC. If you see any fishy services or any services that you think shouldn’t be running, just search them on the internet to make sure they aren’t useful to your PC and then turn them off after making sure. If you turn off a service and your PC isn’t working properly, just come back here, switch it on and then Restart your PC to apply the new settings.
5. Changing PC Power Plan
Windows also has several tricks up its sleeve to make your PC run effectively to preserve power. However, these power options aren’t as relevant to desktop users which are hooked to a regular power supply so you can change these settings to get the max from your computer.
- Press START + Q to open the Windows Search bar and type power options and click on Edit power plan.
- Click on Show additional plans and then select High performance. Click on Change plan settings.

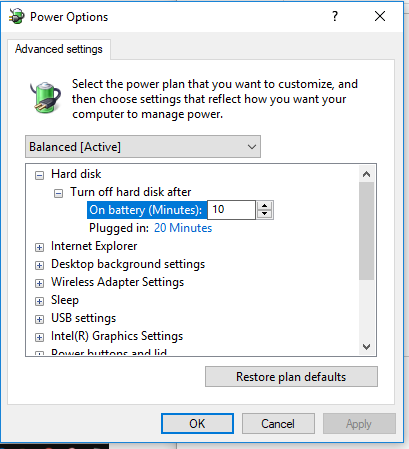
- Click on Change advanced power settings.

- Click on the little + icon next to Hard Disk, then on the + icon next to Turn off hard disk after.
- Click on On battery and write 10. So your PC knows to turn the hard disk off and preserve your battery if your PC has been inactive for 10 minutes.
6. Disable Windows Animations and Other Features
You can also turn off various Windows features like animations and other visual enhancements that exist solely to make Windows look better visually for a snappier performance. Don’t worry, you can choose what features to turn off and what to keep.
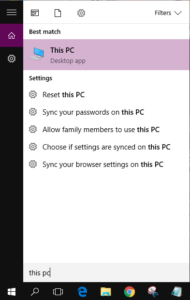
- Press START + Q to open Windows Search and write This PC. Right-click on This PC and select Properties.
- Click on Advanced system settings.

- Click on Settings in the Performance section.

- Select Custom and then uncheck all the boxes except two (this is just my preferred settings and you can choose which features to keep and which to turn off).
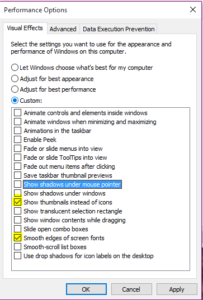
- Press OK.
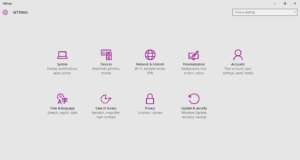
- Open the Settings app by pressing START + I. Press on Ease Of Access.
- Go to Other options and under Play animations in Windows, switch it to off.

If you don’t use Windows apps much, you can also turn off Notifications and animations by opening the Settings app (START + I), clicking on Notifications & actions and then turning all the options to Off.

For an even smoother experience, you can also try turning off Windows 10 automatic updates. For better hard disk performance, you can follow our guide over here.
7. Turn off some CPU cores
If you have a PC which is really performance intensive but you don’t use it much for very performance-intensive tasks, you can always switch off some of the cores in your processor to make sure that they don’t end up consuming battery unnecessarily.
Here is how you can do it,
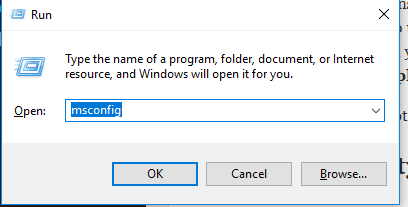
- Press WINDOWS + R.
- In the dialog box that opens, type msconfig.
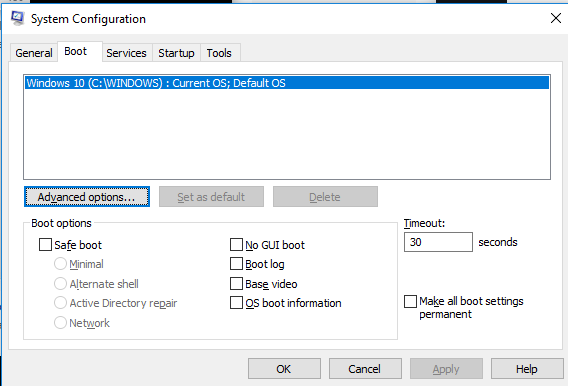
- It will open a new window called System configurations. Go to the Boot tab.
- Select your current OS (will only list one if you have just one OS installed). Click on Advanced options.
- Enable the checkbox against Number of processors and from the dropdown menu, select the number of cores you want your PC to use. You can also limit the maximum memory that can be utilized but the processor eats up more battery than your memory.
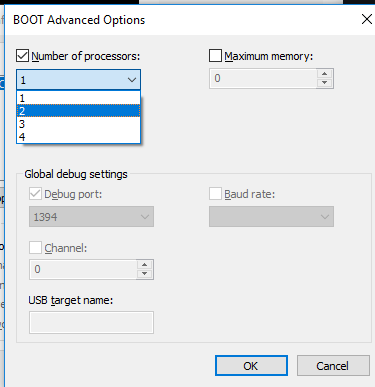
- Click on Ok. Click on Apply.
That’s it. You will need to reboot your PC for the changes to be implemented.
8. Use a third-party tool
The thing with Windows is that if you don’t find a good built-in tool to do what you want to do, you can always rely on a third-party tool to achieve your purpose. Just a simple google search can reveal a number of different tools that will allow you to optimize the battery performance on your PC considerably.
For example, you can use Battery Optimizer which is specifically designed to optimize your laptop battery and extend it as much as possible. It also gives you detailed battery statistics, notifying you about its life and health by running diagnostic tests. You can even set multiple profiles based on the kind of battery and performance balance you want at any given time.
9. Avoid Using Battery Intensive Tools
The biggest battery hog is always the tool you are using to perform the task you want to complete. Usually, there are numerous battery-friendly alternatives to softwares that can allow you to perform the same task while conserving your battery.
For example, you can use a browser like Mozilla Firefox or Microsoft’s Edge if you prefer battery over performance (and the other pros Chrome offers). Moreover, you can also use Google’s online Docs instead of Microsoft’s Office suite of applications. Google’s Docs, hosted on Google’s servers, aren’t that battery intensive as Microsoft’s offline suite of products.
10. Optimize your usage
While you can use a ton of tools to improve your battery performance, the most obvious way to do it is to make sure that your usage is optimal as well. For example, you use some of the following tips to keep your PC from using too much battery,
- Keep the display brightness down
- Turn off backlit keyboard or turn its brightness down
- Avoid using external wired or Bluetooth devices like mouse, keyboard, etc.
- Avoid plugging in external displays as they take up a lot of your battery juice
- Put your PC to sleep if you take a long break
- Turn off wireless signals like WiFi or Bluetooth as they require dedicated hardware components and can consume a lot of your battery. Using a wired connection like an Ethernet can give you much better battery performance.
