
How-To Install Windows Subsystem for Linux on Windows 10 Insider or Windows 11
Two years ago, Microsoft announced some significant new additions to Windows, including a real Linux kernel. Called the Windows Subsystem for Linux (WSL), it is a compatibility layer for running Linux binary executables natively on a compatible version of Windows.
Right now, there are two ways to install WSL. A simple way, which is a one-liner command that you have to run in the command line, and a more complicated, manual way. For the simple way, you need to be part of the Windows Insider program and have the install a preview build of Windows 10 (OS build 20262 or higher).
You will need the following versions of Windows to proceed with the simple installation,
- Windows 10 (OS build 20262 or higher)
- Windows 11
If you are not a part of the Windows Insider program, you can join the Windows Insider program by using our guide over here or you can follow our guide on manual installation over here.
Install WSL
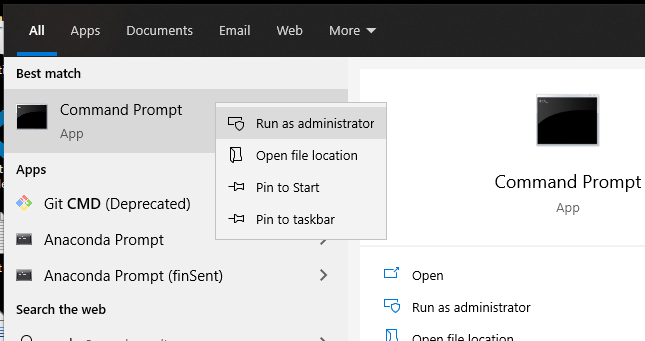
- Open an elevated Command Prompt (a Command Prompt with Administrator privileges). You will need to search for cmd from the start menu, right-click it and click on Run as administrator.
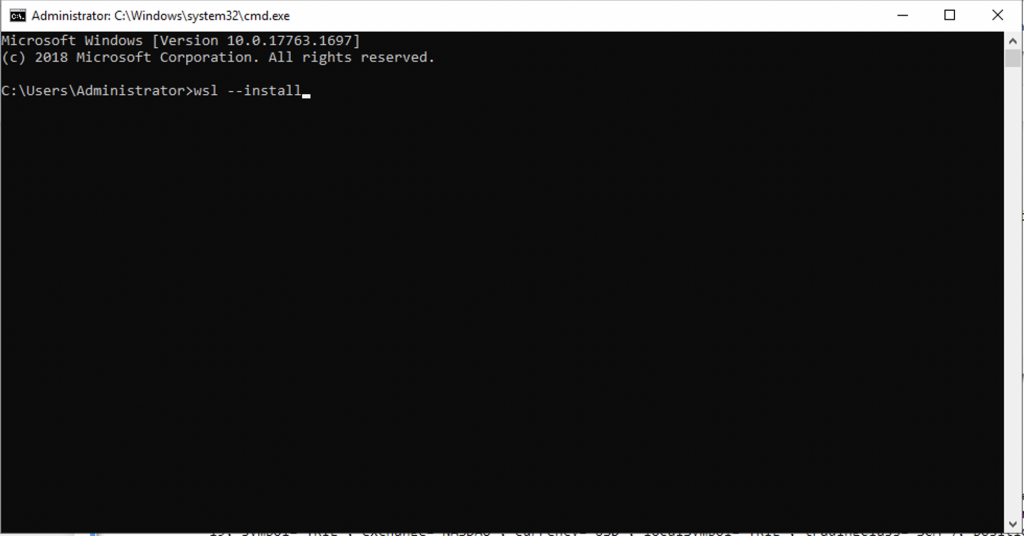
- Type the following command and press Enter,
wsl --install
- Restart your machine.
The first time you launch a newly installed Linux distribution, a console window will open and you’ll be asked to wait for files to de-compress and be stored on your PC. Once it is set up, it will also ask you to create a user account and password for the new Linux distribution.

That’s it.
