What are Virtual Desktops in Windows? How can you use them to multitask easily?
Windows is known to being the pioneer of the ‘window-ed’ programs format, paving the path for an age of GUI-based multitasking. Originally, Windows was a command-line based operating system, but after noticing the GUI-based approach of some other manufacturers like Apple, it also copied this approach and managed to come off as the winner in terms of OS-adoption around the world, thanks to its licensing deals with other manufacturers around the globe.
However, it was Linux that introduced the trend of having virtual, or multiple desktops – a feature that allows a person to have multiple desktops running on the same PC, allowing the user to run multiple applications on different desktops, giving off the appearance of having multiple PCs. It allows the user to carry on multiple tasks (or groups of tasks) by easily segmenting or splitting their tasks into different desktop screens. This keeps any one desktop screen from getting too cluttered and the user can just jump around to the other desktop whenever they want. Think of it as having multiple windows for your Operating System itself.
Linux was followed by Mac, which introduced a multiple desktop feature, built on top of its Quartz windowing system. The first version of Mac OS X to implement the multiple desktop feature was Mac OS X Leopard in 2007. It wasn’t until Microsoft released Windows 10 in 2015 that the company finally introduced multiple desktops, being astonishingly late to the party.
Windows 10 added a really nifty little feature, allowing you to create virtual desktops. Basically, this allows you to isolate your work and create a separation between them, allowing you to mimic the fact that you have multiple PCs running on the same machine. It is really useful and can be effectively used to avoid clutter. According to Microsoft, “Multiple desktops are great for keeping unrelated, ongoing projects organized, or for quickly switching desktops before a meeting”.
Now that Windows finally has the multiple desktop feature, allowing you to have multiple-tabs of your desktop running on the same PC (known as Virtual Desktops in Windows 10), here is how you can use it,
How-To Use Virtual Desktops in Windows 10
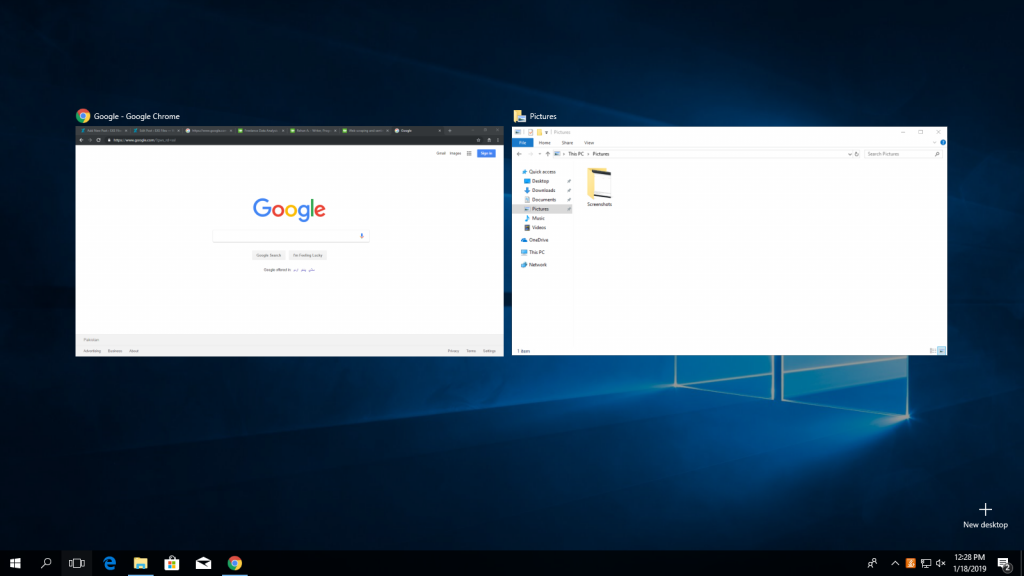
CREATING A NEW VIRTUAL DESKTOP
- Press START + TAB and it will take you to the Virtual Desktop-switcher (Task View pane), showing you all the virtual desktops that are open currently (as well as the apps open in the current desktop).
- Click on the PLUS icon to open a new Virtual Desktop.
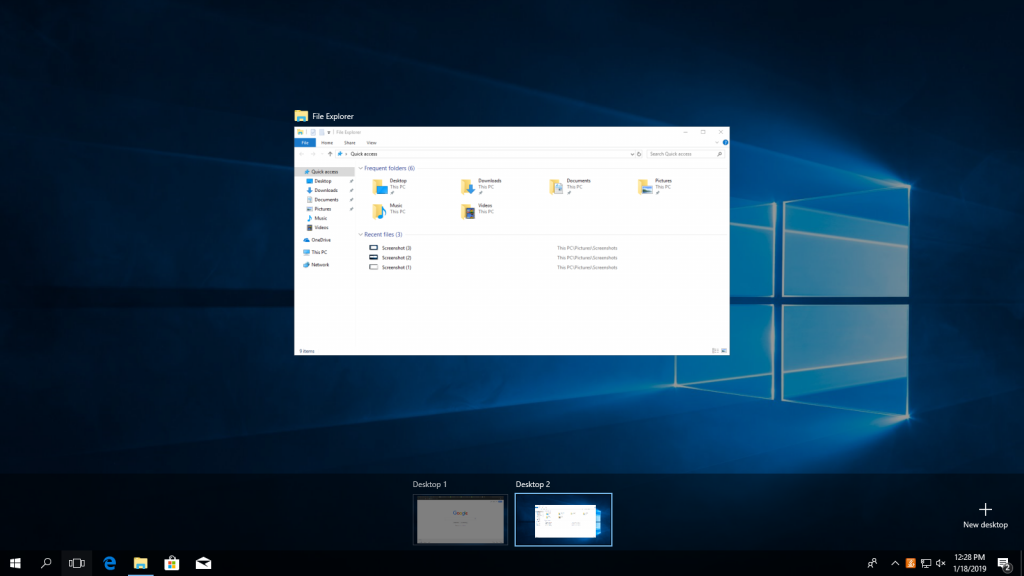
SWITCHING BETWEEN VIRTUAL DESKTOPS
- Press START + TAB to go to the Task View screen.
- Click on any of the open Virtual Desktops visible at the bottom of the screen to go to that desktop.
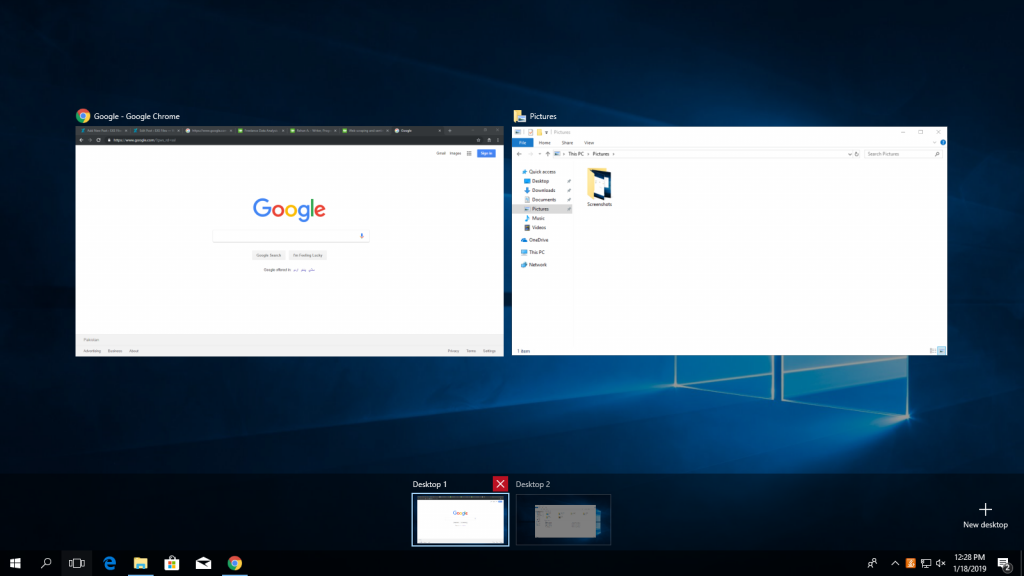
CLOSING A VIRTUAL DESKTOP
- Press START + TAB to go to the Task View screen.
- Hover over the virtual desktop view that you want to close and a little cross icon will appear on the top-left – just click on it to close it.
SWITCHING A WINDOW BETWEEN VIRTUAL DESKTOPS
- You can also move a program between virtual desktops. To do this, simply press START + TAB to go to the Task View pane, now hover over the virtual desktop view that currently has the program that you want to move.
- Click on it and then drag it to the virtual desktop screen you want to move it to. That’s it.
To efficiently and easily use Virtual Desktops, you will need to learn some keyboard shortcuts, which will allow you to quickly manipulate and switch between Virtual Desktop screens.
- Create a New Virtual Desktop Screen
CTRL + WINDOWS KEY + D
Pressing this key combination creates a new virtual desktop screen for you. - Open Virtual Desktop Switcher
WINDOWS KEY + TAB
You can press the Windows Key + Tab to see how many virtual desktops are currently open on your machine and switch between them if necessary. You can also move a Window between virtual desktops from this screen by clicking and dragging them. - Switch Active Virtual Desktop Screen
CTRL + WINDOWS KEY + ARROW KEY (LEFT/RIGHT)
This key combination will take you the next (or previous) open virtual desktop, depending on which arrow key you press. - Close Active Virtual Desktop
CTRL + WINDOWS KEY + F4
Closes the currently active Virtual Desktop screen.
