
Here is how you can Share Files with Different Local Users on Windows
Windows is a complete general purpose operating system, with its own set of tricks and nifty little tools to help you do pretty much anything you want. While there are thousands of third-party applications that allow you to customize the look and feel of Windows or add any host of features to extend the ones already provided by Windows, there are also some very useful tools that are built right into Windows, allowing you to do a lot more than you thought possible.
From networking utilities allowing you to trace and diagnose network issues to even using the linux shell from right inside Windows, there is a lot you can do. What’s more, it also allows you to have multiple users on the same machine, each with their own sets of permissions, applications, passwords, etc. allowing one single machine to be used by multiple people.
When using Windows for multiple users, one problem that users face is what if they have to share files across local users on the same machine. You don’t have to use the network to send the files to be able to be downloaded from the other user. There are multiple ways you can do that, from directly accessing the file from the other user’s folder or directly share the folder or the file by simply changing the file’s permissions.
There are multiple ways you can do that,
Change File or Folder Permissions
One way to do it is by changing the file or folder permissions for the file or folder you want to share with another user on the same PC.
- Open the File Explorer (START + E) and go to the file or folder you want to share with another user on the same PC.
- Right-click on it and select Properties.
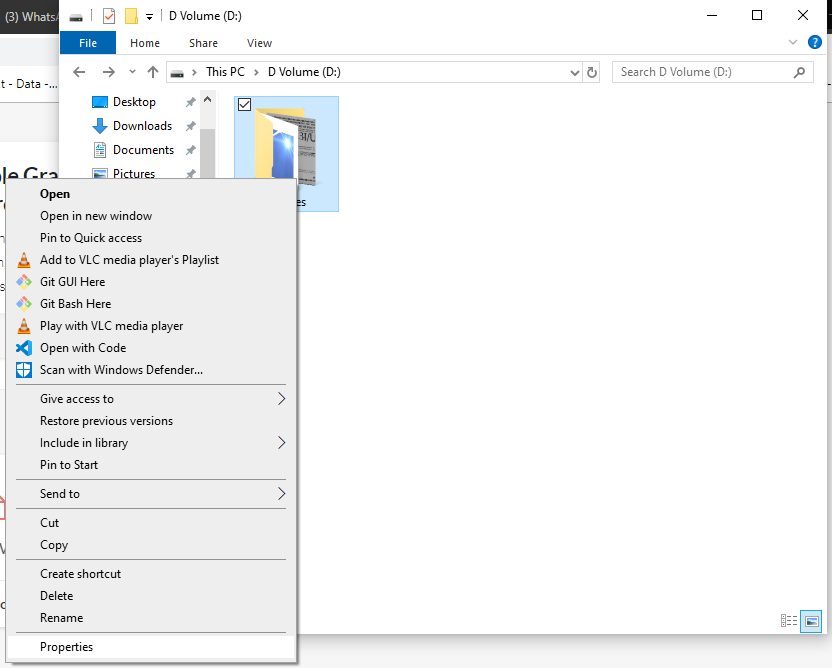
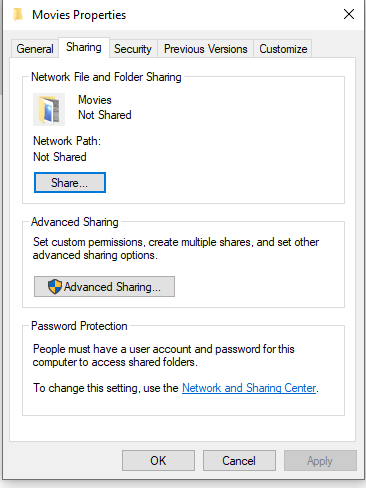
- Go to the Sharing tab, as shown in the screenshot below, and click on Share under the Network and File Sharing section. Alternatively, you can also click on Advanced Sharing to be able to set custom parameters like the folder name, create multiple shares and more. However, this feature will require you to have administrator access.
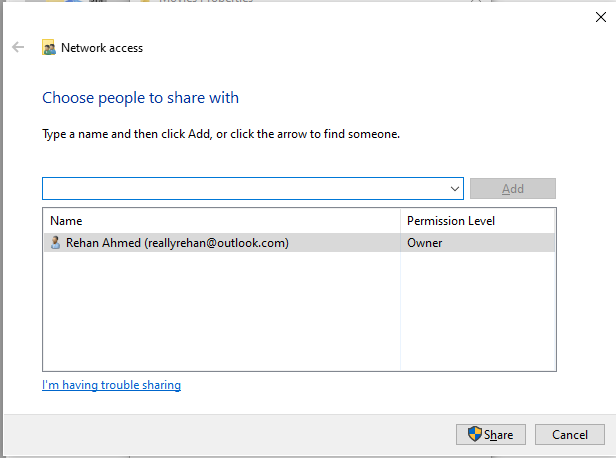
- From the shown list of users, select and add the user you want to share the file with.
That’s it. You can now access the file/folder with the user you shared the file with. Here is how you can do it,
- Open the File Explorer (START + E) and go to the file or folder you want to share with another user on the same PC.
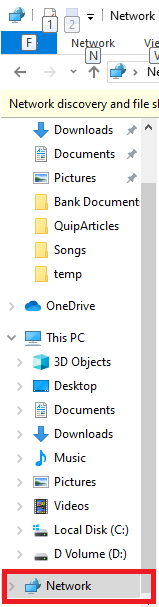
- Click on Network and go to the user who shared the file/folder to access the shared files.
Place them in the Public folder
One alternative is to place the file or folder you want to share in the Public folder. However, this will create a copy of the file/folder and take up extra space since it will essentially make a copy of the file/folder. If you don’t have any problem with that, here is how you can do it,
- Open the File Explorer (START + E) and go to the following path,
C:\Users\Public
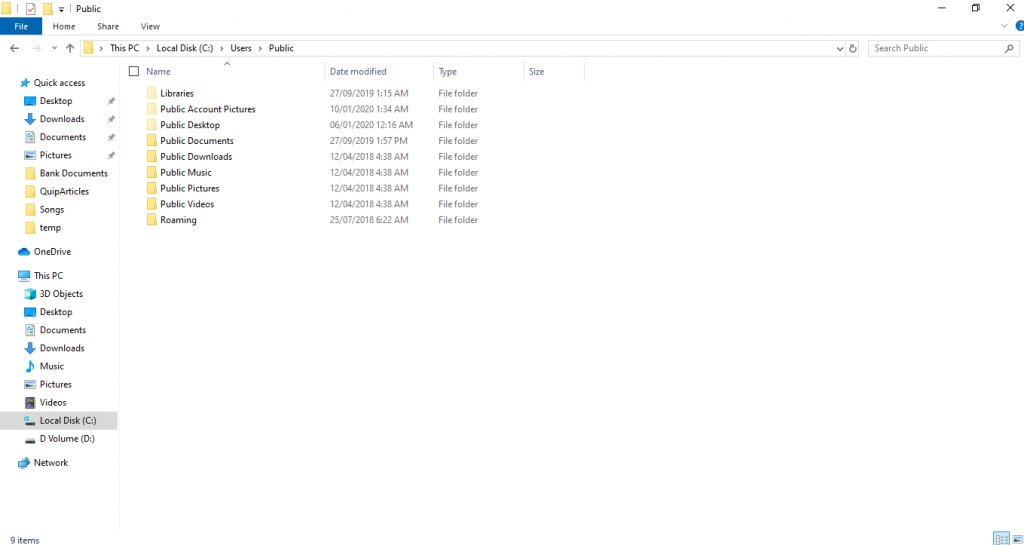
- Place the file/folder you want to share by placing it in any of the listed folders.
- You can access the files by visiting the same path from the other user.
