
A Beginner’s Guide to SQL Server Installation on Windows
A database is at the heart of every efficient application and it is the backbone that supports the entire structure. They store, manage and retrieve large amounts of data that is critical to an application’s function.
SQL (Structured Query Language) databases have become ubiquitous in the modern software industry, and while many other SQL databases exist, Microsoft’s SQL Server is undoubtedly one of the most popular and widely used relational database management systems.
In this blog, we aim to provide a beginner’s tutorial on how to install and setup Microsoft SQL server on your machine and get a database instance running in no time.
What is SQL?
Before diving into this tutorial, it may be helpful to provide a brief introduction to SQL databases. In essence, SQL databases are designed to store and manage large volumes of structured data. These databases use tables to organize and store data in a logical and efficient manner, with each table containing multiple rows and columns that correspond to different pieces of information.
Structured Query Language (SQL) is the programming language used to manage and manipulate data in these types of databases. It enables us to efficiently query data and provides developers with a standardized syntax to extract data from multiple tables, sort and filter based on specific criteria, and perform complex calculations and analysis on large datasets.
Originally released in 1989, Microsoft SQL Server has undergone several iterations and improvements over the years to become a robust, secure, and scalable database solution. Today, Microsoft SQL Server is utilized by businesses of all sizes, from small startups to large enterprises.
How to access “Management Studio”
Before we begin, you need to have Microsoft SQL server and SQL server management studio installed on your device.
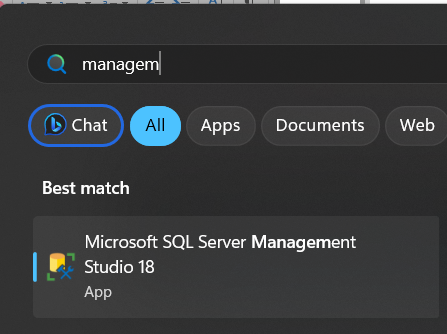
- You can type Management studio in the explorer and icon will pop up
- After starting, a small pop-up will appear like this
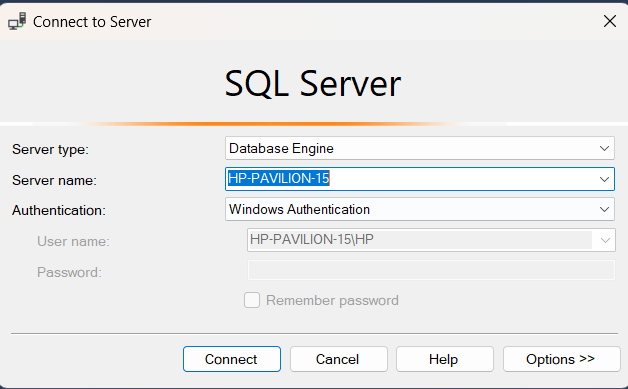
You can click on connect and you will be connected to ‘Data Management Studio’
Before progressing further let’s understand what each field means.
- Server Type: MS SQL Server provides four server service options, which are Database Engine, Analysis, Reporting, and Integration Services. If we intend to create and work with databases, we must select the ‘Database Engine’ option
- Server Name: The ‘Server Name’ field requires the name of the server where MS SQL Server is installed. Typically, we use the format “Machine name\Instance,” where ‘Instance’ refers to the name assigned to the SQL Server instance during installation.
- Authentication: The ‘Authentication’ option is set to “Windows Authentication” by default if we selected it during MS SQL Server installation. However, if we choose ‘Mixed Mode (Windows Authentication & Windows Authentication),’ the Authentication option will default to “SQL Server Installation.”
- Username/Password: If we opt for an authentication option other than “Windows Authentication,” such as “SQL Server Installation,” we must provide a username and password to establish the connection.
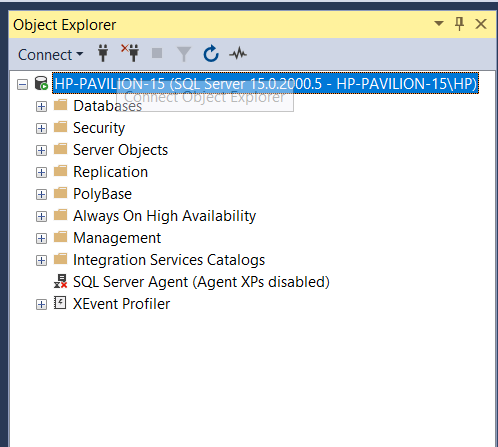
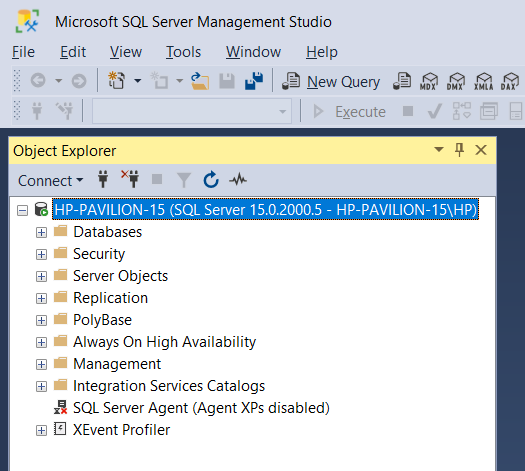
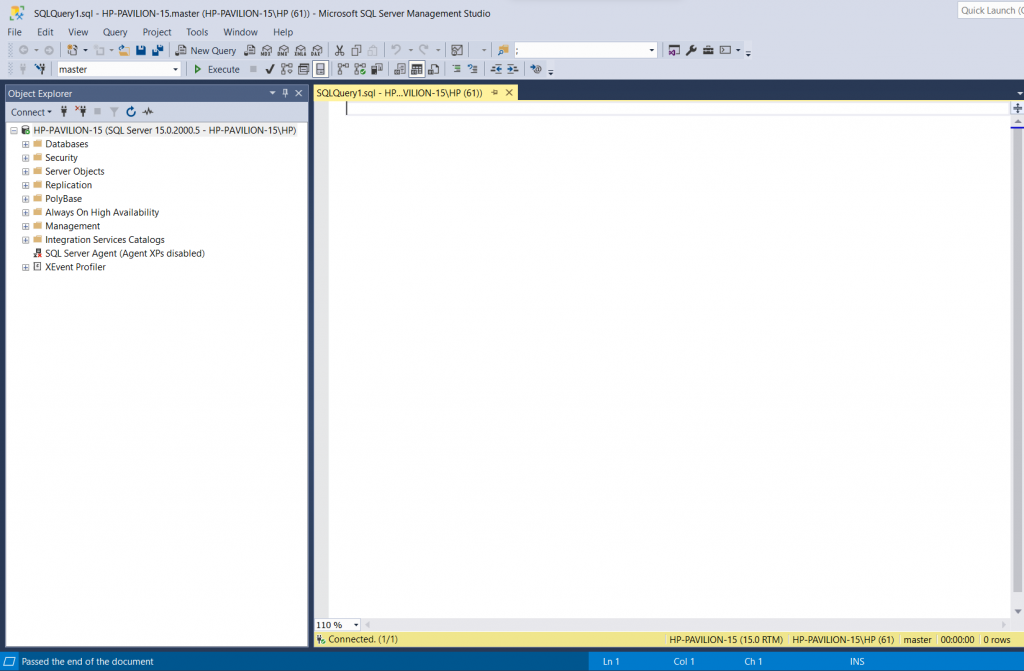
Once connected we can now create new databases and perform all sorts of SQL tasks on it. The window will open to an Object Explorer tab which provides us an interface to view different aspects of our database
Similarly, we can click on New Query in the top and get started with a new SQL project
Getting Started with your First Database:
Before creating a database, we must first know a few basic rules:
- Each database name must be unique
- The database name can only have a maximum of 128 characters
How to create a Database in SQL server Management Studio
You can create a database using either SQL queries or the graphical interface provided to you.
- Using the GUI, in the Object explorer right click on Databases and select new Database
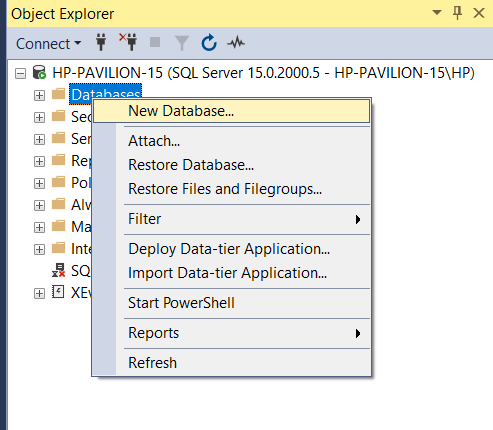
- A prompt will open and you can enter your Database name, for now we will simply name it and select OK. We can explore advanced options and settings later, however this will be sufficient for a beginner. This will create your first Database.

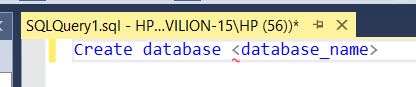
Another way to create a Database is through SQL queries.
- Open a new query window and type the following command and click on Execute
Both methods are completely valid for this task, however the GUI provides a simpler and systematic way. It is also easier to navigate.
Alter a Database
Just like creating a database, we can also alter it using two methods. Either SQL queries or through the graphical interface provided. We can make many changes to a database, however, in this tutorial we will simply be changing the name. Here are the steps:
Through the Graphical Interface
- Right click on the database you wish to change and select ‘rename’
- It will then prompt you to rename your database and you can type in the new name
Using SQL queries
We can also accomplish the following task using SQL queries. Similarly, open a new Query window and use the syntax,

For example, with the database we’ve created we can use this query and it will change the name

There are more advanced settings and options that we can change in a database and those will be explored later.
Deleting a database:
Similarly, we can follow two different ways to delete a database as well.
While using the graphical interface we can simply right click on the database we wish to delete and click delete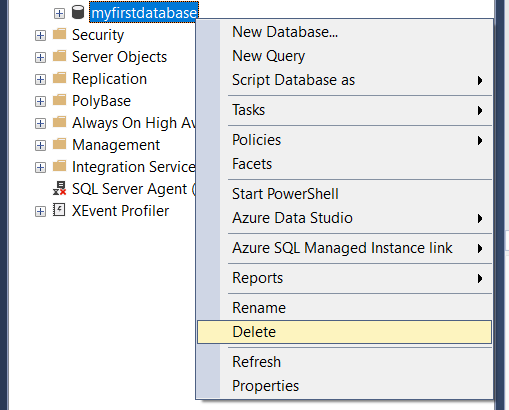 We could also do this through SQL query simply by typing the ‘drop’ commandIn our case:
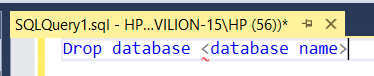
Run the above query by clicking on ‘Execute’
After creating a database one may create tables and fields and input data and perform a plethora of actions that may be needed depending on their usage. While these are very basic actions, they’re a good starting point to help one get the hang of SQL and how it works.
Whether you’re working on a small-scale project or a large enterprise-level application, Microsoft SQL Server offers a comprehensive solution for managing and manipulating data. So, why wait? Start exploring the vast possibilities that SQL Server has to offer and take your project to new heights.
