
Here is how you can change Settings for Installed Services in Windows using the Windows Registry Editor
Windows, being a general-purpose operating system, provides a host of different APIs for implementing your programs as you see ideal. In Windows NT operating systems, Microsoft has introduced an API called a Windows Service. This API allows any application that to register itself as a Windows Service, allowing a computer program to operate in the background as long as it obeys the interface rules and protocols of the Service Control Manager. Theoretically, it is quite similar to how daemons in Unix.
Any Windows Application that is implemented with the services API and is capable of handling low-level tasks with very little or no user interaction can be called a Windows Service. We recently wrote a guide on how you can install or uninstall a Service in Windows using the Microsoft .NET Framework’s InstallUtil, which you can read over here. However, what if you want to change some configuration settings for a service and don’t want to have to reinstall the whole service to be able to do that?
For example, if you want to update your service, there is a way to do that by simply placing the new .exe file where the older one was placed, and then changing the path that is registered on the Service Manager manually. This is possible thanks to the Windows Registry Editor, which allows you to manually view and edit a services’ configurations. However, this is a riskier method as it can also break some functioning components. We recommend reading our guide about editing Windows Registry and backing it up before proceeding with the steps below.
Manually Change Services Settings using Windows Registry Editor
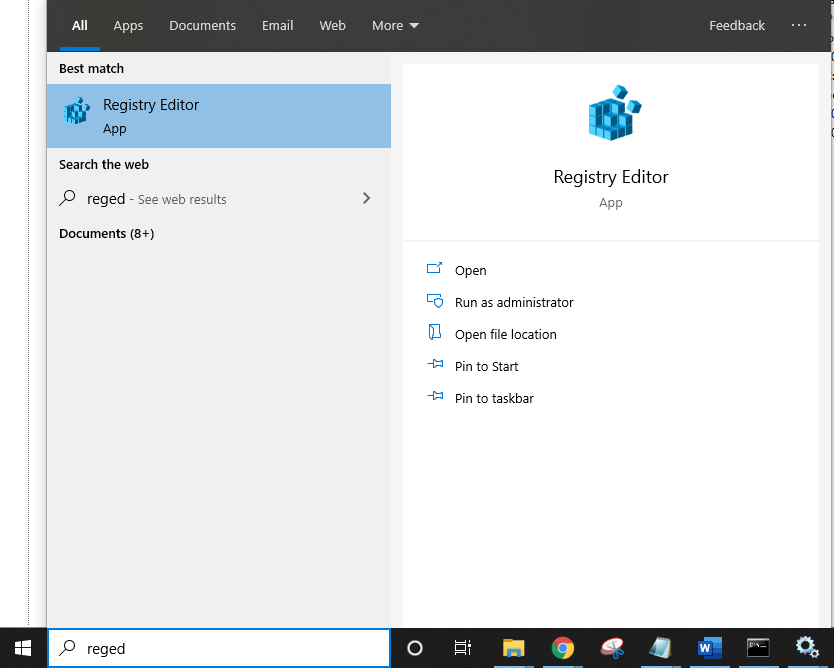
- Press the Start button and search for regedit and click on the search result. It might ask you if you want to allow this application to modify your PC, click on Yes.
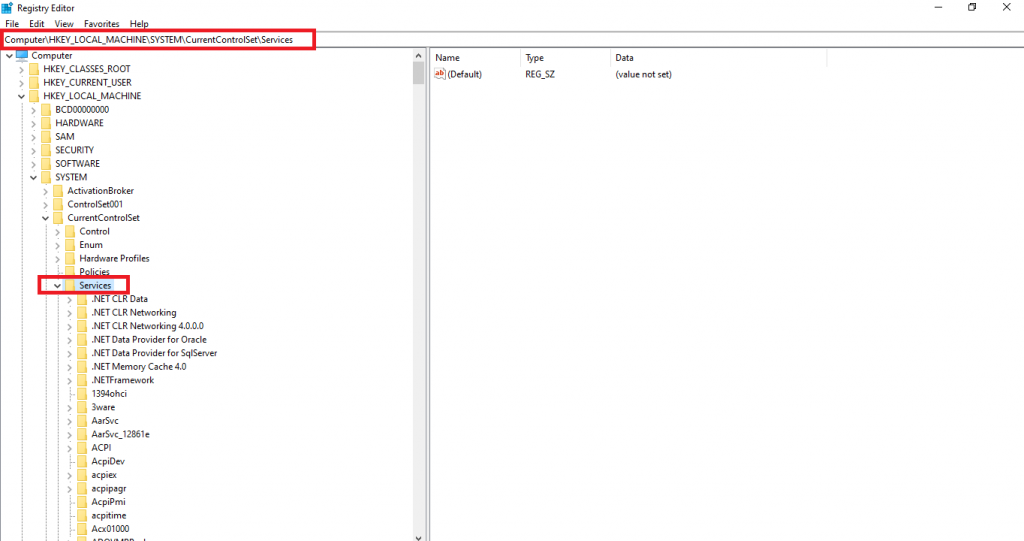
- In the left pane, you will see a set of keys along with drop-down arrows. Click on the arrow beside HKEY_LOCAL_MACHINE, then SYSTEM, then CurrentControlSet and then Services. Alternatively, you can also paste the path given below in the Registry Editor address bar.
Computer\HKEY_LOCAL_MACHINE\SYSTEM\CurrentControlSet\Services
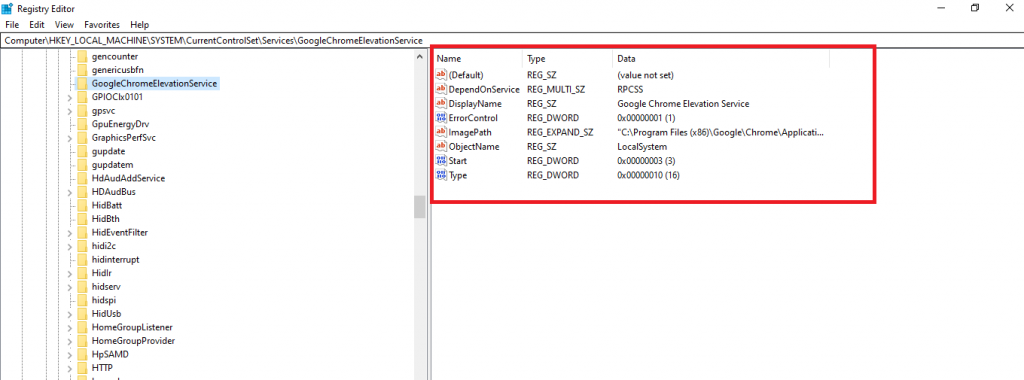
- Here, you will see a whole list of all the services that are installed on your PC. When you click on a Service’s key, you will see a list of values it has stored for that particular service. For example, ImagePath is the path of the .exe which Windows uses to start that service. You can change the path and point to an updated version of the .exe to simply update that service. You can also change other things like that service’s DisplayName and so on. However, be sure to backup your keys so you don’t end up making changes you may end up regretting later.
That’s it. Once you make your changes, be sure to start/restart your service for the changes to be put into effect. Here is how you can do that,
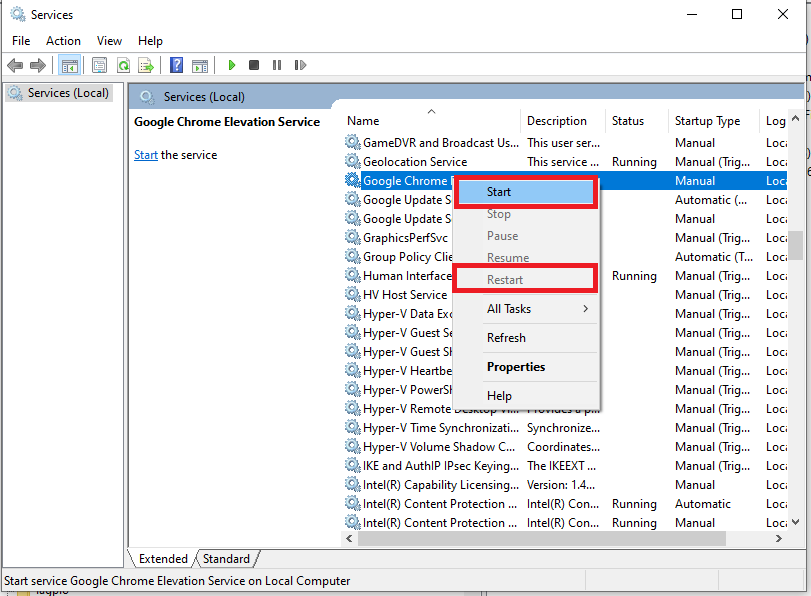
- Press the Start button and search for Services and click on the search result.
- Scroll to the service you made edits to and right-click on it.
- Click on Restart if the service is already running or Start if it is stopped right now.
The service should boot up with the modified changes.
