
Here is how you can create and save a WiFi History Report in Windows 10
The internet is a constant presence in our daily lives and in today’s world, the most used way to connect to the internet is by using your device’s WiFi. Without a WiFi connection, we barely use anything on our smart devices these days. So it is always convenient to know which connection your device is using to get in touch with the world’s biggest network and how it is making use of that connection.
Fortunately, Microsoft has included a built-in feature inside Windows that can be used to create a complete WiFi history report. The report includes all the details about networks that your PC has interacted with as well as information about the session duration, the start and end times of the session, the errors encountered when connected, and even information about the wireless adapter’s power state and the state of the network’s internet connectivity.
Moreover, it also contains information about your system, the network adapters used, and some screenshots of the output after running some basic IP configuration commands.
Here is how you can create and save your own WiFi history report in Windows 10,
Generate a WiFi history report in Windows 10
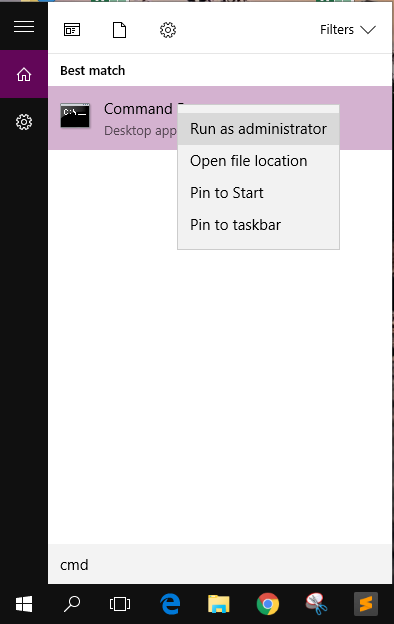
- Open a Command Prompt or PowerShell terminal in elevated mode (as an administrator). You can do this by pressing START and searching for cmd or powershell. Once it appears, right-click on it and click on Run as administrator. Windows will ask you if you want to allow this app to make changes to your PC, click on Yes.
Note: You will need to have administrator access for this to work.
- In the terminal, type or paste the following command and press Enter,
netsh wlan show wlanreport
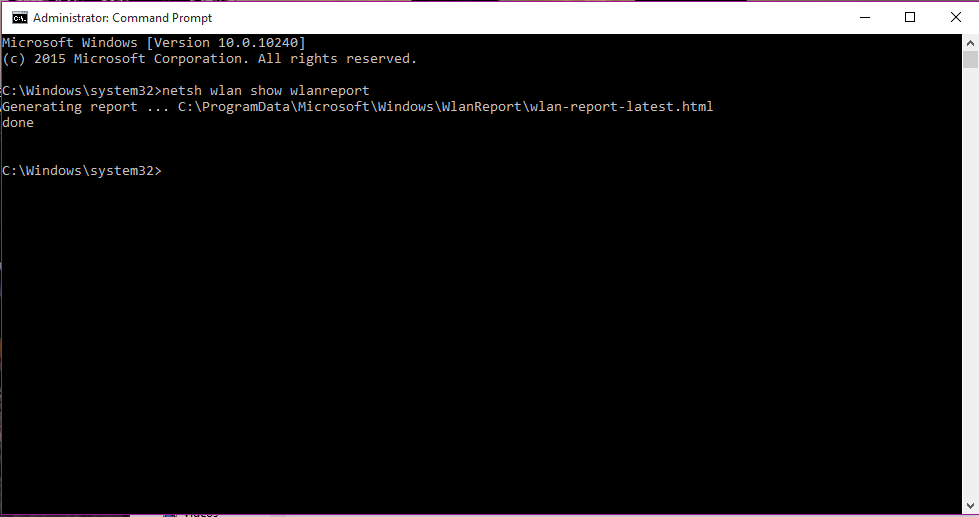
- Windows will take a while to generate that report. Once it has collected all the data, it will save the report and show you the path to the report. By default, Windows saves the report in the following directory,
C:/ProgramData/Microsoft/Windows/WlanReport/wlan-report-latest.html
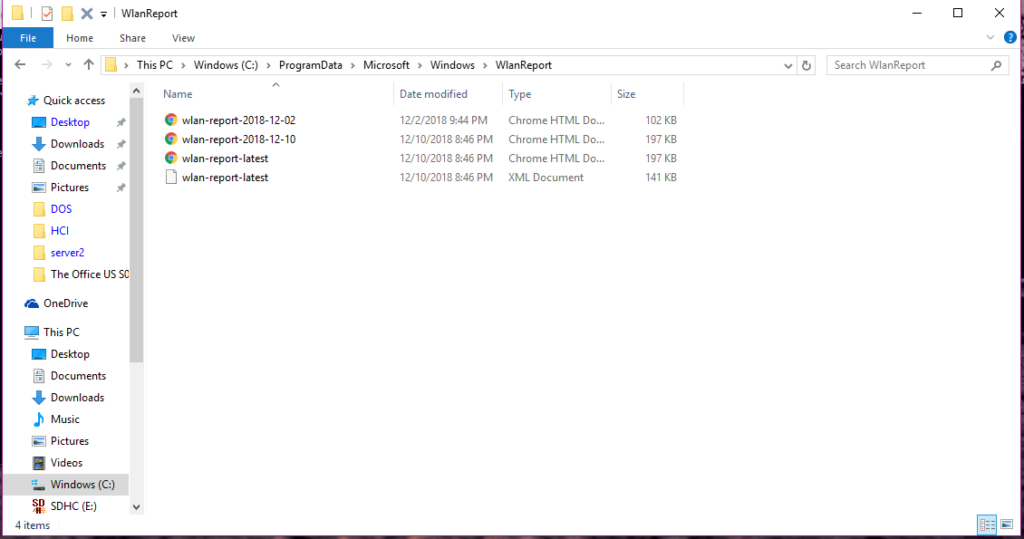
- Open the given path by opening the File Explorer (START+E) and paste the given path in the address bar. It should take you directly to the folder where all the reports are saved. Once there, you should see 3 versions of the report – two will be in the HTML format while the third will be in the XML format. The two HTML-reports are exactly the same, only one is saved with the date in the name to show you when it was generated while the other version titled ‘wlan-report-latest’ represents the latest report you have generated. Click on that version to open the latest report.
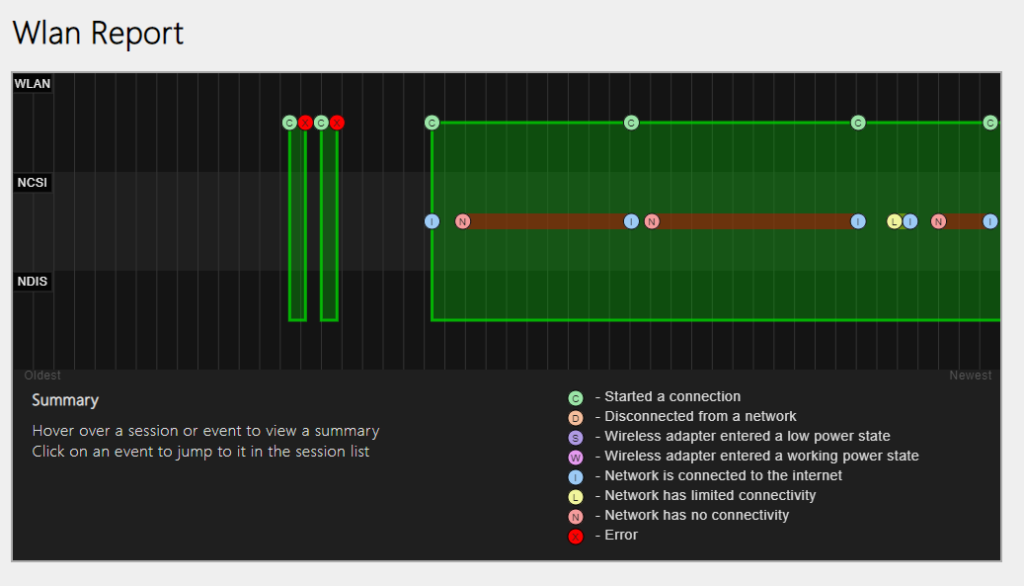
That’s it. It will show you the WiFi history report for a duration of 3 days by default. Here is a look at some of the information you will find in the report,
-
- WLAN Report
This is the first section and contains a graph with details about the use of WiFi on your device over a period of 48 hours. You can also hover your mouse over a specific session to get some more details about that particular session. - Report Info
This section will show you details about when the report was created along with the duration of the report.
- WLAN Report
- General System Info
It contains information about your PC including the PC name, the manufacturer, the system product name, BIOS date and version, OS Build, Machine Id. and so on. - User Info
Information about the user who requested the report to be generated including the username, user Domain, and the DNS Domain. - Network Adapters
A complete list of all the network adapters on your PC including the one in use and the hidden ones. - Script Output
This section includes a list of screenshots that represent the output of a number of scripts, like ipconfig /all, netsh wlan show all, etc. - Profile Output
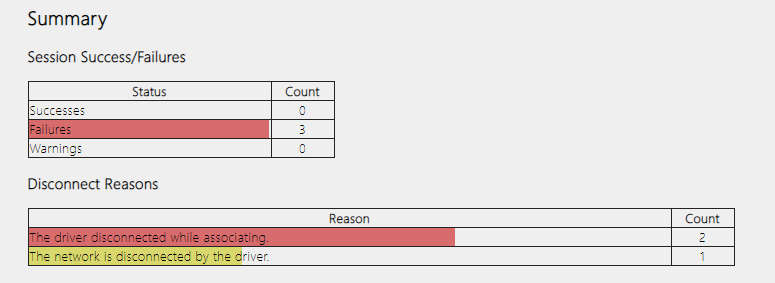
A detailed list of all the WiFi profiles that are stored on your PC. - Summary
Split into three parts, this section shows details about session successes, session failures, and session warnings along with the reasons for disconnecting from a session and the length of the session.


You can repeat this process for creating a new WiFi history with the most recent connection status anytime you want.
