
Here is how you can Backup or Restore all your notes to the Sticky Notes app
Windows has undergone many revisions and design changes over the period of its existence. Now, the most dominant operating system for PCs all over the globe, it is one of the most advanced GUI operating systems available for the general public and also the most preferred choice, ahead of other alternatives like Apple’s Mac and the open source Linux.
Some of the things that make Windows such a good operating system, apart from the low licensing cost and ease of use as a general-purpose operating system, are the applications that it supports. Some of Microsoft’s best applications also come pre-packaged with the operating system, like the internet browser Edge, the Windows Media Player, Notepad, etc.
One of the most popular apps that Microsoft has introduced in recent versions of Windows is Sticky Notes. Aptly named, it borrows a lot of characteristics from its real-world counterpart. Not only do they offer a variety of color choices, but can also be created and stick to the screen where you place them. You can also create multiple notes and, thanks to Microsoft’s recent push in creating a whole ecosystem of Microsoft apps, sync them to an Android device or over the web. Thanks to Microsoft’s recent push to move all the things to the cloud, you can also use a nifty little trick to recover any notes that you might have deleted and now want to recover.
Another thing you need to know about Sticky Notes is that you can also backup or restore all your notes pretty easily. Here, we have listed down the steps as to how you can do that,
Backup or Restore Sticky Notes
First, you will need to enable the option to show Hidden Files inside the Windows File Explorer. Sticky Notes stores all its notes in a hidden folder, which can be accessed using the Windows File Explorer but you will need to enable the option for Hidden Files in order to actually see it.
Here’s how you can do it in Windows 10,
- Open Windows File Explorer by pressing START + E, then click on the View button in the toolbar at the top. Now, click on the Hidden items checkbox as shown in the screenshot below.

Here’s how you can do it in Windows 7,
- Open Windows File Explorer by pressing START + E, open Tools, click on Folder Options, switch to the “View” tab, and then select the “Show hidden files, folders, and drives” option.

Once you have done that, you can now access the folder where Sticky Notes stores all its notes. You can do that by opening Windows File Explorer and going to the following path,
C:\Users\username\AppData\Local\Packages\Microsoft.MicrosoftStickyNotes_8wekyb3d8bbwe\
Note: Remember to replace the username with the user name on your PC. For example, in our PC where the username is ‘reall’, here is how the address looks,
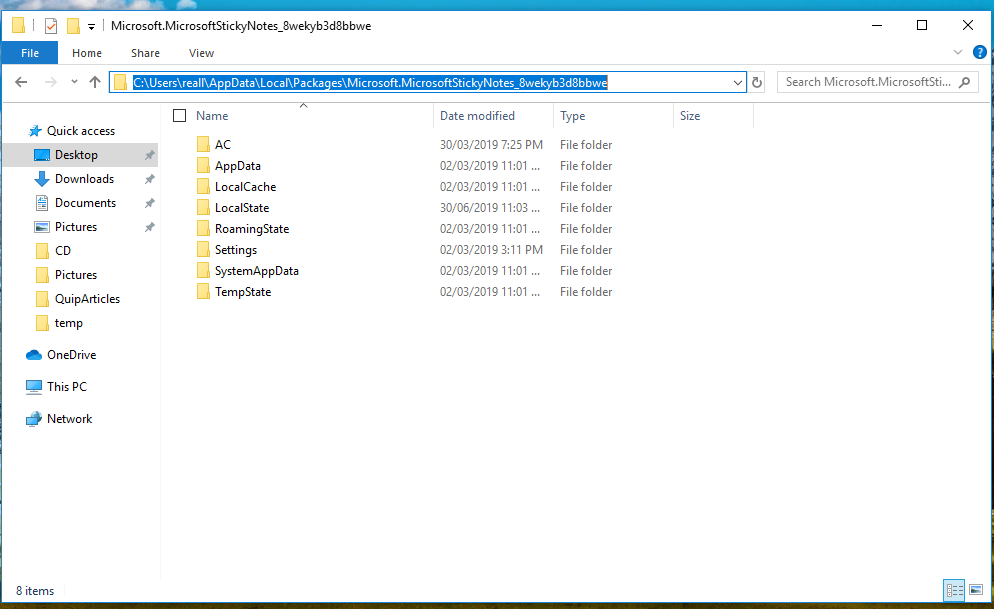
Sticky Notes stores all its notes in the folder titled AC. To back up all the notes, just open the folder and copy all its contents, then store them in another backup folder (preferably on another disk or in the cloud).


Once you have done that, you can now continue using Sticky Notes as you normally would. If, at any point in time, you want to restore all your notes from this backup, just make sure that Sticky Notes is closed, copy all the contents you copied earlier, locate the AC folder again, and paste all the contents in the folder, overwriting the contents that already exist there.
Using this method, you can also transfer all your notes from one PC to another by simply copying the contents of this AC folder from one PC to another. When you open Sticky Notes, it will automatically load the latest notes from this folder.
